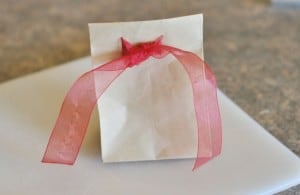
Cute Brown Bag/Ribbon Packaging Idea
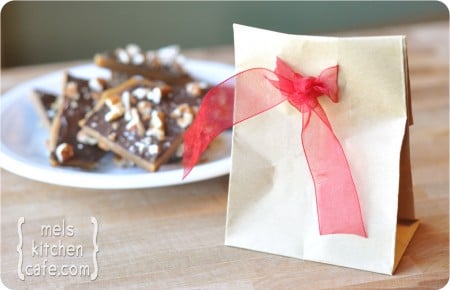
I love this cute, simple and inexpensive packaging idea. Here’s what you’ll need:
a paper bag – any color, any size,
ribbon of your choice,
an xact-o knife or other utility-type knife,
a cutting board
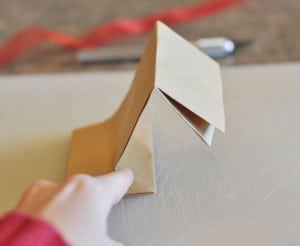
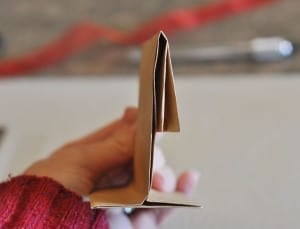
Fold the top 2 1/2 to 3 inches of the bag down.
How far you fold it down will depend on the size and height of your bag.
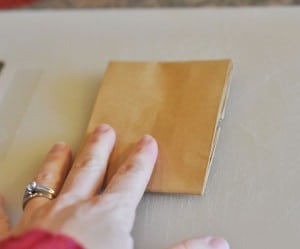
After you fold it, lay the bag down flat on your cutting board with the fold still tucked underneath the bag.
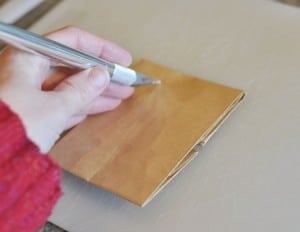
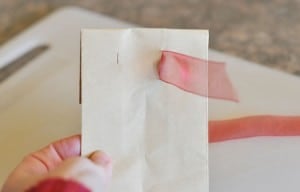
Get your knife and cut two slits about an inch apart on the top third of your bag. The length of the slits will depend on the width of your ribbon.
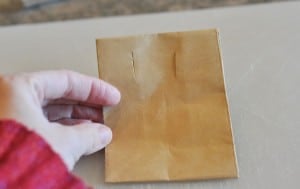
This is how my slits look.
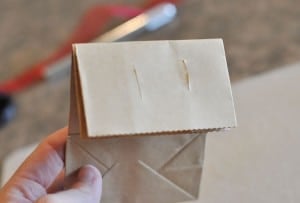
You’ll want the cuts to go all the way through the bag and the folded part. Here is a back view. Slits are there – yipee!
Now here is the point where you want to fill your bag with the goodies! Make sure to do that before proceeding with the ribbon step.
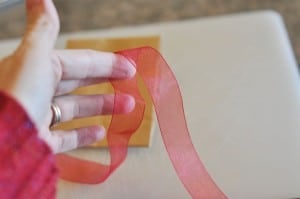
Once your bag is filled with treats, get your ribbon ready. I usually start with about 8-9 inches.
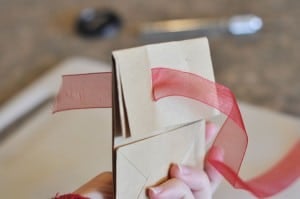
Take one end of the ribbon and starting on the back side of the bag, weasel the ribbon through to the front.
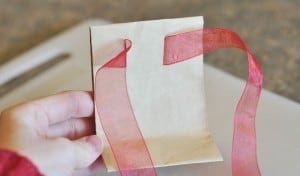
Here is a front view.
Now, take the other side of the ribbon and do the same as the step above – bring it through the back side of the slit and pull it through to the front.
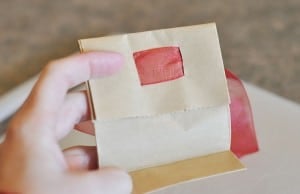
You should have a neat square on the back where the ribbon is pulled tight.
Tie a knot or a bow with the loose ends on the front of the bag and you’re done!

