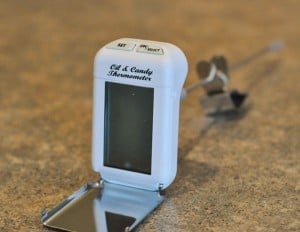
Calibrating a Candy Thermometer & Candy Thermometer Recommendations
Important Notice:
Water boils at different temperatures depending on your altitude. Here is a chart that will tell you what temperature water boils at according to your elevation. (When you click the link, scroll down past the graphs to the chart with elevations and boiling points – it is a comprehensive list of elevations, including 1,000 feet below sea level and up to 30,000 feet above sea level so look closely for your elevation and then round up to the nearest foot).
Quick Candy-Making Tip:
Did you know that climate and weather can affect candy-making? It is best to try and make candy on clear, relatively dry days since rain or humidity can affect cooking time and may cause your candy to never set up at all. Also, while it may seem tedious, you should calibrate your thermometer using the instructions below each time you make candy, just so you can align all the stars and help the candy-making gods be in your favor.
Now On to the Calibrating:
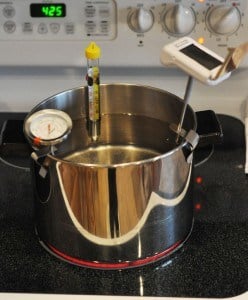
Fill a large pot with water.
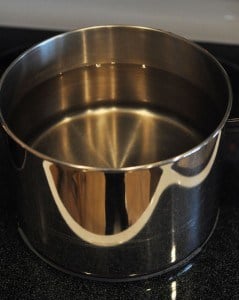
Clip your candy thermometer to the side of the pot. Yes, I happen to own two-too-many candy thermometers, but I wanted to see how all of them calibrated together. I’m weird like that.
Make sure that the thermometer is submerged by at least two inches of water. Each thermometer should indicate on the packaging how far the thermometer needs to be in the water, but for this calibration tutorial, two inches is a safe estimate. Also, make sure the thermometer is not touching the bottom or side of the pot, this will cause the thermometer to read at a higher temperature than what is actually the case.
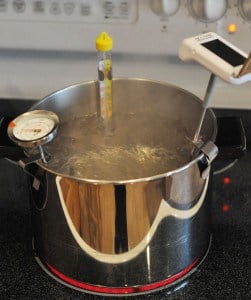
Bring the water to a boil. Let it boil for 10 minutes.
Now…take a reading of your thermometer (at eye level if using a rising temperature gauge like the glass bulb thermometers). This number is important – it indicates the temperature at which your thermometer recognizes boilage (yes, that’s a word, thankyouverymuch).
On a piece of paper, right down this number. For the sake of this tutorial, I am going to assume that water should boil at 212 degrees, since I live near sea level where that is the case, but keep in mind that if you live at a higher elevation, you’ll need to consult the almighty chart to figure out exactly what temperature water boils at in your neck of the woods. Just in case you are wondering, my dial and digital thermometers calibrated at exactly 212 degrees! However, my sweet bulb thermometer was off by almost 12 degrees.
If the temperature on the thermometer is not 212 degrees (or your correct boiling point) after sitting in the boiling water for 10 minutes, the cooking temperature in the recipe you are using will need to be adjusted.
Example: If your thermometer reads 215 degrees after being in the boiling water for 10 minutes (3 degrees higher than it should), and the recipe says the candy should cook to 250 degrees, you will actually need to cook the mixture to 253 degrees.
Example: Conversely, if your thermometer reading is 205 after the water has been boiling for 10 minutes, and the recipe says the candy should cook to 250 degrees, you will only need to cook the candy to 243 degrees (subtracting the 7 degrees your thermometer was off when calibrating in the boiling water).
Quick Tip/Recommendation:
If you have calibrated your thermometer several times in a short period of time with completely different results each calibration, it might be time to invest in a new thermometer (see below for recommendations).
High Altitude Candy Making:
Now keep in mind that if you live at a high altitude where the water boils at, say, 202 degrees, you’ll need to also subtract an additional 2 degrees for every 1,000 feet above sea level for the temperature point listed in the recipe.
Example: Let’s say your thermometer calibrates correctly in the boiling water at 202 degrees, which is where it should be, since you live at 5,250 feet above sea level. Your recipe states to boil your caramel to 240 degrees. Because you still need to subtract two degrees for every 1,000 feet of elevation (which would be about 10 degrees), your final thermometer reading for your caramel should be 230 degrees.
Another Example: If your thermometer calibrates at 200 degrees (when it should be 202 degrees), you’ll want to subtract the 10 degrees for elevation (like the example above) and an additional 2 degrees because of the calibration, so the temperature of 240 degrees the recipe requires will only be 228 degrees based on your thermometer and elevation.
A word about the different types of candy thermometers:
Over the years, I have managed to accumulate several different types of candy thermometers. Because I’ve used them all, I’ve given pros and cons for each. These are just my own personal opinions – you can find a lot of additional information online and through other sources, too (the links I’ve provided are not sponsored links – informational only).
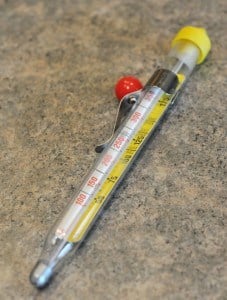
The bulb: You can find this thermometer at nearly any grocery or large-supply store (like Walmart, Target).
Pros – very inexpensive
Cons – in my experience, the glass steams up making it hard to read the temperature; also, I find I go through glass bulb candy thermometers like, well, candy. They break easily and I find they don’t hold an accurate temperature as long as some other types of thermometers
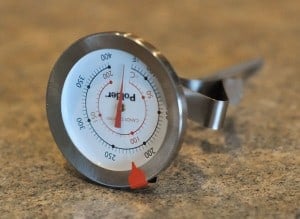
The dial: I’ve owned both the Taylor model and the Polder model. Let me tell you, the Polder model is a champ. I love it and highly recommend it if you want a dial thermometer. The Taylor model never calibrated correctly for me and was all over the place each time I calibrated it. Seriously unreliable.
Pros – I like the way this clips on to the pot so I can read the temperature gauge without having to bend down and get at eye level; it doesn’t steam up like a bulb thermometer; because the probe is thin, it is easier to stir around while making candy (if the recipe requires stirring); these are fairly reasonably priced also; can gauge candy and oil temperatures
Cons – usually on the dial thermometers, the midpoint temperatures aren’t marked as clearly and/or the soft ball, hard ball, etc stages aren’t marked so you have to watch more closely for when your candy reaches the right temperature
The digital: I own this model (also sold by Williams-Sonoma but much cheaper on amazon.com and other sites) and it is fantastic, despite it’s few issues (read the cons below).
Pros – you can set a signal to beep when you get to your desired temp; known to be extremely accurate; you don’t have to insert the probe as far into the liquid as some of the other types of thermometers; can gauge candy and oil temperatures
Cons – more expensive than the bulb or dial thermometers; tends to be a bit top heavy in the pot and doesn’t clip on as securely
As a sidenote: I’ve even owned at least three of these Taylor models, but have to say I highly, highly discourage these thermometers because on every model I’ve owned, the numbers have wiped off while cleaning the thermometer after only two or three uses. Big problem in candy making, wouldn’t you say?
I hope this helps in your candy-making endeavors! Please feel free to let me know if you have any questions.

