The Best Homemade Crepes
With this easy blender recipe, these are the best homemade crepes ever! Soft and tender, they are tasty served with sweet or savory fillings.
Plus, the handy kitchen tool I’m sharing below makes cooking crepes easier than ever!

Homemade Crepe Batter
I’ve tried dozens of recipes for homemade crepes, and this batter is the best! It is straightforward and simple, but it produces the lightest, softest, most tender crepes (never rubbery!).
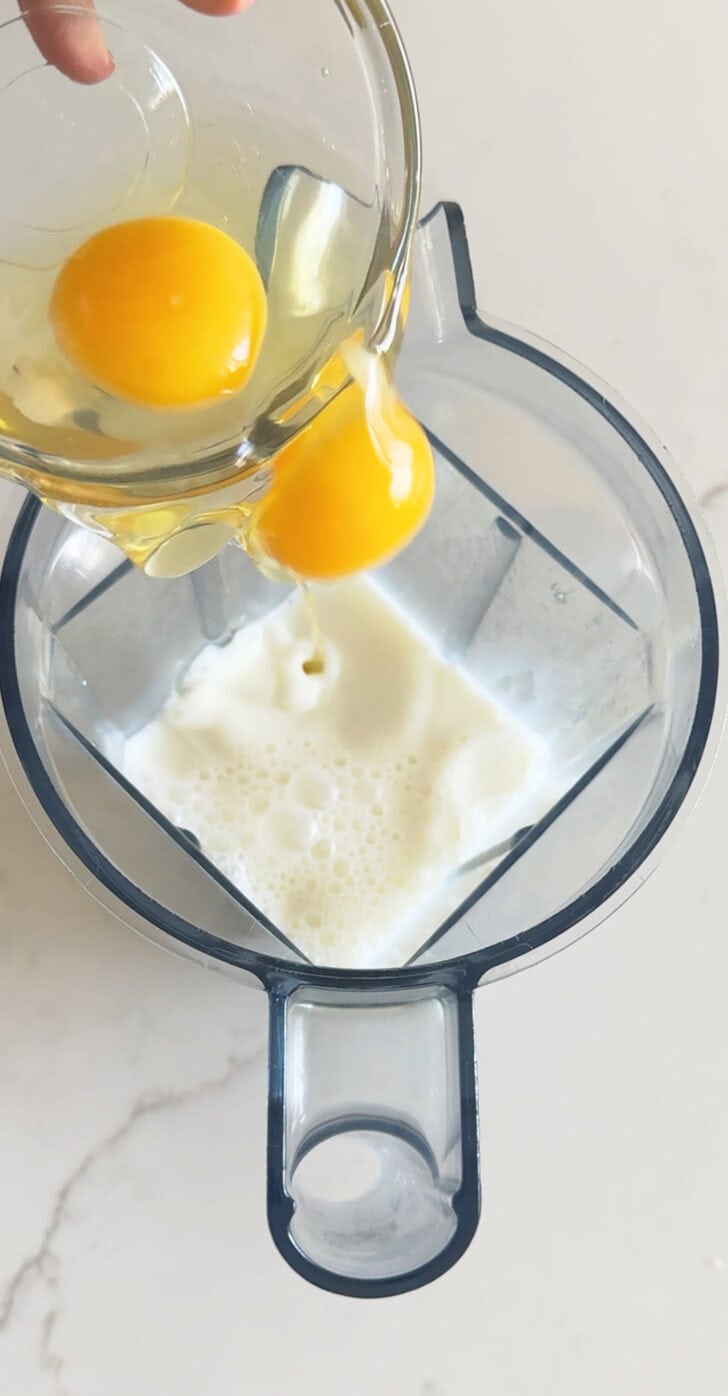
Crepe Ingredients:
- Milk (1%, 2% or whole milk – skim milk doesn’t work as well)
- Eggs
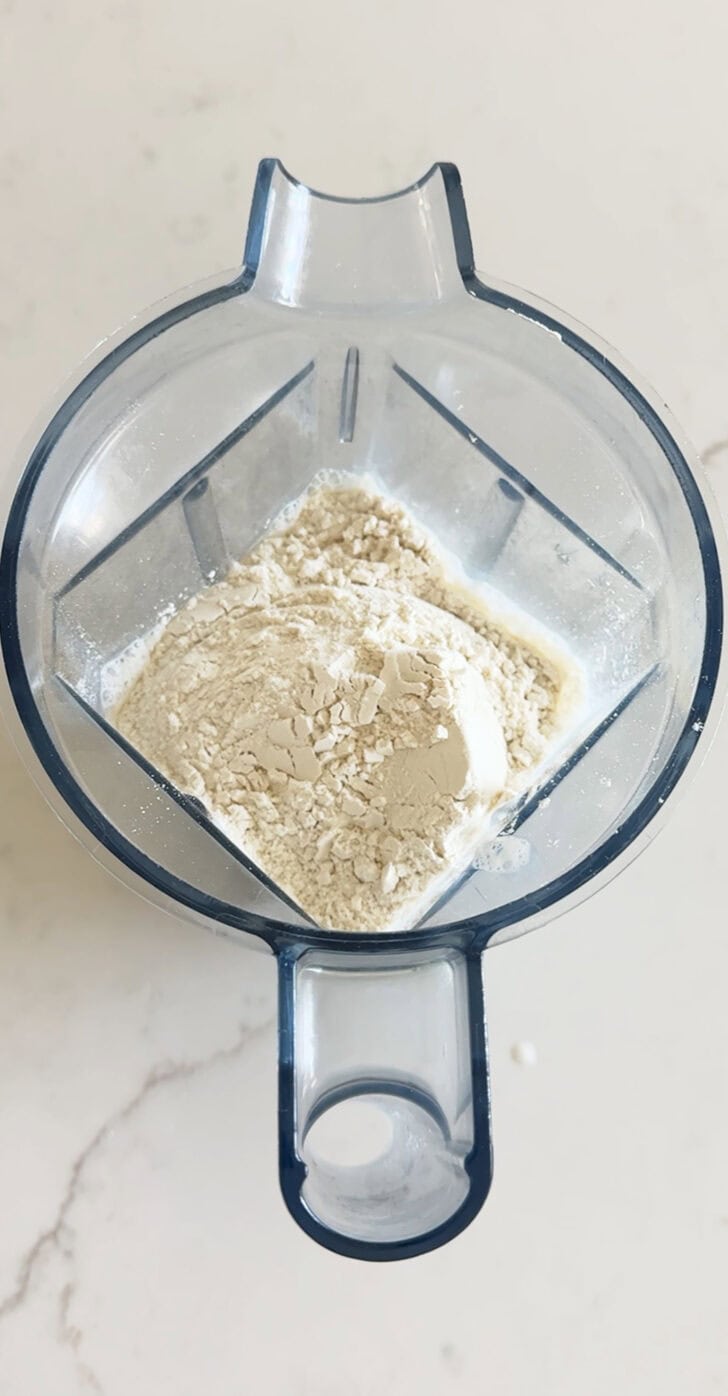
- Flour (unbleached, all-purpose flour)
- Salt
- Melted butter

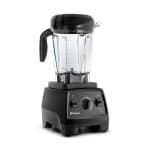
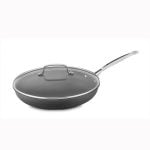
The Best Tool to Make Crepes at Home
Crepes can be cooked using a skillet on the stovetop by swirling the batter around a sizzling, well-oiled or buttered pan.
I’ve always made crepes using the skillet method ⬆️⬆️, but if I’m being honest, I’ve never been great at it, and I definitely don’t love the process. It takes more practice and time than my patience enjoys. 😉
A few years ago, I discovered this electric crepe maker {aff. link}, and it’s changed my life for the better! I know kitchen gadgets can be over-hyped, but this one is worth it. I can cook up a batch of crepes in just a few minutes. Here’s a video on how to use the crepe maker, if you’d like a visual.


Favorite Crepe Fillings
This crepe batter makes excellent crepes for sweet OR savory fillings. In the notes of the recipe, you’ll see a delicious ham and asparagus filling recipe.
Favorite Crepe Fillings
- Jam (of every variety)
- Butter + sprinkle of powdered sugar
- Powdered sugar + drizzle of fresh lemon juice
- Nutella
- Maple syrup (or berry syrup)
- Fresh fruit
We love crepes for breakfast…or when we serve breakfast for dinner. This is our go-to recipe. It makes the best crepes!

Crepes
Ingredients
- 2 large eggs
- 1 ¼ cups milk
- 1 cup all-purpose flour
- 2 tablespoons vegetable oil or melted butter
- ¼ teaspoon salt
Instructions
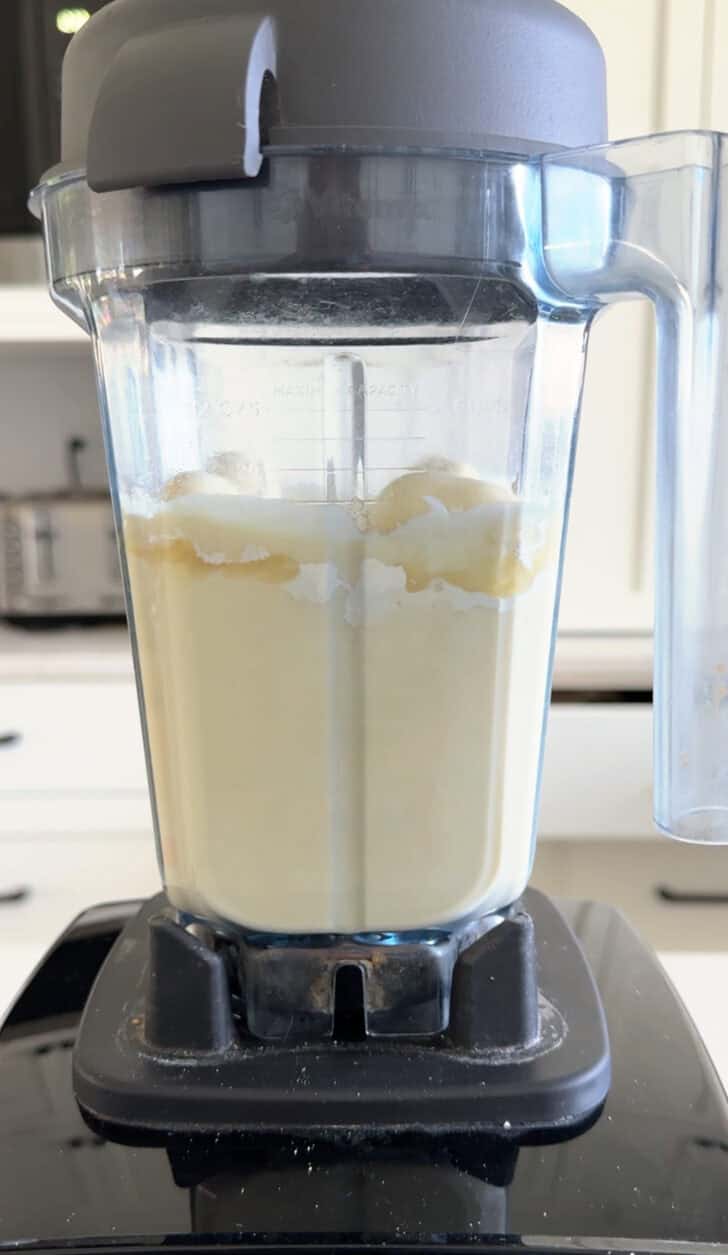
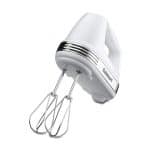
- In a blender or large bowl using an electric mixer, combine the eggs, milk, flour, oil (or butter) and salt. Blend or mix on high until the ingredients are well combined. Cover the batter and chill in the refrigerator at least 1 hour or up to 24 hours. This helps the gluten to relax, so the crepes are tender and not rubbery when cooked.
- When ready to start cooking the crepes, heat a 10-inch nonstick skillet over medium heat for 2-3 minutes. Spray the bottom and sides of the skillet with nonstick cooking spray or brush with a bit of oil. The skillet should sizzle like crazy. You want it piping hot before you pour in the crepe batter.
- Quickly whisk the crepe batter to recombine, then measure out 1/4 cup of the batter. Tilt the skillet off the heat and pour the batter to one side of the skillet, immediately twirling the skillet to coat the bottom with the batter. Set the skillet back on the heat and cook the crepe until the edges begin to brown, 30 to 40 seconds. Loosen the crepe around the edge with a heat-proof spatula and gently (but quickly!) pick up the edges of the hot crepe with your fingers and give it a fast flip.
- Cook the other side for 30 seconds or so until lightly golden brown and cooked through. Transfer the crepe to a wire rack. The key is to keep the skillet sizzling hot without burning the crepes – I moderate the heat of my stovetop between medium and slightly above that to keep the crepes cooking quickly without burning. You should hear an audible sizzle when you pour the crepe batter into the skillet but if you hear a sizzle with accompanying smoke – the skillet is probably too hot.
- Repeat with remaining batter, adding oil when needed, and stack the crepes as they finish cooking.
- The crepes can be placed on a baking sheet and lightly covered with foil and placed in a 200 degree oven to stay warm for 20-30 minutes while you finish cooking the remaining crepes.
- Serve the crepes with your favorite toppings.
- To store leftover crepes (or to make in advance): once the crepes have cooled, stack them between pieces of parchment or wax paper. Wrap the stack of crepes in plastic and store them in a resealable plastic bag in the refrigerator for several days or for up to 2 months in the freezer. Completely thaw frozen crepes before carefully pulling them apart.
Notes
Recommended Products
Recipe Source: adapted slightly from Cuisine at Home, April 2009


Fabulous recipe!!!!! Absolutely loved it. Best crepe recipe ive had. The 4 eggs really make it a nice consistency. Gorgeous taste with the vanilla and sugar. With Kerry gold butter in the batter and in the pan for cooking – these were awesome.
We make these every Sunday morning. We’re living in France right now and there as good as any I’ve had in the restaurants and shops here. Thanks Mel for making our experience here even better. Ingredients : farine de blé (flour), le beurre demi-sel (butter), lait entier (milk), fresh eggs and salt.
This is 🥰❤️❤️❤️
These turned out perfect!! I love them with either sweet or savory toppings, today did caramelized onions and mushrooms with cheese on some and strawberry’s, yogurt and Nutella on others. Yum!!
It is the best food I ever had in my life
So good they were requested two nights in a row…by my husband!!! My 10 year old asked for crepes for his birthday dinner. My mother-in-law who is diabetic was coming over and so I tried the ham/Swiss/asparagus w mustard sauce as well. The adults couldn’t get enough of the savory ones! I’m totally a sweets person but had a hard time choosing which one to have a second of!!
Your recipes are so reliably good!! My friend brought me delicious bread-i asked her for the recipe…yours. I had same friend and her family over for dinner and made the white chocolate vanilla bean cheesecake, she asked me for the recipe…yours. THANK YOU!!!!
These are delicious! Can they be made ahead of time? How to prep for a reunion? Thanks Mel!
Yep! You can make the batter ahead of time and cook at the reunion OR you can make the crepes start to finish and refrigerate to serve later (probably best eaten within a day or so).
I’ve made crepes before and specifically your recipe here before (the ham ones – yum!), and the flavor is great, but I always struggle to eliminate flour chunks from the batter when mixing. And I’ve tried multiple mixers, whisking, sifting the flour first, etc. and still struggle. Any tips on avoiding that issue?
Are you getting flour chunks even with a blender? Or are you whisking by hand?
Can u make the sauce a head of time and just reheat?
Yes
Omg these are amazing! My very first time making crepes and they came out PERFECT! I was disappointed I couldn’t find ready made crepes at the store like I had bought before, but I’m so glad I made them. The sauce was so flavorful and creamy, loved the ham and swiss. I blanched the asparagus. I loved everything about this. I only got 9 crepes but they were so perfect, I may make them again this weekend for a dessert version. Thanks so much for the recipe!
yum! They were delicious. We love the crepes with most fruits. I just have to say I remember the European Connection as well, I was sad when I found it was no longer in business. I love ALL your recipes. I know I can count on any of your recipes being perfect. Thanks for all you do, to make each recipie delicious.
Could you please advise if you put the asparagus cooked, or uncooked, into the crepe? Thank you.
I use lightly steamed asparagus.
What kind of swiss cheese ?
Oh my stars. Every time I make crepes I think of European Connection. That was the first time I had a crepe filled with fresh peaches sweetened with honey and barely sweetened fresh whipped cream. Since then I discovered I like crepes with spinach, muenster cheese and covered with hollandaise sauce (made with fresh lemon juice).
How many crepes would you say this recipe makes? I’m making these for eight tomorrow morning and was thinking I should double it? Thoughts?
The yield is right there above the recipe title – it makes about 10 crepes. 🙂
Just thought I’d share – we’ve been on a crepe kick with me making them for my daughter for breakfast the last few weekends while my husband & son have been gone every Saturday.Super easy when it’s just for 2!
Anyway, I have been making them with whole wheat pastry flour (which I use for a lot of my baked good as it’s so much lighter than regular white whole wheat) & they are delicious & light & just how I remember them being when I used to use all purpose flour. So for those asking about whole wheat I say try whole wheat pastry flour! Also I use melted coconut oil for the oil.
We have had them with sliced bananas tossed in a melted coconut oil & brown sugar concoction like an easy bananas foster. Delish! This weekend was fresh raspberries & drizzled w some homemade chocolate sauce (just melted some choc chips with a little whipping cream I had left over from another recipe) SOOO good!! Such a treat & actually pretty easy altho a little time consuming to cook a double or triple batch. When I do that I use 2 10″ skillets. Thanks for the great recipe Mel!
Since were packing, my go to crepe recipe was packed. Knew I could depend on you to give a good one! The best part was the tutorial:)
Before I dump in two tablespoons of either, is the mustard supposed to be yellow mustard you put on hotdogs or ground mustard from my spice cabinet? 🙂
Salem – neither, really. 🙂 I use stone ground mustard – it usually comes in a jar and is more of a brown than a yellow color. You could definitely experiment with yellow mustard from the fridge but I’m not sure how the overall flavor would turn out.
Hahaha!! Thank you!! I wish I could tell you how it turned out, however, I left them with a babysitter to feed to my three starving children, and there were none left when I got home!! 🙂 So I guess mixing a little yellow mustard and a little Dijon mustard works great and tastes delicious! These will be on the menu again next week, because I was super excited to try them! Thanks again for your help!
I made these with a combination of barley, rye and white whole wheat flours and they were delicious. Thanks, Mel! We put Havarti cheese, sautéed mushrooms, baby spinach, grape tomatoes and some ham in them and they were incredible.
I have all time crepes on the frezze, and i reheat them, on the micro..
wrap 10-12 crepes in a napkin kitchen, then you put in a gallon ziplock bag, leave the bag open .. and heat it for a minute, or depend of your micro…add more time if nedded.
Hi mel, here in my house ( we are 4, me, my husband and two sons 20, and 17)we almost all sandays, have crepes..and i made a lot
of diferent fillings, but our favorities are…whit..CAJETA (mexican caramel)…
i warm the cajeta with some heavy cream, just to be more liquid,..
we put little nutelle, a lithe CAJETA, FOLDED, AND DRIZZEL on top more cajeta, and sprinkle with filet almonds.
Another version is, ricotta with blueberries sirup.(i made it )
I put on the table, plain ricotta, blueberry sirup and the crepes, and
every one made they own, we put about 2 table of ricota, a lithe blueberries sirup on tap, we rolled the crepe, and on top more sirup and dust with powdered sugar…oh delicious with cofee…
I love you blogg….
Krissy – I would try to warm them if at all possible versus serving them cold. Try placing them in a foil-lined baking pan and covering with a layer of foil and warming them in a 200 degree oven for maybe 15-20 minutes? You’d have to check on time and make sure they don’t get dried out but reheating them on low heat in the oven should work. Good luck!
I made these last night for the first time- they were absolutely AMAZING! Im 14 and I made them with my brother (12) and they were really easy! I can not describe in words how heavenly they tasted 🙂 We will be making this recipe again! Thank you!
Mel- We’re doing a crepe bar after our baby’s blessing. I plan to make the crepes in batches during the days leading up to it while baby is sleeping and keeping them in the fridge, what do you think is the best way to reheat them when we’re ready to serve them? Or do you think it’d be best just serving them cold?
Michelle – I’ve never tried freezing it so I’m not sure how it would fare.
Do you know if it’s possible to freeze this dish before baking? This recipe sounds amazing.
Just made the crepe part of the recipe with mascarpone cheese mixture and fresh fruit. Your crepes are delicious. Next time I will definitely try the asparagus-that part of the recipe looks tasty!!
Oh I’ve always wanted to try crepes. Your pics make me want to try even more now.
Check out our delicious breakfast sandwich from today:
http://www.sistersplayinghouse.blogspot.com/2012/05/delcious-breakfast-sandwich.html
I pinned this recipe when you first posted it and we finally tried it tonight. I’ve never made savory crepes and have recently fallen in love with asparagus. Dinner was a homerun! I’m tempted to make them again Saturday night (it’s Tuesday now) so I can enjoy them Sunday morning for Mother’s Day! Thank you so much for another amazing recipe!
Also, I had another crepe in France. It wasn’t rolled though. It was kind of folded into a square, but not closed all the way. They cracked eggs and put cheese, diced ham, tomato slices and spinach in it… then baked it to cook the egg and melt the cheese. It was like a crepe/omelet that would make a great breakfast in the morning. Give it a whirl!