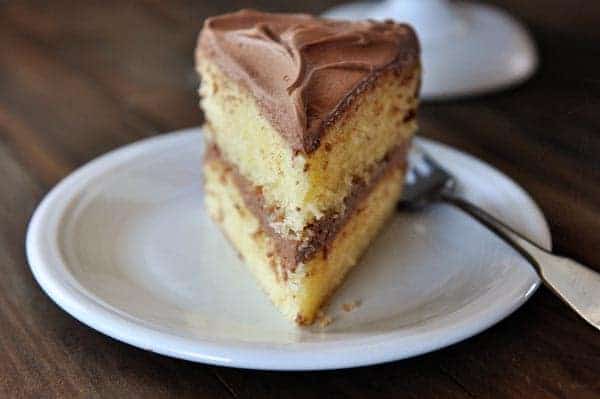
Best Homemade Yellow Cake Recipe Ever
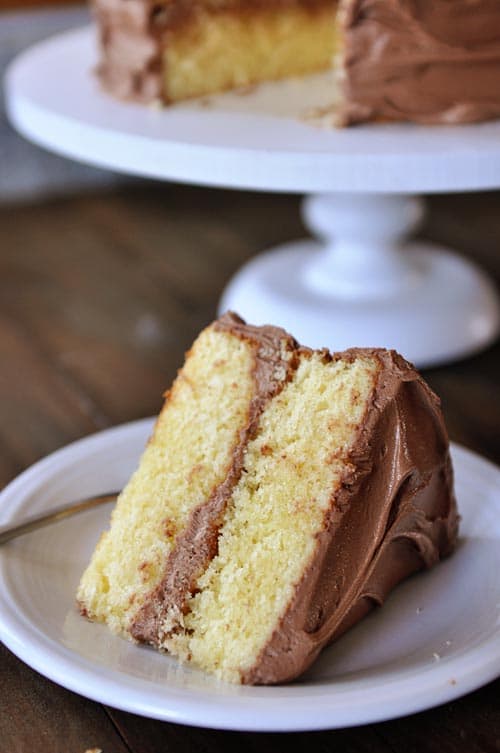
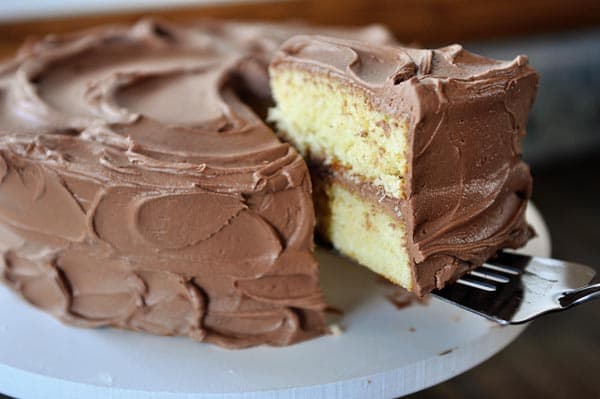
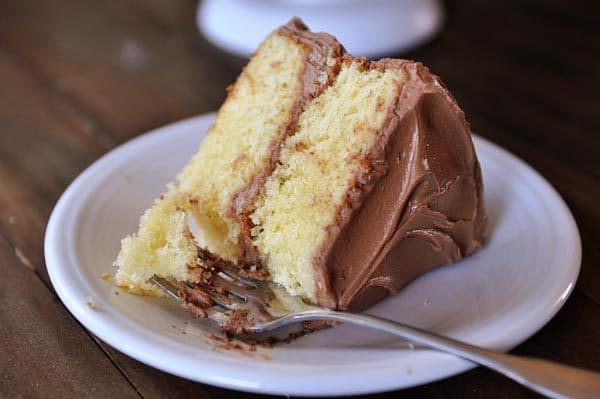
A tried-and-true recipe for a classic yellow cake recipe that really is the best yellow cake! Made from scratch, it is tender and so fluffy and moist!
Well, the day is finally here. As many of you know, I’ve been on a quest to perfect the best yellow cake on the planet.
And this is it.
While this post is a bit involved (I couldn’t help but share the testing results with you!), the truth is, the actual best yellow cake recipe is super simple so don’t let the explanations scare you.
If you follow the recommendations thoroughly, you’ll end up with the fluffiest, most delicious yellow cake ever.
The Evolution of Testing the Perfect Yellow Cake
When I first set out to perfect the best yellow cake, I started with three recipes popular online (David’s Yellow Cake from allrecipes.com, Deb’s yellow birthday cake from smittenkitchen.com and Cook’s Illustrated Yellow Layer Cake).
I made each of them as is. While I am a fan of each of these sites and resources, respectively, the cakes were all lacking to me.
David’s Yellow Cake was a little dry with kind of a weird, spongy texture, the cake from Smitten Kitchen was reminiscent of cornbread and the Cook’s Illustrated yellow cake was by far the driest of them all.
I set about modifying ingredients and amounts and methods and while someone smarter than I probably could have pared the testing down to just a couple of cakes, what can I say, it took me a while.
Ok, let’s talk…
I’ve jotted down all the details of why the type of ingredients/method matters for this cake. Read on, read on!
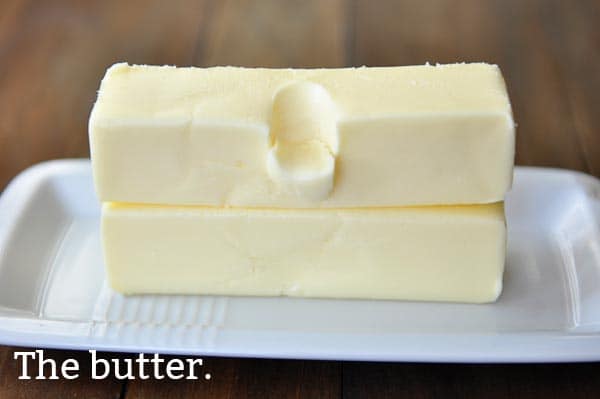
The Butter
- I’ve mentioned it before, but I rarely use unsalted butter.
- I tested this cake with both unsalted and salted and adjusted the salt amount accordingly. In the end, there wasn’t a difference in outcome, so I stuck with my go-to: salted butter.
- I use the Land o’ Lakes brand mostly (sometimes the Sam’s Club brand). If you want to use unsalted butter, increase the salt to 1 teaspoon.
- Also, butter temperature really matters. It should be soft enough to gently slide a finger through with a bit of pressure but not sludgy, greasy or overly soft.
- The time I accidentally used overly soft butter (uh, it somehow stayed on the counter for, like, 12 hours because even though I love baking, my five kids still take precedence over making a yellow cake), it resulted in a greasy, weirdly spongy cake.
- I did not test this cake with margarine, coconut oil, shortening or the like so you’ll have to experiment with those if desired.
- Also, whipping that butter for a good 1-2 minutes is extra important. And beating the heck out of it and the sugar for another 4-5 is non-negotiable. Doing this creates air which helps create fluffiness in the baked cake.
- The cake(s) that I tested where the butter was minimally whipped were not nearly as fluffy. And fluffy = greatness.
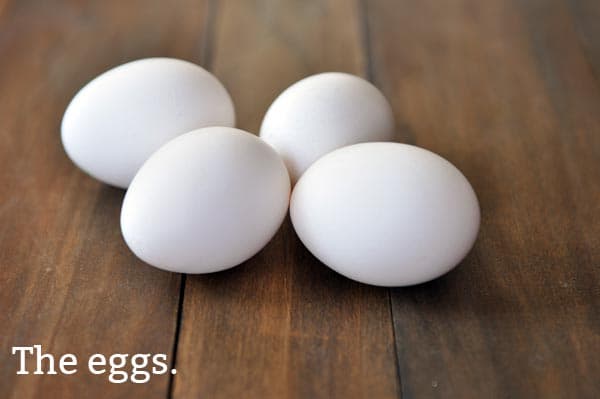
The Eggs
I know, I know. Using room temperature eggs is a total pain in the behind.
I’m right there with you! I hate recipes that require it. And so when I first started testing cakes, I refused to do it.
And my cakes were looking like this:
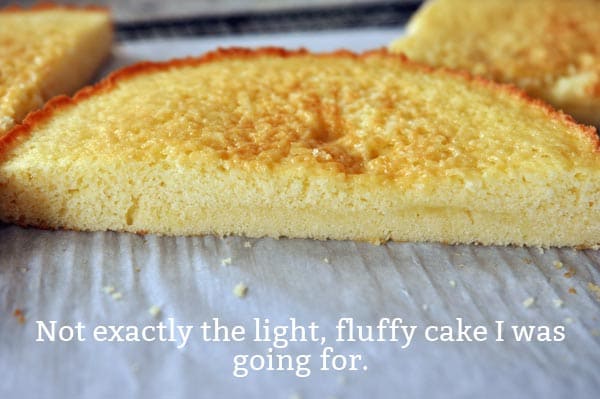
- So I crumbled, no pun intended, and used room temperature eggs the next time I made a cake and the difference was remarkable.
- Light and fluffy…where before the cake was slightly dense and a bit crumbly.
- There may have been other factors at play, but as I messed around with the recipe, it was very, very clear that room temperature eggs are important.
- If you are like me and often forget to plan in advance, don’t fret – place those chilled eggs in a bowl or liquid measure filled with very slightly warm water for 15-ish minutes and you’ll be good to go.
- Speaking of the eggs, in my testing, I ended up scaling down the whole eggs from four to three and adding an egg yolk or two to replace the missing whole egg – two egg yolks managed to be the perfect answer.
- Egg whites add structure but can take away moisture from baked goods, hence the three whole eggs + two egg yolks in the recipe.
- Don’t be like me and get tempted to sub a whole egg for the two egg yolks. You’ll get a pretty decent cake but not a fantastic, best-ever cake.
- However, when I used all egg yolks and no whites, the cake was slightly gummy and not as fluffer-fluffy as I wanted.
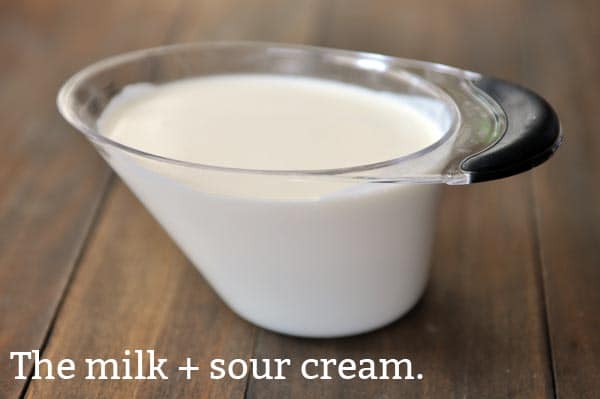
The Milk + Sour Cream
- I was sure that plain old milk was the only liquid I needed in my cake.
- At about cake #10, I was fairly positive it needed to be one cup of whole milk, even though the thought made me cringe since I never have whole milk on hand.
- I was befuddled why I was getting a really, really good cake that was still just so, very slightly dry.
- In the end, it wasn’t necessarily dryness but a lack of tenderness I was noticing.
- And the adjustment of sour cream to compensate for the reduced milk did just the trick (plus adding baking soda in for the acidity in combination with the already present baking powder, which took a couple rounds because I misjudged the amount of baking soda at first and there was so much leavening power in the cake that it sank in the middle…badly…however, once the baking powder and soda were adjusted accordingly, the cake was magnificent).
- The real plus was that after I added sour cream, I used 1% milk instead of whole without sacrificing any moisture or tenderness.
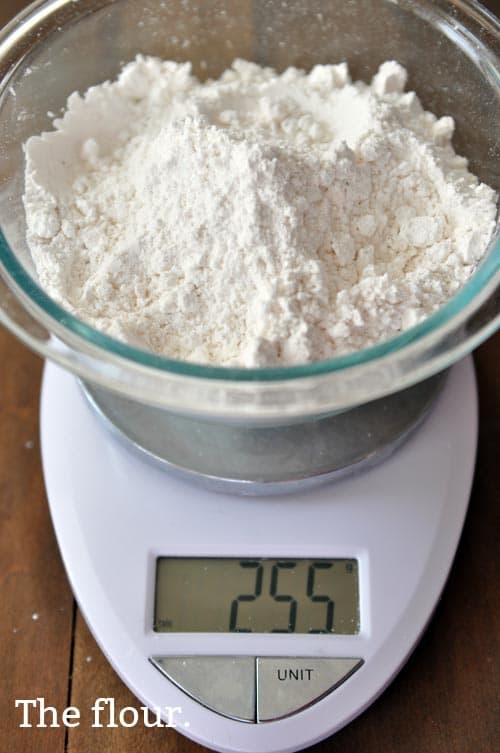
The Flour
- As much as my heart wanted a fabulous yellow cake without having to use cake flour, it didn’t happen.
- The cakes I made with all-purpose flour were dry and dense with a much coarser crumb, slightly reminiscent of dry cornbread.
- Cake flour is lower protein than all-purpose flour and also has a finer texture (thanks to the starch in it) which results in a much finer crumb in a baked cake. The good news is that even though the recipe requires cake flour, you can make your own (my kitchen tip from yesterday gives you two super easy methods).
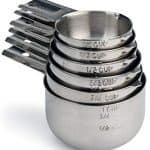
- If you have a kitchen scale, use it. You’ll get very precise results.
- If you don’t have a kitchen scale, buy one. Ok, just joking. Kind of. I know not everyone can do that (but you should really put it on your wish list). If you are measuring using cups, measure with a light hand. Spoon the cake flour into the cup and gently level off with a flat edge.
- For this recipe, if you are making your own cake flour, don’t mess with making one cup at a time, instead, I’ve done the math for you: you’ll need 210 grams of all-purpose flour and 45 grams of cornstarch. Sift it twice. Then add the baking powder, baking soda, salt and sift once more. Make sense?
- Also, for high altitude, I’ve got your back. Ok, actually, my friend, Lisa, has your back. She tested this recipe for me – she lives at 5,400 feet elevation.
- She made the cake twice, the first time it fell significantly. She added an additional 2 1/2 tablespoons cake flour (if using a homemade cake flour substitute, that would be about 2 tablespoons all-purpose flour and 1/2 tablespoon cornstarch) and the cake baked up perfectly (along with a slight increase in baking time and buttering the heck out of the pans).
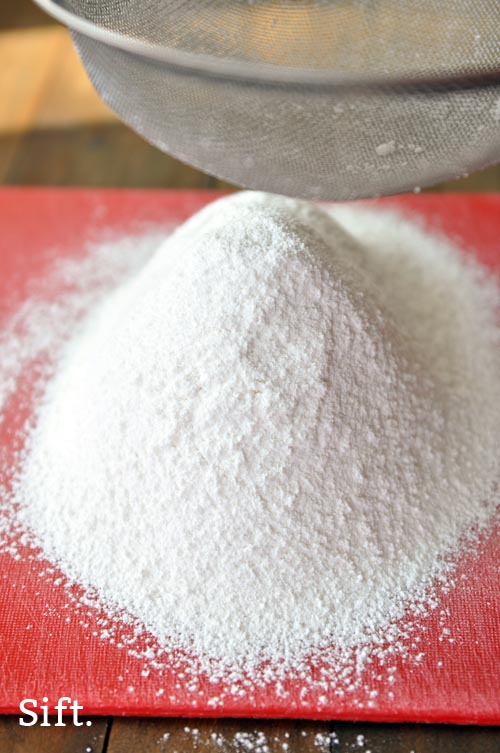
Sifting
- This sifting action, called for in the recipe, is in addition to any sifting you may have done if you are making your own cake flour.
- You don’t need to sift twice, just give the flour, baking powder, salt and baking soda a quick sift through a fine mesh strainer.
- This was one of the last variables to add to the best yellow cake recipe. The last few cakes I made were so good. But just not quite there.
- Once I sifted the dry ingredients prior to incorporating into the batter, the results were far superior – lighter and fluffier (let’s see how many times I can use those two descriptors in this post).
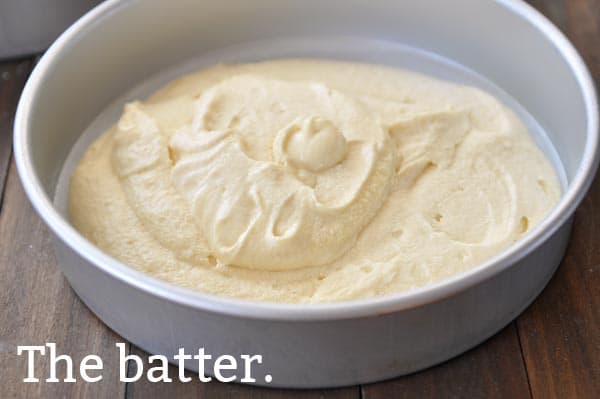
The Batter
- Ah, the gorgeous batter. It may look just slightly curdled and that’s ok.
- Spread it evenly in the pan, and give it a quick tap or light drop on the counter.
- When I didn’t do this, there were significant air bubbles in the baked cake. You don’t want to drop it from the rooftop like a crazy egg-drop challenge and you don’t need to tap more than once, just a quick light drop will suffice.
- I only ever baked the cake in two 9-inch pans to keep testing criteria similar, however, I think it could also be made in three 8-inch pans.
- Cupcakes and sheet cakes will have to be an experiment until someone reports back. I have them on my radar also, but it may be a little while before I actually try them.
- As for the cake pans, significant greasing (with butter and cooking spray and possibly flour, too) is needed for the cake not to stick. I also line the bottom of the greased pan with a parchment round that I’ve cut out and then grease the top of it.
- My magic number for baking was right at 27 minutes; however, keep in mind that all ovens vary slightly.
- Lisa, my awesome friend who tested high altitude baking for me, needed more like 30 minutes for her cakes (she made the recipe twice).
One Year Ago: Six Recipes the World Forgot {Part 3}
Two Years Ago: Paprika Chicken Stroganoff
Three Years Ago: Naan – Indian Flatbread
Perfected Yellow Cake
Ingredients
- 1 cup (227 g) butter, softened to room temperature
- 1 ¾ cups (371 g) granulated sugar
- 2 teaspoons vanilla
- 3 large eggs, room temperature
- 2 large egg yolks, room temperature
- 2 ¼ cups (255 g) cake flour, lightly measured, see note for high altitude adjustments
- 1 ½ teaspoons baking powder
- ¼ teaspoon baking soda, see note
- ½ teaspoon salt
- ½ cup milk, 1% or above, room temperature
- ½ cup sour cream, light or regular, room temperature
Instructions
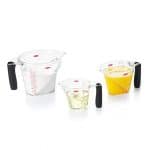
- To prep, whisk together the milk and sour cream together in a liquid measure and let come to room temperature.
- Preheat the oven to 350 degrees F and make sure an oven rack is placed in the middle of the oven.
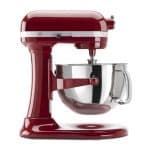
- In a large bowl of an electric stand mixer or with a handheld electric mixer, whip the butter on medium speed for 1-2 minutes. Add the granulated sugar and beat for 4-5 minutes on medium speed. Mix in the vanilla.
- One at a time, add the eggs and egg yolks, mixing just until combined in between additions. Scrape down the sides of the bowl as needed.
- Combine the cake flour, baking powder, baking soda and salt. Sift them together through a fine mesh strainer.
- Add 1/3 of the dry ingredients to the batter and mix just until combined, scraping down the sides of the bowl as needed. Add 1/2 of the milk/sour cream mixture and mix. Add another 1/3 of the dry ingredients, mixing just until combined. Add the last 1/2 of the milk/sour cream mixture and beat until just combined. Add the final 1/3 of the dry ingredients and mix just until combined, scraping down the sides of the bowl if necessary. Give the batter one good, final stir with the rubber spatula.
- Grease the cake pans and line the bottoms with a parchment round. Grease the parchment and sides of the pan again very well. I use regular cooking spray but you can also use butter or cooking spray with flour. If your cake pans tend to cause sticking, consider also flouring the pans.
- Divide the batter evenly between the two pans. Drop each pan from about 3-inches onto the counter to minimize air bubbles while baking.
- Bake for 25-28 minutes (high altitude: 28-30 minutes) until lightly golden around the edges and a toothpick inserted in the center comes out with moist crumbs. Resist the urge to open and close the oven to check on the cake – this can cause the center of the cake to fall and never recover. And as with all cakes, don’t overbake or the cake will be dry.
- Let the cakes rest in the pans for 5-10 minutes before gently turning them onto a cooling rack to cool completely.
Notes
Recipe Source: Mel’s Kitchen Cafe
Special Thanks To…
A special, super, huge thank you to two very important people (I kind of feel like I’m giving an acceptance speech at The National Convention for Best Yellow Cakes here):
Nicole, a wonderful friend of mine, was the one who finally gave me the insight I needed for the last step in perfecting this cake (a huge blessing because I didn’t know if I honestly had another yellow cake in me and her advice resulted in the.perfect.cake) and Lisa, sweetest sweetie ever, who willingly tested this cake for me (multiple times) in order to provide all you high altitude dwellers with essential tips for success.
Thank you, thank you, thank you!
This turned out well. I’m in San Diego and added extra 1/4 teaspoon of baking soda. Followed recipe and baked in 2 round cakes. The chocolate buttercream frosting was decadent and spread perfectly.
A couple of questions:
1. What role specifically do the egg yolks play in this recipe? I know someone who is allergic to eggs. I’d like to try adapting this recipe to be egg-free. Replacing the entire egg (yolk + whites) is more straightforward, but it’s a bit more complicated when it’s just an egg yolk.
Are the egg yolks more for the texture of tenderness, or more for the moisture (like the milk and sour cream)?
2. I’m having a little bit of an issue with the baking time. I’ve made the recipe as is, the toothpick test comes out as just liquid-y batter. I’m at sea-level, so that is not the issue, I don’t think. I’ve had to let it bake for a little longer than 30 minutes sometimes, so I’m just wondering what it could be.
The egg yolks assist in leavening and also contribute to the richness in the crumb and also the moisture (adding more egg yolks makes for a more moist cake vs using whole eggs or just egg whites).
The baking time (or having to add time) could be the discrepancy in actual oven temperature. Every oven differs just a bit so if your oven bakes a bit cooler than mine, that could be part of it.
This was SO GOOD- and satisfied major craving- though did have to bake twice as am very dumb and did not realize ‘cake flour’ was different from ‘self- rising cake flour’ but it was so magical when I actually used the correct ingredients – worth it!
I tried the recipe in a 9×13 metal pan with greased parchment paper for 40 minutes on 350 and it did great. I did add 1/4 more baking powder. Put Chocolate icing and it is delicious.
My husband’s absolute favorite!
Thanks for all your work on perfecting, as so we didn’t need to do any tweaking!
Can this be made in a 12-cup Bundt pan?
Thank you.
F. Monteleone
I haven’t made this cake in a bundt pan, so I’m not 100% sure, but I think it should work ok (although the amount of batter might be better in a 10-cup pan?)
I want to make this in an 11×15 rectangular pan. How would I alter the measurements and baking time?
I have not tested the recipe in a baking pan of that size, and I don’t want to lead you astray, so you’ll need to experiment if baking in a different pan size. Just based on the area of that pan, you might try increasing the recipe by 1/2 and go from there?
I love your recipe! I’m going to try make it today with a 9 X 13 inch rectangular pan. Do you know how long I would bake that for? Also would I have to use two 9 X 13 pans or just one? Thank you so much!
The batter should fit in one 9×13 inch pan as long as the sides of the pan are 2 1/2 to3 inches high. Baking time will likely be around 30-35 min but check often to be sure.
I tried several yellow cake recipes with iffy results and was running out of time, so I thought I would just make this one without a test run and modify it too! The risk (and your hard work on the recipe!) paid off. I swapped out 1 stick of butter for 1/2 C vegetable oil (I find this makes for a moister cake and I wasn’t going for maximum fluffiness). I also did 1 C buttermilk instead of the milk/sour cream combo since that is what I had on hand. It came out really nice! Didn’t rise in the center at all (I am at sea level, I didn’t add extra baking powder or adjust the temp) but it was exactly as fluffy as it needed to be for my purposes, with no dense or deflated sections. Rich, flavorful, moist cake that was a huge hit when combined with raspberry filling and chocolate icing. Thank you!
If I don’t have a fine mesh sifter what do you reccomend?
Do you have a regular sifter with a turn handle? If not, you can try whisking together or blending the dry ingredients for a bit in a blender to really combine them.
This is an AWESOME cake recipe. I was searching for a delicious, flavorful cake recipe that had a tender crumb. This one fits perfectly with my search. I will keep this as my go to for cake. I made cupcakes with it. My only problem is how do I get a rounded raised top for cupcakes because mine are flat. Do you have any suggestions?
Hi Sheri, this recipe was tested for a cake – I haven’t gone headfirst into the cupcake testing territory yet but it’s possible that using a higher baking temperature and reducing immediately when the cupcakes go into the oven might help.
Made this today for because I’ve never made a yellow cake before and it sounded good. Followed the recipe exactly(caveat ; added 1/4 tsp baking soda) using my scale to measure the flour and sugar exactly.
Came out perfectly. Just dense enough, buttery with a good crumb, good flavor. Frosted with a chocolate fudge frosting I found. This is a keeper and I don’t think I’ll be using any other yellow cake recipe. All your hard work has certainly paid off.
I am trying this recipe for my youngest son’s birthday on Christmas. I will let you know how it turns out. Also wondering if you have nutritional information, like calories, fat, carbs etc
It was wonderful, I use all organic ingredients. Boxed cake will never taste the same. I did let my ingredients come to room temperature.
Best chocolate frosting for this cake?
I love this one: https://www.melskitchencafe.com/perfect-chocolate-buttercream-frosting/
My girls and I made this for little sister’s birthday and followed your directions exactly. It is the best tasting cake I’ve ever made!!!! It reminds me of one we had from Whole Foods that was also amazing.
Thanks for the review, Marissa! Glad this was a hit!
I love this recipe! I did make cupcakes for my husband’s birthday so i could freeze them. This way he eats one at a time a they last for a couple of weeks instead of a couple of days.
This recipe made 20 cupcakes. I filled the cups up to about 3/4 full and cooked at 350 for 20 minutes.
Do you have a calorie count for this cake?
We’ve just baked this and it smells amazing. The problem is I don’t know how long we are supposed to wait before icing it with your buttercream icing. Help!
Let the cake cool completely before icing.
can this be baked in loaf pan
I have not tried that, Charles, sorry! Good luck if you experiment!
thank you
I have been making this recipe for years because it is the best I’ve found. I’ve never made it in round pans. I use solid, sturdy aluminum 9X13 pans, and always assemble them in two layers. I’ve made four recipes and put them together as a 18×26 double layer, and I’ve made two and double layered them. But most often, I make the one recipe in a 9×13, cut it half, and make a small 9x7ish double layer. The cake is the size of a shoe box. It gives me double layers and the ability to still yield 12-14 slices. I normally bake it about 30 minutes. I check it at the 28-minute mark, and bake in two-minute increments if not quite done. Your oven may vary. Follow Mel’s directions! Ask me how I know to do this from now on… 🙂
I’ve made this once before and found it amazing, and I’m a beginner.
Now I’m making it again and can’t remember what I did – do you use a stand mixer and if so do you recommend the paddle or whisk attachment for this? Thanks so much!
Oh and look, I’m the 1,000th comment! Yes, I’m very proud 🙂
A stand mixer with the paddle attachment works great.
Made this for my brother in law’s birthday, everyone enjoyed it. Will definitely use this recipe again.
Wonderful!
Mine fell in the middle also so I will experimant with levels of the soda. Also I normally use White Lily flour for baking but used cake flour this time. Will let you know!
Turned out great! Measuring ingredients’ weight in grams is a game-changer for baking. Thanks for this winning recipe, Mel!
I thought this was a delicious cake, easy to make, and perfect with chocolate icing!
I made this cake today. I used two 8×2 inch pans and two cupcakes…. I just ate one cupcake now. The taste was wonderful
, Light and airy. I will make this yellow cake. For a wedding end of this month this cake is a keeper..
.
Not sure but you made the same comment on a yellow cake recipe listed on Tastes better form scratch website. Did you make both? I rely on comments, but I’ve never seen the same comment one day apart on 2 different recipes.
I followed the directions exactly and increased the baking soda to 1/2 tsp as recommended in the notes. The cake layers both had huge craters in the middle despite doing the increased baking soda.
Can I use buttermilk instead of the regular milk? Does the milk have to be room temperature?
Yes, it’s important for the milk to be at room temperature. Using buttermilk may change the outcome of the cake, but you can experiment.
Tastes great. Did rise then fall(sink) slightly in the center. Also made cupcakes with this recipe. They tasted great. Baked I approximately 21 minutes. They also dipped a bit in the cent. Frosting covers it!
Mel is my go-to for anything after all of these years! I made this cake for my son’s birthday in June and my husband immediately requested it for his birthday two weeks later. The first time I made it I used unsalted butter and the second time I used salted. Without having them side by side I can’t really remark on a difference.
But please make sure to line your pans with parchment because my second cake (for hubby’s birthday) didn’t come out of the pans so I had to make a new cake, ugh. Needless to say, we tucked the messed up cakes into a container and it won’t go to waste. We already used it to eat up the excess frosting!
Will this equate to a 9×13? (I’ll drop the temperature a tad and increase time to bake even, just wondering about the yield)
Yes, this recipe can be baked into a 9X13-inch cake.
Update: I baked it up today. It is a bit thin for a 9×13, it raised to be about 1 inch thick. It’s light and fluffy, but not very raised. This may be a good note for those planning to make a 9×13 to increase the recipe a smidge (maybe by 1/3?)
Update: I baked it up today. It is a bit thin for a 9 by 13, it raised to be about 1 inch thick. It’s light and fluffy, but not very raised. This may be a good note for those planning to make a 9×13 to increase the recipe a smidge (maybe by 1/3?)
…looks like I’ll be running an impromptu test on this recipe, with a comparison layer (regular) and an oops layer. My house is having some kind of electrical issue and my oven shut off right when I finished mixing the batter. I will update what happens with this second layer and how long I had to let the batter sit before using.
Hello Mel, I loove this cake. This is the only one I make for birthday cakes. I just got an order for a marble birthday cake, and I was wondering if I can do the chocolate part with you Unbelievable Chocolate Cake, or The Best Chocolate Cake? I would really appreciate your input. Thanks!
Hi Leia! That’s a great question. I haven’t tried marbling this yellow cake with that chocolate cake recipe. The batters are quite different. The yellow cake batter is much thicker than the chocolate batter so I don’t know how it would work? Definitely worth a try but I’m sorry I don’t have more personal experience to share on how it might turn out!
Hi! While this is a tad late, I wanted to let you know that I marbled this recipe with her best chocolate cake one and it turned out lovely. I halved both recipes to end up with 1 regular batch.
I have made this cake many times at the request of family. It has always turned out wonderful. Last time my grandson wanted it for a birthday party. I doubled the recipe and cooked it in a whole sheet cake pan. It turned out perfect. Thank you for sharing this recipe!
Also wondering if heating rods are a good idea as it is a little large.
Hi Mel! I am making a half sheet 12x18x2 cake that will have your delightful yummy chocolate frosting. Do you think this cake will hold structure since it is so delicate? Thanks! 🙂
Also wondering if heating rods are a good idea as it is a little large.
I think it should!
Ok, I just have to give you a giant WOW! I usually don’t like to comment until I’ve actually made the recipe, but I couldn’t wait. I am so wowed by your dedication, and apparently your LOVE for all of your followers, to have tested this yellow cake recipe 16 times so we would all have the BEST yellow cake recipe EVER. And the blow by blow descriptions and steps you gave us go far and beyond what any other food blogger would do. Impressive Mel and all I can say is YOU ROCK !!!! ( and I owe it to you to try this recipe tomorrow)
I feel like they turned out perfect!! We’re not eating them till tomorrow though. This is my second time making a from scratch cake and I can not believe how perfect and even these look… I followed the directions to a T and they are so beautiful! Thank you for this fantastic recipe and wonderful step by step instructions!! I wish I could post a picture!
Thank you so much Mel for responding to my email and sharing your tips to me. I really appreciated them!
Darryl
Hi Mel,
I am looking so forward to Baking your perfected Yellow Cake this Friday, because I am having two friends over for a birthday party.
Your recipe and the reviews on it are amazing!
I just have two questions:
During the winter months, it takes me a long time to get my butter just at the right temp for baking cakes. I usually have to put it on the counter at least one day ahead before baking, I wonder if it is due to my house temp. The day temp in my home is around 62 and the night temp is around 56. I tried the microwave pulse method but that is not a good way to adjust the temp. Any tips would be highly appreciated.
Also, I have a kitchen scale but do not fully trust it or just not accustomed to it. If I fluff my flour before carefully spooning it in the measuring cup, would this suffice.
By the way, I live in Washington State.
Thank so so much Mel!!
Hi Darryl, yes I think it’s likely your cool house temperature means it takes quite a bit longer for the butter to soften. I found this tip online: Pour very hot water into a ceramic or glass cup or bowl (something that can fit over your butter). After a few minutes, dump the water out of the vessel and quickly cover your butter with the cup or bowl. The heat from the cup will soften your butter in just a few minutes. As for the flour, it’s really hard to judge the exact amount of flour in a cup, but if you don’t want to use your scale, I’d suggest fluffing the flour very well before scooping in the cup and leveling off.
What a great tip, Mel!
I will definitely use this trick next time I forget to pull the butter out of the refrigerator . Thanks so much for sharing it with us!
I love this recipe! I normally half the recipe and get 15 cupcakes using a 3 tbsp scoop and it turns out perfectly every time. This recipe is now my base for French Toast, Pancake, Eggnog, Golden Oreo and Cheesecake cupcakes. Thank you for doing all the testing!
I tried this recipe in a 9×13 pan and (stupidly) thought increasing the baking soda to guard against falling would help (as suggested in a note) and used 3/4 tsp. The cake did fall, perhaps not unsurprisingly. Do you have a suggestion for succeeding in baking this cake in a 9×13 pan?
Hi Martin, what elevation do you live at?
More or less sea level. Just outside of Washington DC.
My suggestion would be to make the recipe as is (don’t increase the baking soda), and consider baking it at 325 degrees for a bit longer so it doesn’t rise too fast in the oven and then fall. What type of baking pan are you using? Glass? Metal (dark, nonstick or light colored)?
Thanks for this. I used a glass dish but I realized that’s really a casserole pan and not a cake pan so I now own a beautiful USA Pan heavy aluminized steel 13×9 baking pan, which I will try with your suggested modifications on the next round. I will keep you posted. Despite the fall, the cake is still one of the most delicious I’ve ever tasted.
Let me know how it goes, Martin! I definitely think baking in an aluminum/steel pan like you have now will make a world of difference. Glass pans can be very finicky for cakes.
Weird
Glad but I got a new one thst is heavy aluminized steel. I will try again with your suggested modifications. Thank you for this delicious recipe.
Finally got to try this cake again in the new pan with the modification and it looks beautiful. I wish I could post a photo. I naked this with my 7-year-old daughter for a post-valentine’s day party were having tomorrow. We swirled in some colored sprinkles at the end to create a confetti effect and it seems to have worked splendidly. The cake took a good. 42-45 minutes to bake at 325° in the 9×13 pan though. Just heads up to anyone who wants to try this. Thanks again!
I have made this 4 or 5 times now! We love it. The very first time I made it, it was soooooo fluffy (literally). Now, I haven’t been able to make it as fluffy since, but I haven’t swayed away from this recipe. It is my go to! As of right now, I’m making cupcakes with this batter. I’m excited to see how they turn out because the batter was almost as fluffy as the first time!! Can you say excited after all my exclamation symbols? Lol
Could a person substitute Buttermilk in the recipe for the milk and leave out the sour cream?
Hi Linda, you’d have to experiment. Good luck!
Ever the experimenter, I decided to give this cake a try. The only change I made was to use Greek yogurt instead of sour cream. I followed the rest of the directions pretty much as written. (I did use 1/2 tsp of baking soda). I think the cake came out great. My cake pans are dark colored, so the cake was done at 25 minutes. Thanks, Mel . I think this will be my go to yellow cake from now on!
Yum! Thank you for spending so much time developing this recipe. I made this cake for my 94 year old mother who has been saying for years that she can’t find a REAL yellow cake anymore. This cake is delicious. D -licious! Moist and light. and I used your chocolate buttercream frosting – also ridiculously amazing. I followed the cake recipe to a T except used 1/3 tsp baking soda. perfect rise. Thank you and I’ll let you know how it tastes after freezing it. I stashed a little away for myself.