Let’s Talk: All About Milk Kefir
Every time I mention kefir in my posts, I get a lot of questions and requests to share more information (and I’ve even sent kefir grains to some of you over the last year or so!). Today’s the day I finally got my lazy buns in gear and put a post together about one of my favorite subjects: milk kefir. Yes, I’m a nerd, but I really, really love talking about kefir (I need to get new hobbies).
If you have no idea what kefir is and why I’m talking about it, read on.
I can honestly say, milk kefir has totally changed my family’s life in a good way. We drink it every single morning (and I use it in breakfast foods and baked goods in place of buttermilk), and I’m not exaggerating even a bit, but over the last 18 months since we’ve been making and using it, we have been sick far less than we used to be (and some of my kids who deal with daily tummy troubles are doing a million percent better).
I should not even say this out loud, but I cannot remember the last time someone in my family got the stomach flu (and yes, I know because I just put that out there that one of my kids will come home from school puking today). And maybe I’m just dreaming or I’m delusional, but I swear, overall, we’re just plain healthier ever since we’ve been consuming kefir.
I know I sound like an infomercial, but I can’t help that I’m passionate about the stuff.
I had never heard about milk kefir until a couple years ago. Interestingly, it was several of you (my lovely MKC readers) who introduced me to the idea. When I found out that it was basically like drinkable yogurt with many more probiotics and good-for-you yeast strains (it’s even great for many lactose intolerant people), I decided I wanted to learn more about it. So I began reading up on milk kefir, and it didn’t take long for me to realize I wanted to start making it myself.
This is one of the first articles I came across about milk kefir. Because there are many other resources online that are absolute experts when it comes to milk kefir. I’ll leave it to them to give you the nitty gritty on milk kefir, its history, all of the many benefits, and much more info. Today, I just want to touch on the basics: how I culture my milk kefir and what I use it for (and I’ve linked to a lot of external resources at the end of the post).
What is Milk Kefir:
Milk kefir, in short, is milk that’s been cultured or fermented to allow the good bacteria, enzymes and yeast to grow and produce, which in turn, makes it healthier and easier to digest. It is amazingly beneficial for gut health and is a huge source of probiotics.
Even though it’s similar to other cultured milk products, like yogurt and buttermilk, the process of making kefir (hint: it’s super easy) is what makes it unique. Instead of being warmed up and held at a certain temperature like yogurt, milk kefir uses reproducible kefir grains to culture the milk. It’s cultured at room temperature.
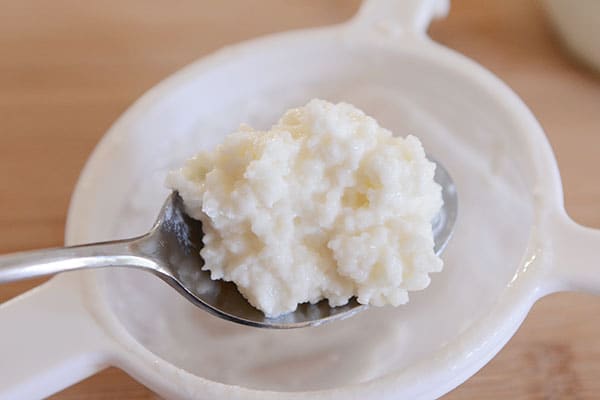
And no, the kefir grains aren’t actually grains (in the wheat sense) at all. They are actually little gel-like nubbins that look similar to cooked tapioca pudding pearls. They are a little squishy and might seem a bit weird, especially when you first start using them, but I promise, they are friendly. And if well taken care of, they’ll last forever.
How to Culture Your Own Kefir:
I culture either a pint or quart of kefir every day. I’ll tell you further below how we use it. But this is my process.

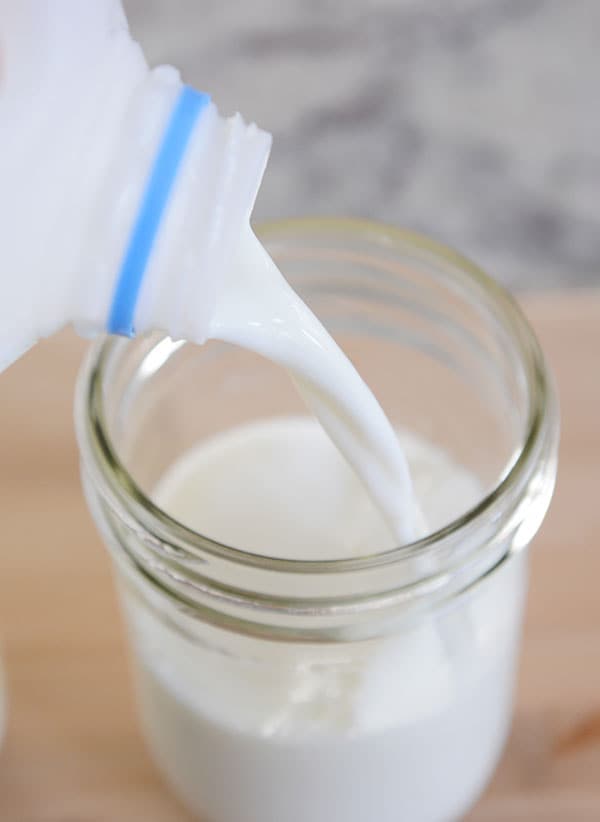
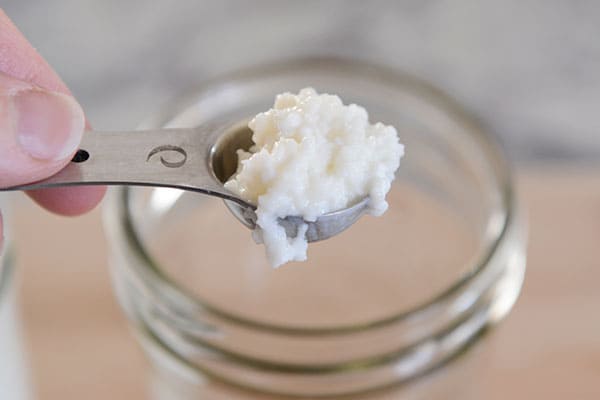
I put a teaspoon of kefir grains in a glass jar…
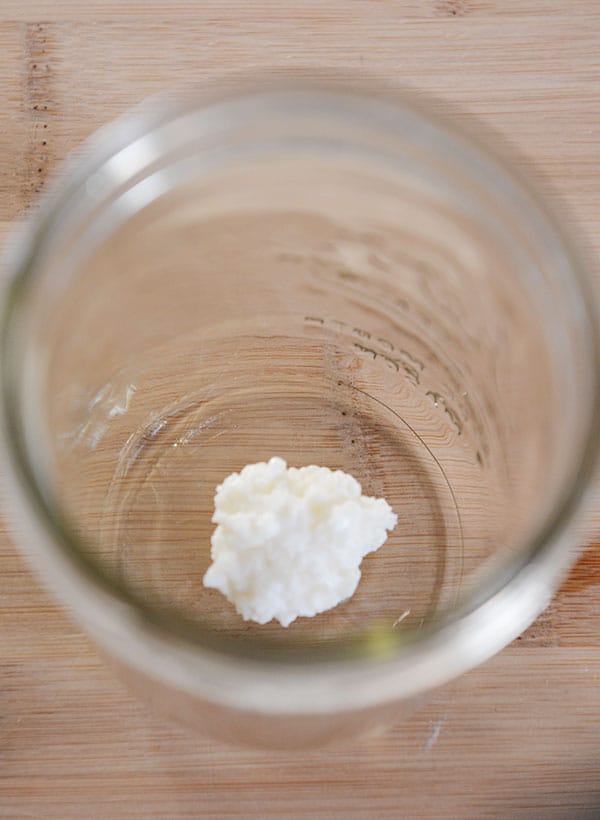
…and fill with milk (a scant teaspoon for a pint and a heaping teaspoon for a quart). I’ve found I don’t need any more grains than this (otherwise the kefir cultures too quickly and is more tangy than I like it).
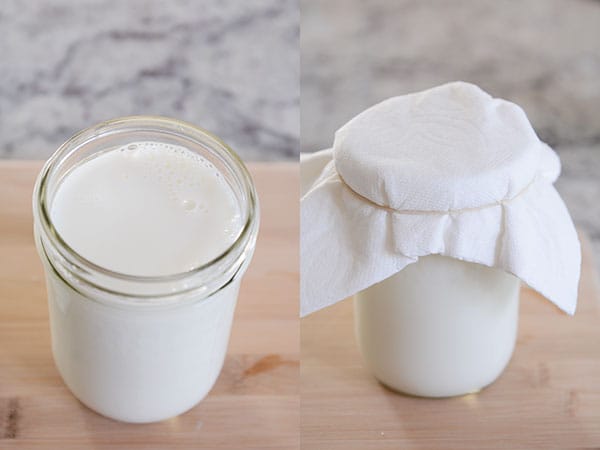
A note about milk: any dairy milk (cow, goat) or coconut milk will work great for kefir (avoid ultra-pasteurized milks – raw milk will work fine). I haven’t tried it with almond, soy or other non-dairy milks, but I’ve read online that they don’t work well for making kefir. The higher fat in the milk, the better for the kefir. I use 2% milk (from Costco) and it works like a charm.
I cover the jar with a folded paper towel (or coffee filter) and rubber band and let it sit at room temperature for about 24 hours. The warmer your kitchen is, the faster it will become kefir.
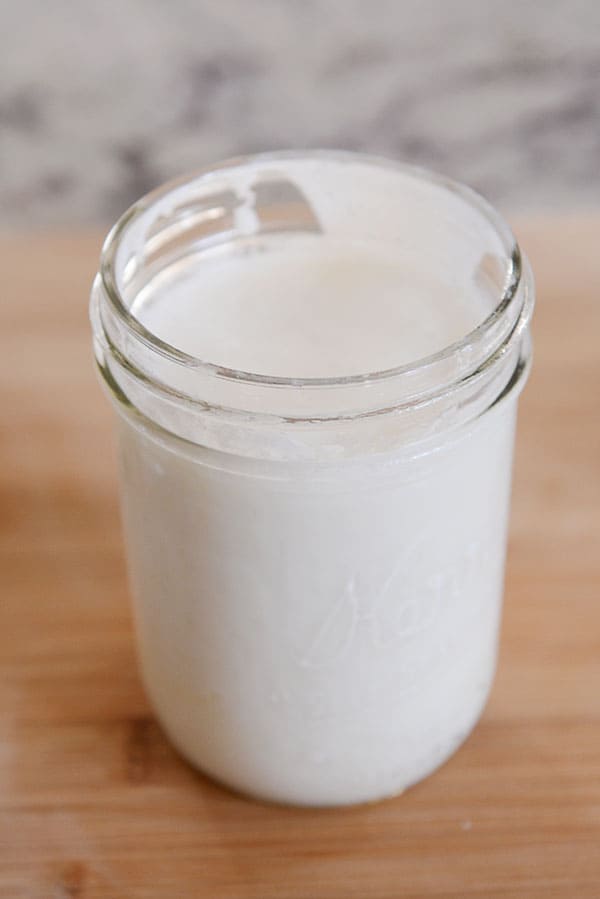
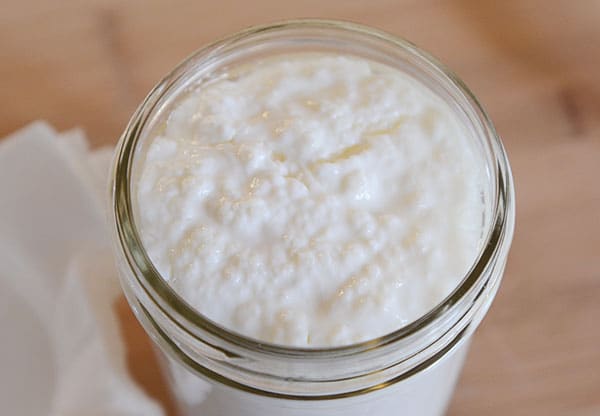
When I start to see little pockets and air bubbles in the milk, I know it’s ready to be strained.
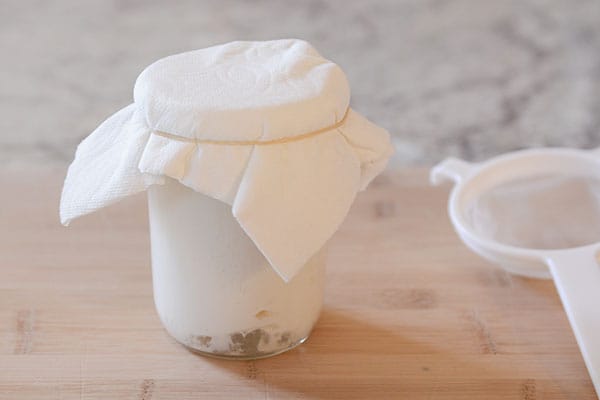
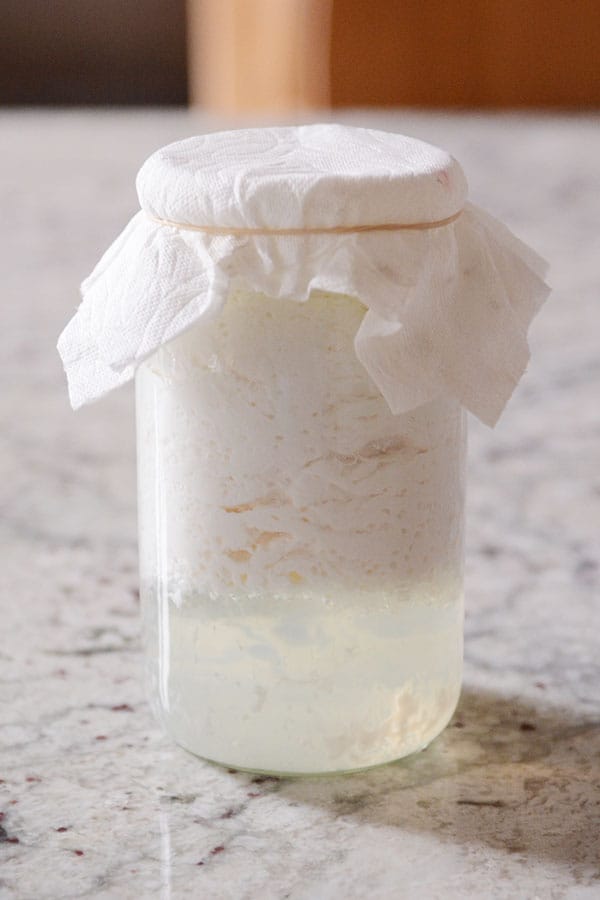
The longer it cultures, the more tart it will be. I try to catch it just as it’s starting to form those air bubbles I told you about. This is what it looks like when you’ve been a kefir slacker. Those kefir grains are starving! They need some fresh milk ASAP.
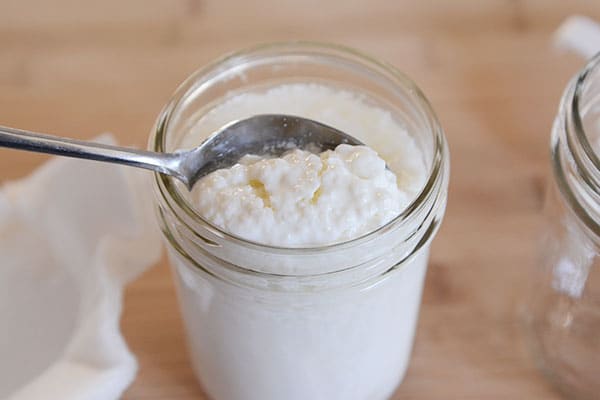
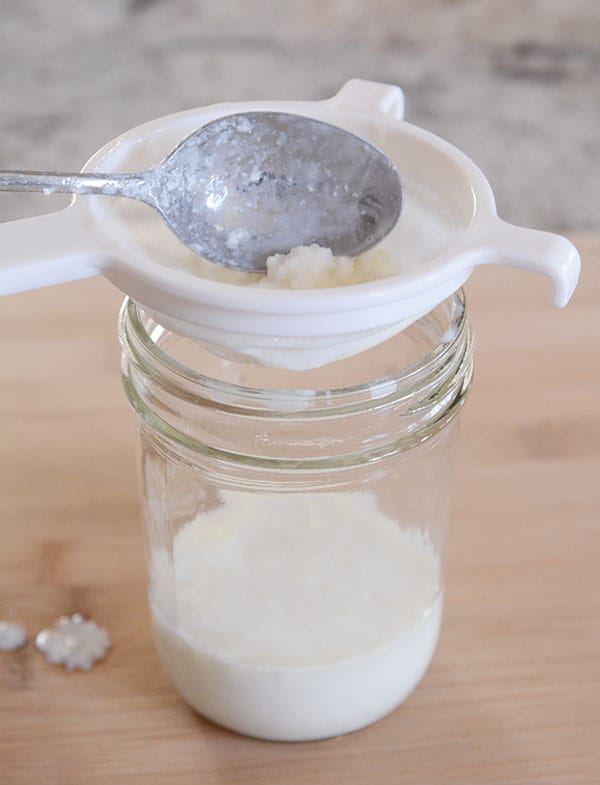
When you take the folded top off the jar, you’ll see the kefir grains clumped near the top of the milk (except it’s not milk anymore, it’s kefir!). I have friends who simply scoop out the kefir grains instead of straining, but I don’t like doing it this way (I always seem to miss some of the grains and find it’s easier to just strain it).
I give the jar of kefir, including the grains, a little stir to recombine.
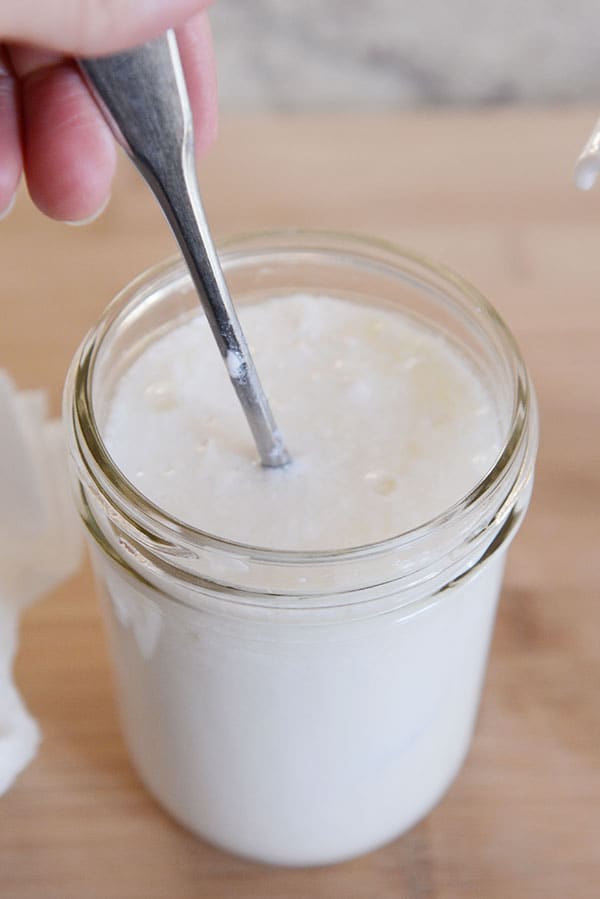
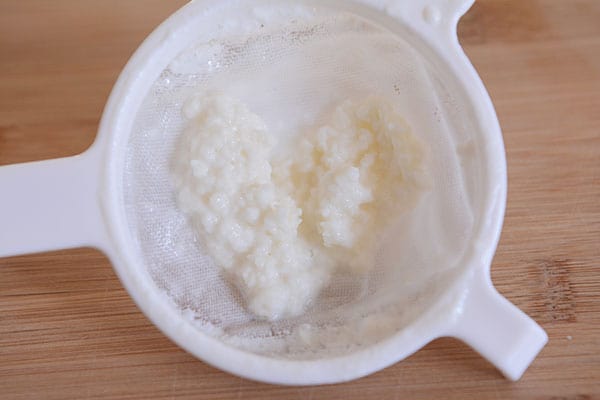
And then I gradually pour the newly cultured kefir into my plastic strainer (experts say the grains shouldn’t come in contact with reactive metals so I bought an inexpensive plastic strainer to use, but I know others use metal strainers with no problems), stirring it and pressing every so slightly so the kefir drains through the strainer into a clean jar, leaving the kefir grains behind.
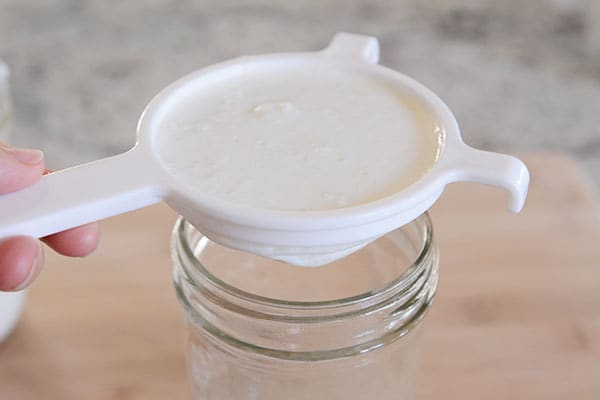
Every day, there are a few more kefir grains left in the strainer – those kefir grains feed off the sugar in the milk, so they continue to grow and reproduce. Because I only need a teaspoon of grains to continue the kefir making process, I use the excess grains for a couple things:
a) I either give it to a friend who wants a kefir start (or who has managed to kill theirs and needs a new start, ahem) or
b) feed it to my chickens or put it on top of our dog, Maggie’s, food (it’s good for animals, too!).
I plop the strained kefir grains into an empty, clean jar, fill with milk, and the process starts all over again. And never fear – if you need a break from kefir (or are going on vacation and don’t want to find a kefir babysitter), simply put it in the fridge once you add the milk to the newly strained grains. It can stay in the fridge for a week or so and be just fine.
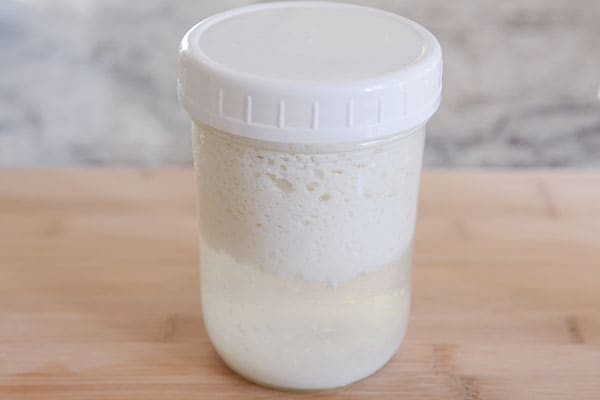
The kefir that was strained is ready to be enjoyed! OR, you can be like me and let that jar of kefir (remember, it doesn’t have any grains in it – it’s the strained kefir that already cultured for 24 hours) go through a 2nd ferment.
Basically, I cap the jar and let the kefir sit at room temperature for another 6 to 12 hours. This actually increases the probiotics in the kefir AND mellows out the tangy, strong flavor. I highly recommend doing this if you are new to kefir and are getting used to the taste; some people will throw fruit into their kefir as it 2nd ferments, but I do not.
As it 2nd ferments, it will start to get the same air bubbles as it did when it was first becoming kefir. Eventually it will separate into thick kefir on the top and whey on the bottom. I shake it up and put it in the fridge to use later (and to be honest, I prefer to put it in the refrigerator to stop the 2nd ferment long before it separates this much).
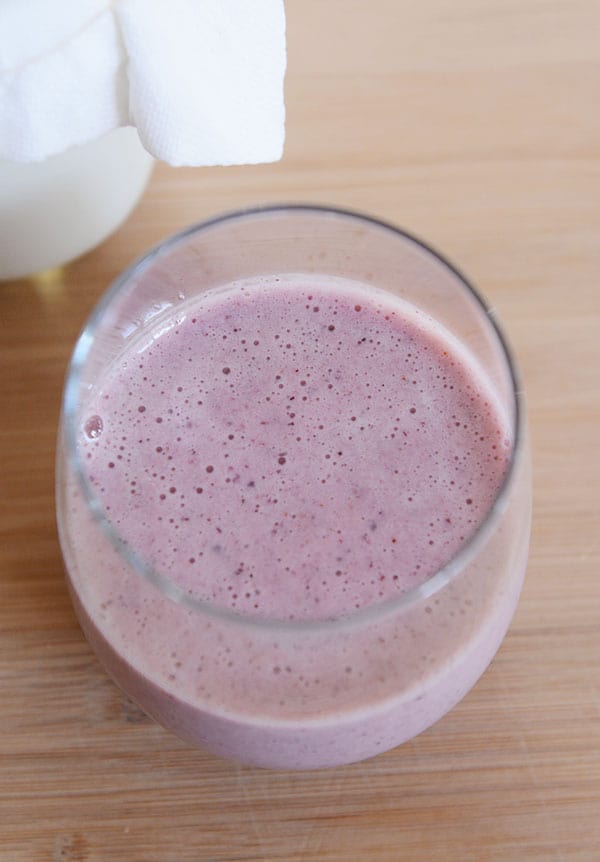
95% of the kefir in our house is used in our morning smoothies. The other 5% I’ll throw into baked goods or pancakes in place of buttermilk. The health benefits decrease when the kefir is exposed to heat, like in baking, but the baked goods are still delicious (super tender and light and fluffy). I have a killer whole wheat kefir pancake recipe that I make at least 1-2 mornings a week.
I don’t have an official recipe for our breakfast smoothies but they usually consist of:
2 cups kefir
a very ripe banana
some orange juice
whatever frozen fruit I feel like adding (and often a handful of spinach)
If the kefir is overly tart, I’ll add a drop or two of agave nectar or honey. That’s it!
If you’ve ever been a guest in my home, there’s a 100% likelihood that you’ve been served a kefir smoothie in the morning.
Culturing kefir and making morning smoothies is so much a part of our routine, I’ve forgotten what life was like before milk kefir came into my life!
Keep in mind that because milk kefir is full of probiotics, and particularly if you have a sluggish gut (I never thought I’d use that phrase in a blog post, ever), you might have an adjustment period when you first start drinking milk kefir (um, I won’t go into the actual details of what the adjustment period might entail since this is a food blog and all). I don’t remember any side effects when we first started drinking it, but I read a lot online about that potential adjustment period and feel the need to issue the disclaimer.
Anyhow, there you go! Milk kefir. We love it. I’d be happy to answer any questions you have in the comments below!
If you are interested in learning more, here are some great resources:
Yemoos (a comprehensive resource for all things kefir)
Cultured Food for Life (this is the website that first taught me about kefir)
Where to Get/Buy Kefir Grains:
First, try to find someone local that cultures kefir (just ask them; their kefir grains are multiplying and they’ll most likely want to pawn off the excess)
OR
Here are a few online resources:
Cultured Food for Life (this is where I bought my grains from a year or so ago and they are still going strong)
Yemoos Market
*Note: from all the reading I’ve done, it isn’t highly recommended to buy a powdered/dry milk kefir start. If at all possible, try to get a live set of kefir grains; they’ll last longer and produce better and healthier kefir*
So what do you think? Are you weirded out or is milk kefir already part of your life? Do tell!
Hello Mel, I read your post about Kefir a few years ago and found it to be interesting but was not moved to try it. A couple of years later, my teenage daughter frequently experienced stomach discomfort and pain. After several unsuccessful attempts to help her discover the reason for the discomfort and help alleviate it, I remembered your kefir post. I ordered grains from Cultured Food Life (thanks for including that very helpful link) and started making and drinking kefir myself and then taught my daughter, who was now in college how to make it. It has helped so much with her stomach issues. The only time she still has trouble is if she gets too busy to make and drink kefir. As for myself, I have gotten very good at making thick, creamy, yummy kefir and have not had a single cold or any other sickness in the year that I have been drinking it. Thanks so much!
Thank you for sharing 🍊
Very interesting…I am grateful and excited to start milk kefir.
Can you make smoothie bowls?
I found your article from a link from Tidbits. I love Kefir especially in the summer when I can make kefir pops and frozen treats. Mango is one of my favorites. They are a little soft and take longer to freeze, Cocoa powder is my second favorite. I am going to try your suggestion for a 2nd ferment to make it less tart. and maybe it won’t be as soft. I will keep experimenting to get them more solid. Do you have any suggestions to get them less soft? I am so glad I found your site.
Hi,
I also use 2% milk but I started adding a heaping teaspoon of sour cream BEST EVER just like yogurt and taste great.
Thanks for the tutorial, was very helpful. I thought I was doing something wrong because my kefir came out horribly at first.
I had ordered grains from “Fusion Teas” “tom egbert” because they had decent reviews. But no matter what I did, the kefir smelled and tasted absolutely horrid! After reading this post, I realized I was doing everything correctly. So I ordered new grains from a popular and long standing kefir seller on Etsy.
WOW!! The difference was night and day. Right away I noticed the new grains were performing much better and looked so much healthier. Then I wrote a review on Amazon and noticed it was deleted soon after, tried to repost it and it was deleted AGAIN, without notice. Makes me wonder how many of the positive reviews are even genuine?
I had no idea Amazon deletes reviews like that. Really not sure why, maybe because I mentioned ETSY? I don’t know, but Fusion Teas completely ignored my messages when I emailed them. Think I am going to buy from ETSY more often from now on, really put off from Amazon by the whole experience.
I love kefir & I want your pancake recipe! Have you ever done anything with water kefir? I just bought a pack and I was going to give it a try.
I have never used or made water kefir – sorry!
Thanks for a great, detailed post on Kefir! I just started making my own and all the details and pictures you included were very helpful! Especially why you would want to do a second ferment and how it looks when it’s over fermented. I use it mostly in over night oats and smoothies. I love using buttermilk in baked goods, but I think kefir is even better!
This is AWESOME! I’ve been buying yummy, but expensive kefir from my market and who knew it’s easy to make?! Thank you so much for providing this info.
I’ve been reading a lot about the gut/microbiome lately and we need to feed it fermented foods (probiotics) as well as lots of fiber (prebiotics), in lots of varieties to stay healthy. Kefir is a wonderful part of a diet.
Love this post! We’ve been drinking kefir smoothies for several years! (My husband got a start from a guy at work.) I do it a little differently. I usually have about 1/3-1/2 cup of grains in a quart mason jar. I add appx. 2 cups of organic whole milk. Then cover with paper towel and put in a top cupboard all day. Before I go to bed, I put the jar in the fridge as we like it cold. In the morning I strain and repeat the process. I make smoothies for three of us. In each smoothie I add a half of banana, a few pieces of pineapple and either a strawberry or two or split up in thirds a pear, orange or apple. My husband gets about a cup of kefir and my son and I divide up the other cup. So good! It has definitely helped my husband’s ulcerative colitis. His last colonoscopy showed no trace of it!
Do Torani flavorings kill kefir?
I make kefir from Lifeway Kefir as a starter.
Hi, I don’t yet have my kefir grains, so I am making kefir by mixing in some of the last batch with fresh milk to culture on the counter for 24 hours. Di you think it’ll work if the starter culture has fruit in it?
I’m not sure – sorry! I’ve only ever cultured kefir with actual kefir grains.
Hi Mel!y kefir is tasting a little fizzy and smells really yeasty. I think I might have too much yeast build up and I need to balance to good bacteria. I was just wondering if you ran into this issue and what you did that helped? Thanks!!!
Hi Lucy, from what I know, letting it culture for less time will reduce the fizzy and yeasty taste.
Greetings.
I’ve had contradictory information about milk kefir grains. I’ve heard not to let your milk kefir get in contact with metal. I wanted to try my hand at yogurt and have an instapot however it is stainless steel so will that kill the probiotics in the milk kefir? And seeing as how I’m already asking question do I need special yogurt culture in order to make milk kefir yogurt or will the kefir grains themselves turn into yogurt? Thank you so much for your time have a blessed day
Hi Barbie, I haven’t used milk kefir or kefir grains to make yogurt, so I’m not sure. I’m sorry!
I accidentally threw away my grains after I had strained the milk . so now I have a jar of milk kefir, but no grains. Is there any way I can re culture my milk kefir to get more grains?? I’ve tried googling it and can’t find an answer anywhere, so I figured I’d ask you since you are my go-to kefir source! Thanks
Unfortunately, not! You have to use actual grains to culture the milk into kefir. Shoot! I’m sorry!
I just made keifer for the first time. It fermented in my pantry for about 32 hours, at 24 it still just looked like milk. At 32 hrs it had some cottage cheese look on top(a little)but I couldn’t really see any separation at the bottom. I emulsified some blueberries in it this morning and drank only a half cup and my stomach now feels sour. I guess I’m just worried i’m going to get food poison from drinking this, if I’m not fermenting correctly?
Thanks for the reminder that I LOVE KEFIR!!!!
I have been looking locally for someone who has Kefir grains. No luck.
Any chance that I could ask you to send me some? How would you even be able to do that?
Bonnie Mateer
270 Park Ave
Mount Joy, PA 17552
Hi Bonnie – unfortunately I don’t send out starters anymore. I’m sorry!
I make “yogurt” out of my kefir by straining it either in a yogurt strainer or nut milk bag. It’s also called kefir cheese. It’s already cultured, you just thicken it by draining off the whey. My son eats it with fruit mixed in or I use it to bake to replace sour cream or Greek yogurt.
For the second ferment, do you close the lid all the way, or leave it loose? Thanks for inspiring me to make kefir again – I used to make it years ago, but it has been a long time. Excited to start making it again! I had never heard of the second ferment!
I keep the lid loose…not sealed all the way.
Is the recipe for your kefir pancakes on your blog?
I don’t have a special recipe for them, I just add kefir in place of milk/buttermilk in other pancake recipes.
On the Yemoos website it says that leaving it out of the fridge for a second ferment will make it more sour. Have you found this to be true?
We don’t drink it plain so I haven’t noticed an overly sour taste?
I just got my kefir grains and have my first batch going! One question about making smoothies though- since the kefir is milk based, does it make the smoothies ‘frothy’ when you blend it?
I haven’t noticed froth (but I do add a lot of frozen fruit so it’s pretty chilled) – but it does add creaminess.
Can you make kefir with powdered milk. The powdered milk is usually skim milk but when I make yogurt, I usually add a bit more powder than the recipe calls for
I’ve never tried it with powdered milk, so I don’t know – sorry! You might try a quick google search.