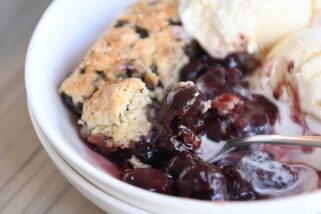
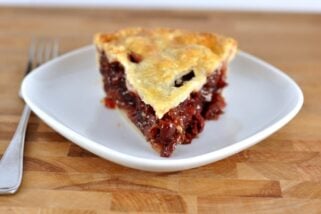
My Favorite Cherry Pie in the History of Ever
No, really, this is the best cherry pie EVER. Nothing hard or secret about it – it’s a classic! Notes included in the recipe for using sour OR sweet cherries.
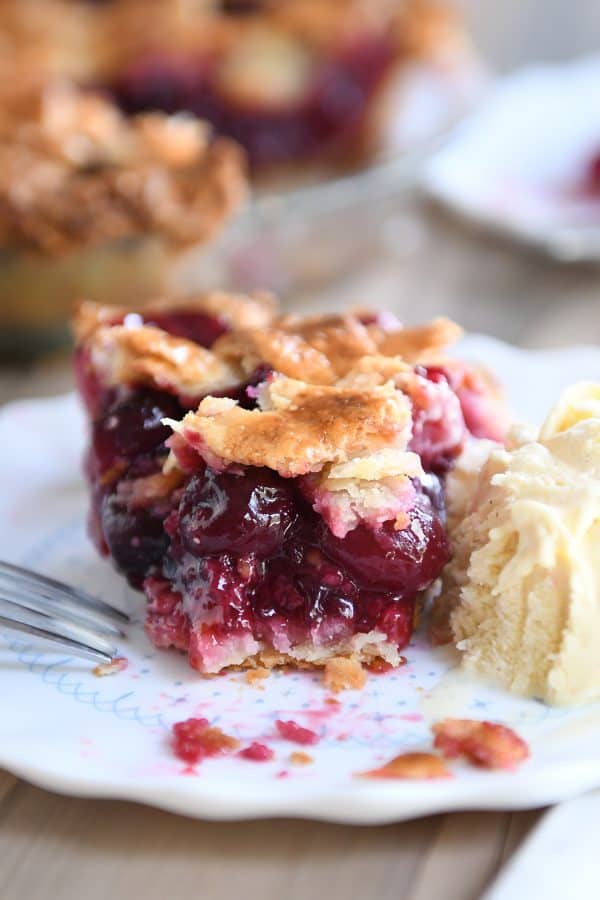
Cherry pie. It’s my favorite. It is the pie I can’t resist even when I’m already stuffed to the gills. I love the tart sweetness. The bursting cherries. The buttery, flaky pie crust.
There are other fruit pies that don’t hold my attention, but cherry pie has my whole heart.
A few years ago, I decided homemade cherry pie did not appear in my life as frequently as it should, and I resolved to change that by establishing it as a tradition. If it’s tradition, it has to happen right? So I decided every 4th of July (or within a week or so if we are traveling), we needed homemade cherry pie. (And let’s be honest, most Thanksgivings, too.)
It took me a few years to get this cherry pie perfectly perfect, but this is the version I’m sticking with forevermore. It’s straightforward. It’s simple. And the flavor is the best I’ve ever tasted (and trust me, I’ve eaten a lot of cherry pie in my day).
We are going to pretend I don’t already have a cherry pie recipe in the archives. That recipe is almost 10 years old; chalk it up to cherry pie maturity (and a decade of taste testing), but today’s recipe is 1,000 times better. Promise.
Homemade pie can seem really intimidating. I get it! It’s not exactly the quickest thing to whip up on your average Tuesday night. But if you plan a little time, work with fresh, delicious ingredients, and keep everything cold, cold, cold, you’re going to be making pie like a rock star before you know it.
I’m going to walk you through the steps of making this homemade cherry pie today. Not because it’s hard…but just because sometimes a visual how-to can make all the difference so you can go from “no way, not me, homemade pie is the devil” to “I think I’ve got this; oh yeah, I’VE GOT THIS!”
There’s a lot of information in this post. Read it. Absorb it. Think about it. Take some deep breaths. And then go make the best cherry pie of your life.
Pie Crust: Which is Best for Cherry Pie
I have a lot of pie crust tutorials/boot camps/lectures already on this site, so I’m not going to get into the nitty gritty of how to make pie dough on this post.
But I will say that for this cherry pie (and all other pies), I use one of two pie crust recipes:
- My favorite sour cream pie crust (video tutorial on this post)
- Perfect flaky pie crust (in-depth how-to make pie crust tutorial on this post)
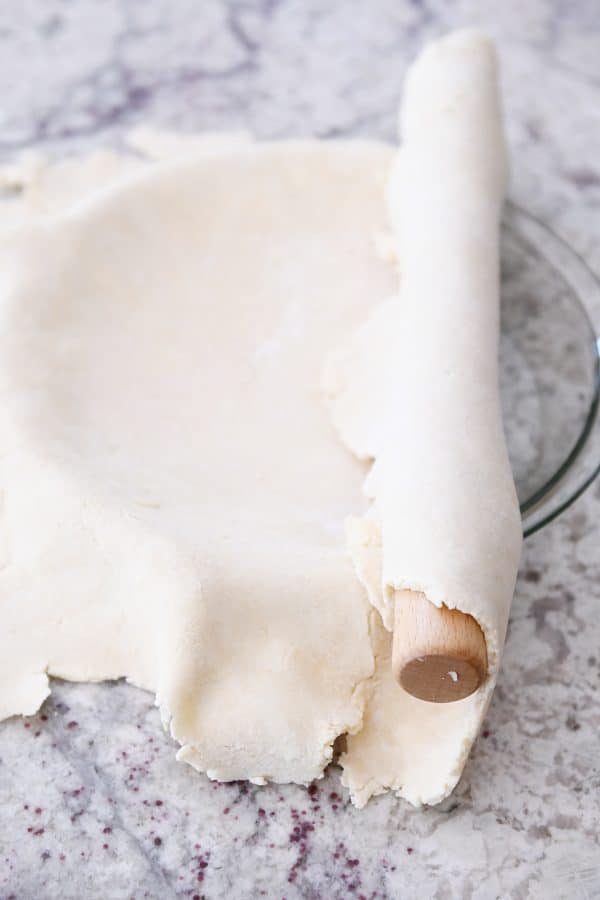
For the pictures in this post, I’m using the sour cream pie crust. The flavor and tenderness and flakiness is so, so good. To get started, you’ll want to roll the bottom crust to about 12-inches in diameter and gently place in the bottom of a 9-inch pie plate. Trim the dough leaving 1/4-inch excess beyond the rim of the pie plate.
Sweet cherries vs. sour cherries
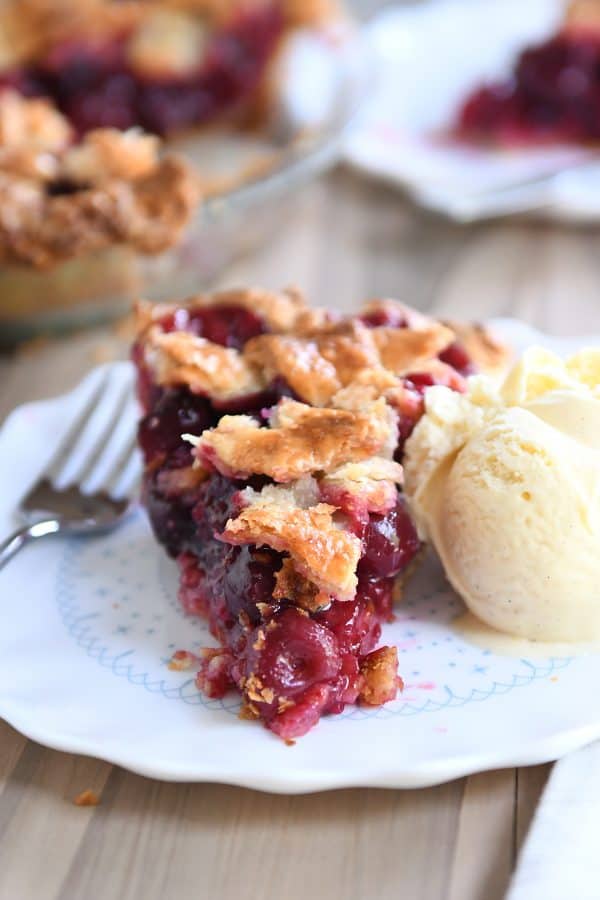
Homemade cherry pie filling! Could life get any better?
I include many of these same details below in the recipe, but I’ll outline them here, too:
- I’ve tested this recipe using sweet, dark cherries. The sugar level in the recipe is counting on the cherries being perfectly ripe and naturally sweet. If the dark cherries you are using are on the tart side, you might want to increase the sugar just a bit.
- I haven’t tried Rainier cherries, although they usually substitute really well for dark cherries in terms of sweetness and flavor.
- I also haven’t used sour pie cherries because they are rather hard to find fresh where I live (and the canned varieties scare me off a little because, hello, mushy cherries).
The good news is, I hear it’s pretty darn easy to convert a cherry pie from using sweet, dark cherries to sour pie cherries.
To substitute sour pie cherries, try, decreasing the lemon juice to 1 teaspoon (don’t leave it out completely) and increase the sugar to 1 cup (or slightly more, depending on how sweet you want the pie).
Can I use frozen cherries for cherry pie?
I haven’t tried frozen cherries (yet!), but I think they could be used with pretty good results as long as they are thawed and very well drained before using. They might be a tad bit softer after the pie is baked – but if they are good quality prior to freezing, chances are, it stands a good chance of working.
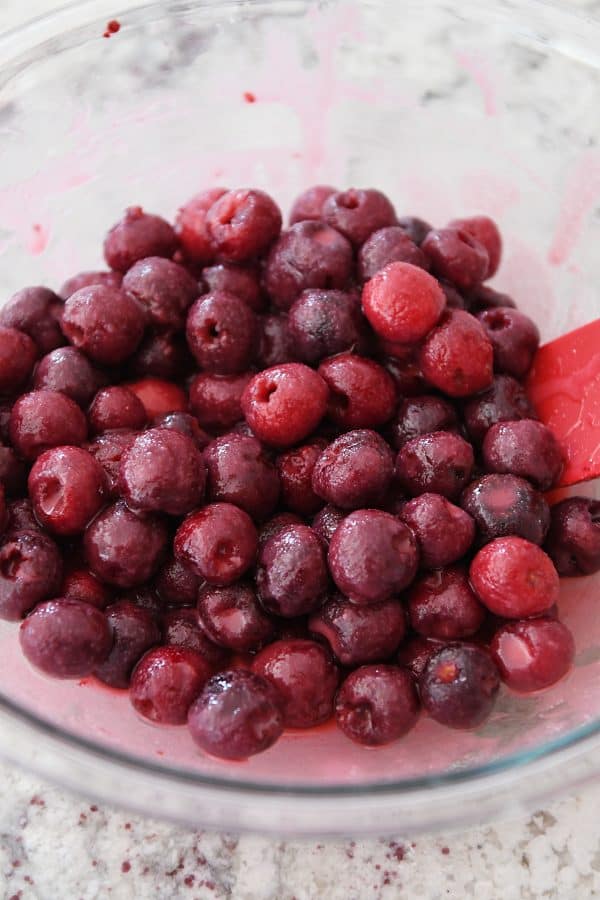
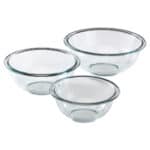
The filling of this cherry pie recipe is as simple as combining all the ingredients together in a bowl and letting it hang out while you get the pie crust in the pie plate. We have a lot of u-pick cherry farms near us; maybe that’s what’s increased my love for cherry pie? Very possibly.
Pie Filling Thickeners: A Million Opinions
You can bet just about every homemade pie maker has a pretty strong opinion about what should be used to thicken the filling. Flour. Cornstarch. Tapioca. Clearjel. Fasting and prayer.
I’m not out to make enemies over the subject, but after loads of testing (and so.many.cherry.pies), I stand firmly by the recipe below. I’m not saying this thickener lineup should be used for every fruit pie ever made, but for this cherry pie, it’s money.
Tapioca flour/starch + a little bit of cornstarch. The combination creates a perfectly set cherry pie filling that isn’t cloudy or glumpy with weird gelatinous blogs hanging around.
I know tapioca flour isn’t the most common pantry ingredient in the world (we happen keep it on hand 24/7 for this Brazilian cheese bread that gets made at least weekly), but it’s worth grabbing for this pie recipe. It’s widely available in many grocery stores, even my small town grocery store, in the baking aisle (Bob’s Red Mill is a popular brand) and definitely available online.
Does using tapioca flour vs 100% cornstarch make a difference? YES! It’s what transitioned my cherry pie from pretty good to really amazing.
Now…let’s get to assembling this pie!
As I mention in the recipe below and already once above, keeping the pie dough chilled is the key to success. Warm pie dough is a recipe for disaster.
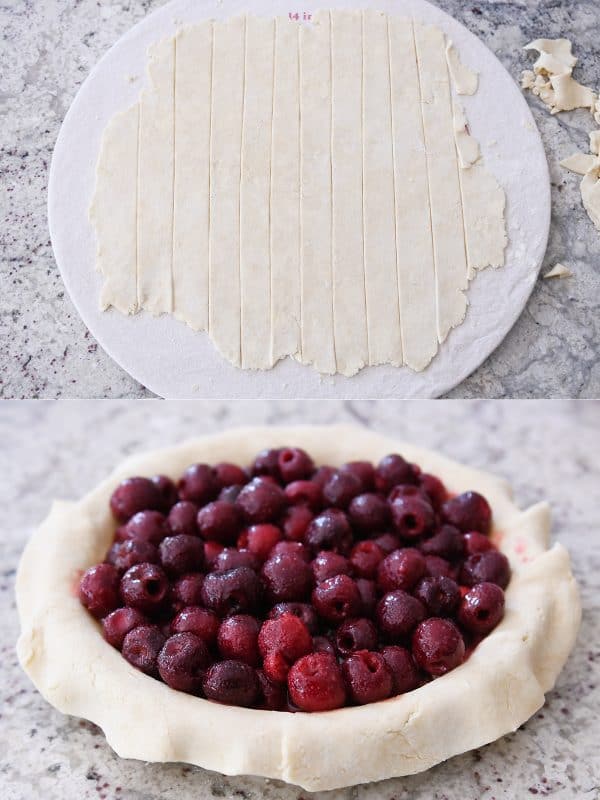
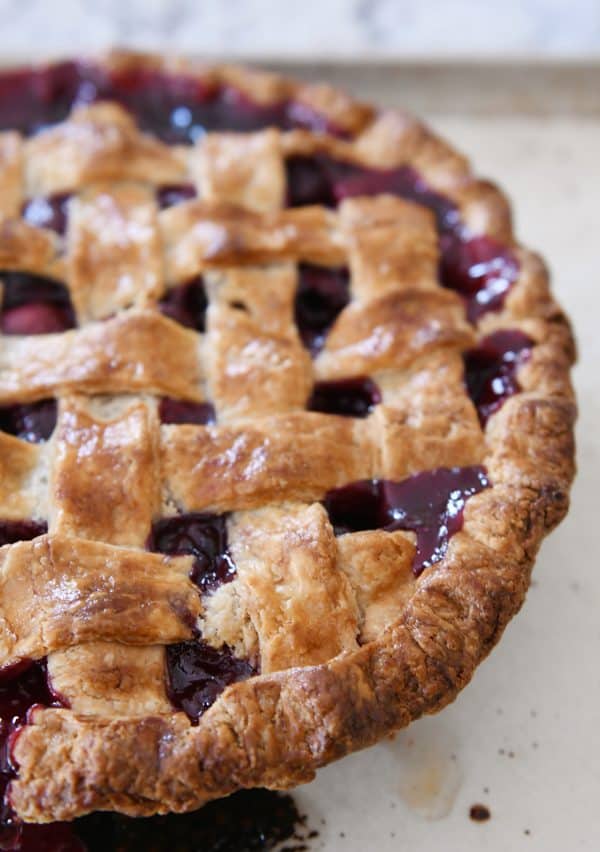
Roll the top crust out to a 12- or 14-inch circle and cut 10-12 thick strips. Scoop the pie filling into the pie plate and get to work on that lattice crust!
Yes, you can bypass the lattice crust and just slap on a whole top crust, cut a few vents and toss in the oven.
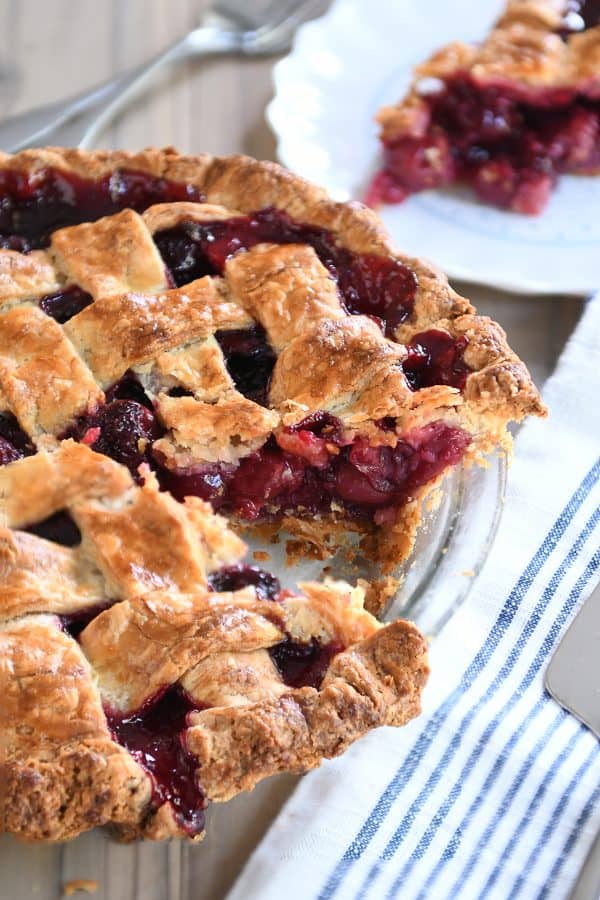
But where’s the fun in that? Plus, I submit that creating a lattice-topped pie might be one of the most satisfying endeavors of my life. And also, cherry pie JUST NEEDS A LATTICE TOP.
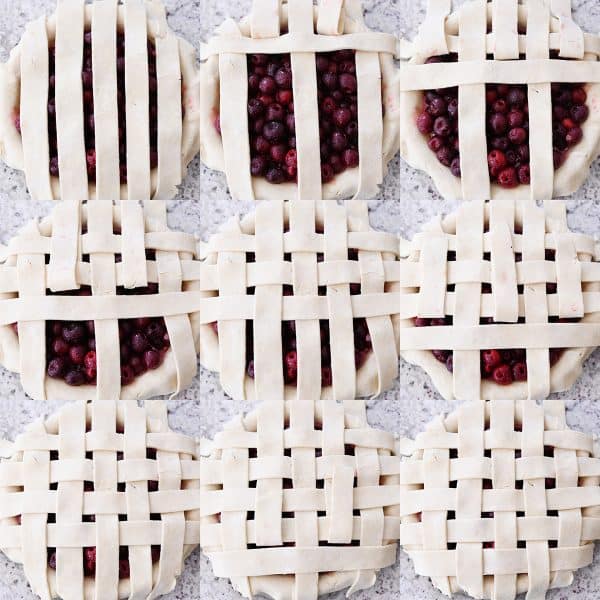
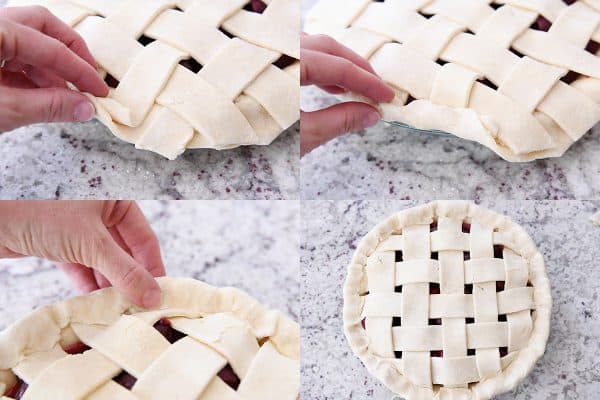
You can see from the quick little collage below that it’s really just a matter of lifting the right pie dough strips in order to lay down a horizontal lattice strip…and repeating that several times. It doesn’t have to be perfect. The strips don’t all have to be the exact same size. Pies should have personality!
Just go for it. You’ll be glad you did.
Once the lattice top has been lovingly and carefully assembled (work quickly so the pie strips stay cold and don’t get warm and melty in your grubby little hands!), trim the lattice strips evenly with the bottom crust.
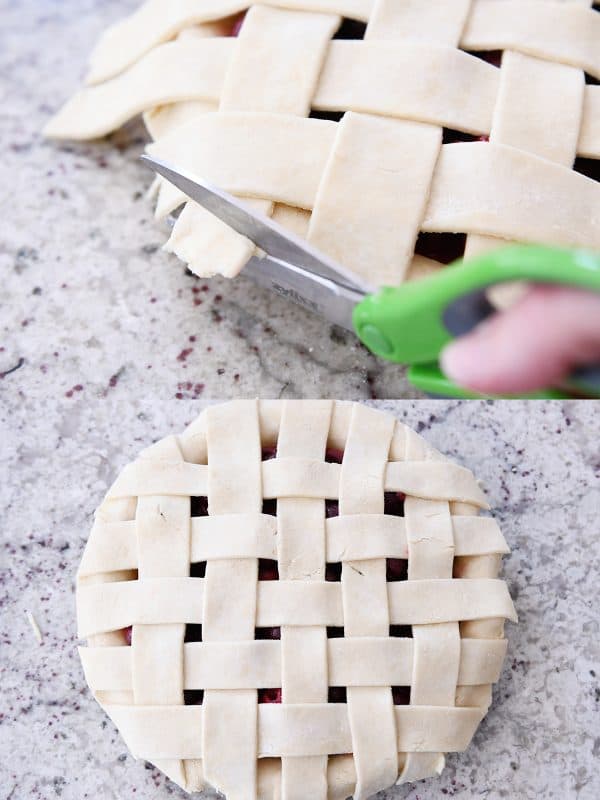
Now take the bottom crust and roll/fold it up and over creating a lip that sits right on the edge of the pie plate. Press gently toward the inner edge of the pie to seal the edges and trap the ends of the lattice strips.
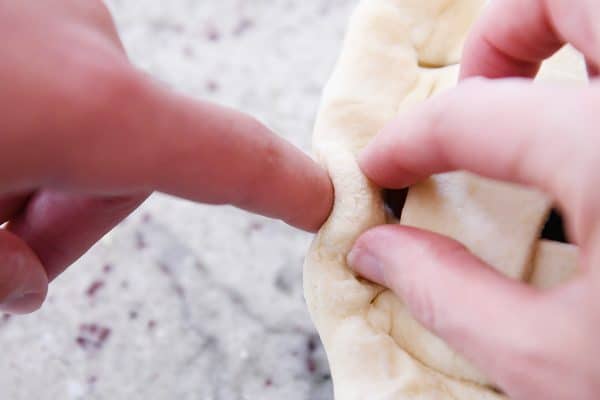
With that thicker edge, you can flute the edges of the pie all the way around. Again, this is another aspect of homemade pie making that doesn’t have to be perfect. And it’s also another area that should go quickly so the warmth of your little fingies doesn’t melt the butter in the pie crust.
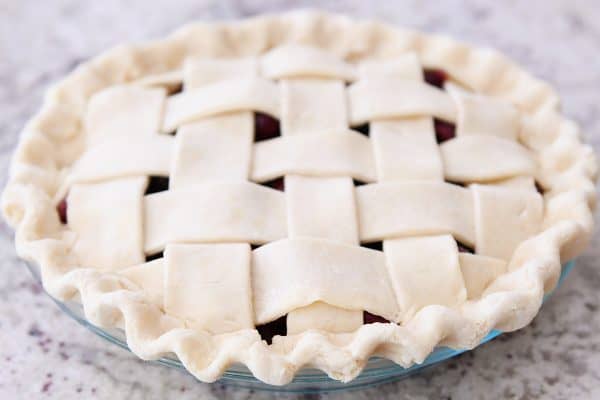
Refrigerate that pie for at least 30 minutes! An hour is even better. You want to make sure the pie crust is really, really cold. I wouldn’t let it hang out in the fridge much past an hour – the risk of a soggy bottom crust is not worth it, in my opinion.
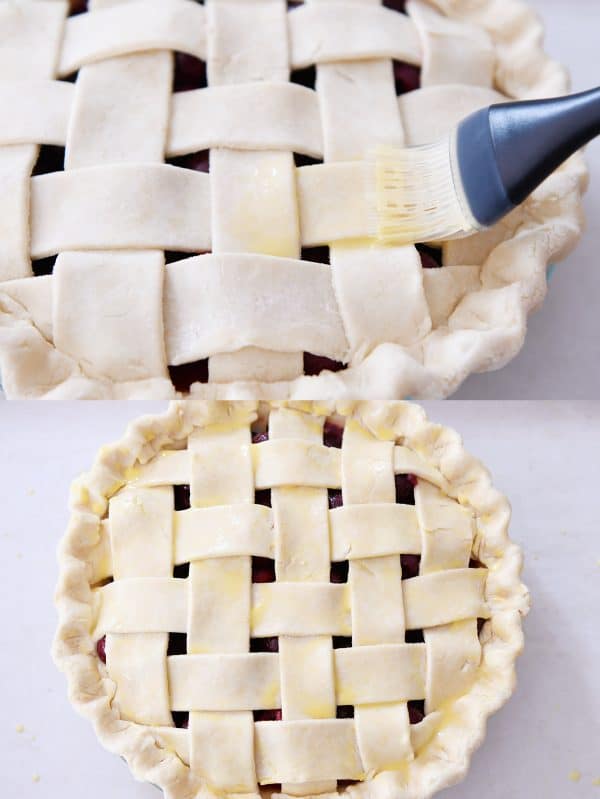
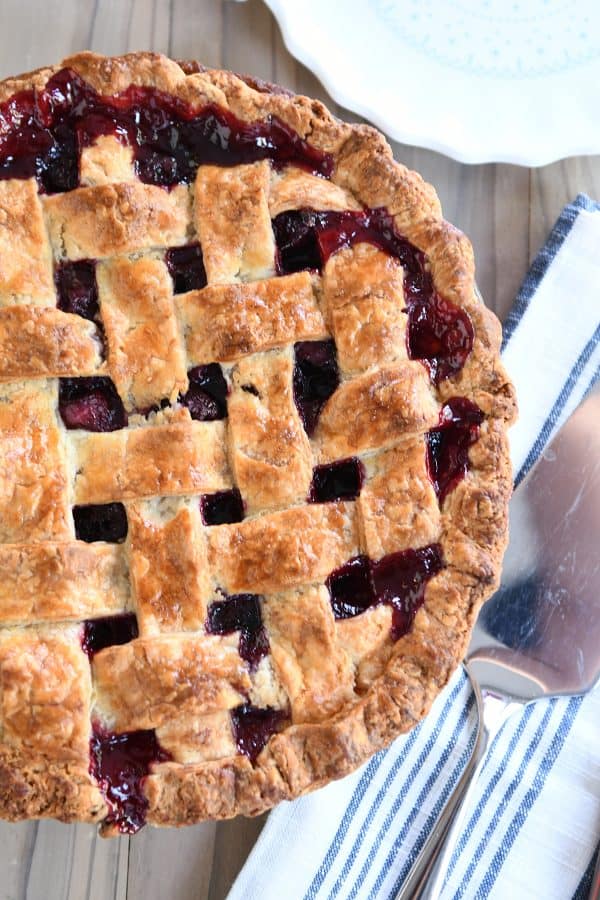
I like to brush the top of the pie with a simple egg wash. This is optional. But it greatly enhances the ability of that pie to get the perfectly shiny/golden vibe going on that definitely increases the pie rock star feelings.
Pop that pie on a foil- or parchment-lined baking sheet (trust me, it probably will bubble over a bit – totally normal – and easy cleanup will be your friend). Bake it at 400 degrees for about an hour. Watch closely. Every oven differs a bit in oven temp.
If the top or outer crust is over browning but the bottom crust (looking through a glass plate) or filling needs more time, tent the top of the pie with foil to continue baking.
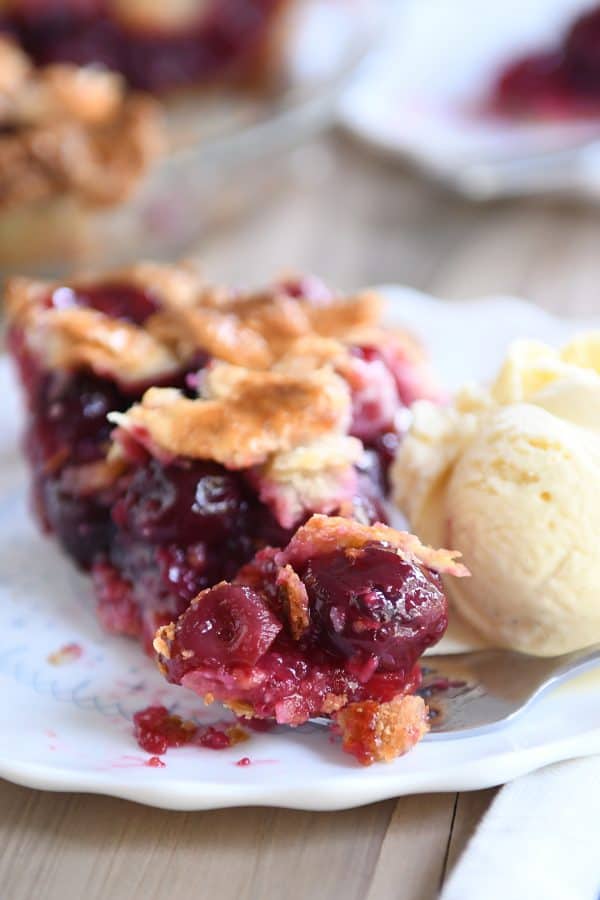
Now for the hard part. As appealing as it is to dig into warm pie, if you don’t want a soupy mess running all over your plate (and probably your pants), let the pie cool. It doesn’t have to cool completely, but I recommend a 2-3 hour cooling period so the filling has time to set up.
If you cut into it too early, you’re going to cry big buckets of tears and insist the recipe is flawed or that I was totally off on my thickener soapbox. Cooling it for the right amount of time means perfect pie. And if I’m being honest, I actually prefer my cherry pie at room temp. It’s the best.
Ok, there you have it! My favorite cherry pie in the history of ever.
I wouldn’t consider myself the best pie maker in the world, and I certainly don’t make pie on the weekly, but I’ve come to really love the pie making process (even the frustrating moments).
There’s just something magical and so utterly self-confidence boosting about taking a homemade pie out of the oven. It’s the closest I’ve ever come to hearing angels sing in my kitchen.
And embarrassing as it is to admit, I’ve actually been known to say these words as I stare lovingly at the piping hot pie in my oven mitt clad hands: “oh my gosh, I’m amazing.” Homemade pie will do that to you.
My Pie making tools
Here is a quick list of all the tools/ingredients I use for this cherry pie (and for most of my pie-making endeavors). The right tools make all the difference. Affiliate links included for products I’ve purchased from Amazon.
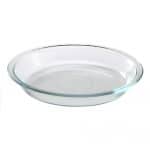
- 9-inch pyrex pie plate (inexpensive and awesome)
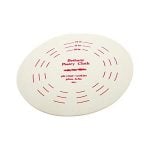
- Pastry cloth and board (this is what finally enabled me to conquer rolling out homemade pie crust)
- Rolling pin (I’ve fallen in love with this simple rolling pin)
- Pizza cutter for the lattice strips
- Tapioca flour (if you can’t find it locally; this is my favorite online brand)
- Cherry pitter (I have this large-ish one but a handheld pitter is perfect, too)
Now go make yourself some cherry pie!
My Favorite Cherry Pie in the History of Ever
Ingredients
- Double crust 9-inch pie dough (see note for recipes)
For the cherry pie filing:
- 5 cups (794 to 850) pitted sweet, dark cherries – you'll start with around 2 pounds whole fruit (see note for sour pie cherries)
- 2 tablespoons fresh lemon juice, from 1-2 medium lemons
- ¼ teaspoon almond extract
- ¾ cup (163 g) granulated sugar
- ½ teaspoon coarse, kosher salt (use 1/4 teaspoon for table salt)
- ⅓ cup (43 g) tapioca starch/flour (see note)
- 1 tablespoon cornstarch
- 1 tablespoon butter
Egg wash:
- 1 egg yolk
- 2 teaspoons water
- 2 teaspoons cream or milk
Instructions
- Keep all ingredients/pie crust as cold as possible throughout the making process to ensure the most delicious pie ever! Roll out bottom pie crust according to pie dough recipe instructions and place in the bottom of a 9-inch pie plate (I use a glass pie plate). Trim edges leaving 1/4-inch excess from outer rim of pie plate. Refrigerate until filling is ready.
- For the filling, in a large bowl, combine the pitted cherries, lemon juice, almond extract, sugar, salt, tapioca starch and cornstarch. Mix until well combined. Set aside.
- Roll out top crust to 10-inch diameter and cut into 10-12 strips (I like to cut thicker 3/4- to 1-inch strips).
- Scoop cherry pie filling evenly into refrigerated bottom crust, scraping out all the sugar and liquid. Dot the top with 1 tablespoon butter (pinched or cut into small pieces).
- Weave strips on top of the filling for a lattice crust (see above pictures in post for how-to). Trim lattice strips evenly with bottom crust. Fold bottom crust up and over evenly with edge of pie plate and press/pinch to seal. Flute the edges of the pie crust.
- Refrigerate the pie for at least 30 minutes or up to 1 hour to make sure the top crust is completely chilled.
- Preheat oven to 400 degrees F. For the egg wash, whisk together the egg yolk, water and cream/milk. Brush the mixture over the top pie crust.
- Place the pie on a parchment or foil-lined baking pan. Bake for 50-60 minutes until the crust is golden and the filling is bubbly and thickened (will thicken more as it cools). The exact time will depend on type of pie plate, thickness of crust, if pie was refrigerated, etc. {The pie will be soupy even after cooling if it doesn’t bake long enough, so err on the side of adding extra time – even up to 75 minutes total. Tent the top and sides of the pie loosely with foil to prevent the crust from over browning or burning.}
- Let the pie cool for 2-3 hours before serving (if it’s too warm, the filling will be soupy). The pie can be covered and kept at room temperature for 2-3 days.
Notes
Recommended Products
Recipe Source: from Mel’s Kitchen Cafe

I am 74 years old and have rarely eaten cherries, never pitted a cherry, and never made a cherry pie. Because my granddaughter asked, I decided to give it a try. I cannot emphasize enough how delicious this pie was, how beautiful it looked with its golden lattice crust, and how impressed I was with the perfect firmness of the filling! I look forward to using the tapioca starch/flour for my apple pie, which usually weeps tons of juices. Thank you Mel for sharing this recipe!
I’ve never had cherry pie but I wanted to try it for Pi Day – and this was delicious. I couldn’t find fresh cherries, so I used “Wymans Cherries Dark Sweet with Red Tart Cherries” (frozen, 2 lb). I defrosted them in a strainer in the refrigerator overnight. I then added approximately an additional 1.5 T tapioca to the filling. I used Mel’s sour cream pie crust recipe (doubled), which was particularly nice with the cherry pie. Wanted to share these details given the number of questions about frozen cherries. In short, Mel, all of your recipes are winners and this one was terrific for Pi Day. Thank you!
Thank you so much, Jess! Very happy you enjoyed this recipe!
Would frozen cherries work well in this recipe. That is all you can buy at this time is frozen cherries.
Yes – you can either thaw and pat dry before using with no alterations to the recipe or you can use frozen cherries and increase the tapioca starch by a tablespoon to account for the added liquid.
This was the judges Favorite Cherry Pie, too! I entered this cherry pie in the two crust pie category in my local county fair this summer. I made it with your sour cream crust. Made the top the lattice cut. This yummy pie WON a BLUE RIBBON FIRST PLACE in this category. Then, drum roll please……..it was awarded the DIVISION WINNER BEST PIE at the fair! Thank you Mel for a delicious cherry pie!
Oh my gosh, this is amazing, Pamela! Congratulations!!
This worked perfectly for me, I used an all butter crust recipe and fresh red cherries. I refrigerated the filling for a few hours until I had time to start baking so it was very soupy and almost didn’t add all the juices in. I sprinkled some extra tapioca flour on the bottom crust before adding the filling and ended up with a perfect filling and crust. It is a slow process with all of the chilling required, but worth it! The lattice top is helpful because you can see the filling boil and thicken which helped me decide when it was ready to come out.
This is the first time I’ve ever made cherry pie using fresh cherries. I followed the directions EXACTLY and it was absolutely the most perfect cherry pie I’ve ever eaten.
Thank you for tweaking this recipe to perfection!
This recipe is an absolute crusher! I’ve made this pie for three years now from my little Carmine cherry tree and it is the best cherry pie I or anyone else that’s tried it has ever had. A masterpiece!
i think this is the BEST cherry pie ever!!!
this recipe is delicious!! definitely recommend! i love this
Just tried your pie recipe – a HUGE hit!!
I only had frozen cherries and was too impatient to let them thaw, but it still worked!!
I tried to measure five cups, but ended up adding the full 32 oz bag. Since I didn’t thaw and drain, I increased both the tapioca flour and cornstarch a bit – heaping measures instead of level. It made a beautiful pie. I’ll definitely be making this recipe again.
i also used frosen cherrys and i agree this still turned out great!!
My husband said this is perhaps the best cherry pie he’s ever had. We had recently made a really nice butter crust so we used that and I followed this recipe in terms of ingredients except I did add in a little brown sugar and cut the other sugar to compensate. I saved this recipe and printed it which means I will be making it again. It’s yummy.
Really really really really good!