Easy Homemade English Muffins {Whole Grain Option – No Mixer Needed!}
No stand mixer needed for these easy homemade English muffins! They are simple, yummy, and can easily be made with whole grains!
Homemade English muffins are ridiculously delicious. And if you’re asking yourself why you would ever want to make them at home, let me give you two reasons:
1) they taste even better than the store bought ones
and also,
2) rock star status points And trust me, you will feel like a rock star after making these super easy homemade English muffins.
You don’t even need a mixer. The dough is mixed by hand, in one bowl, in under 15 minutes. And if you need even further convincing, I’m going to show you what we do with them for one of our favorite, go-to, easy weeknight dinners.
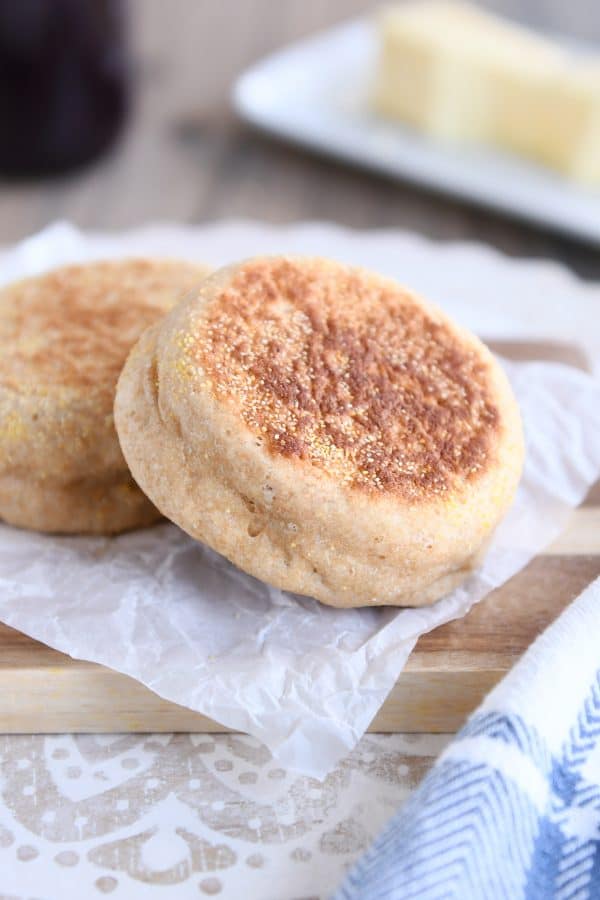
Whole Grain English Muffins
These English muffins work great with whole wheat flour.
I highly recommend using a white wheat variety (soft or hard) or kamut or einkhorn. I have the best results with any of those when using them in breads and other baked goods.
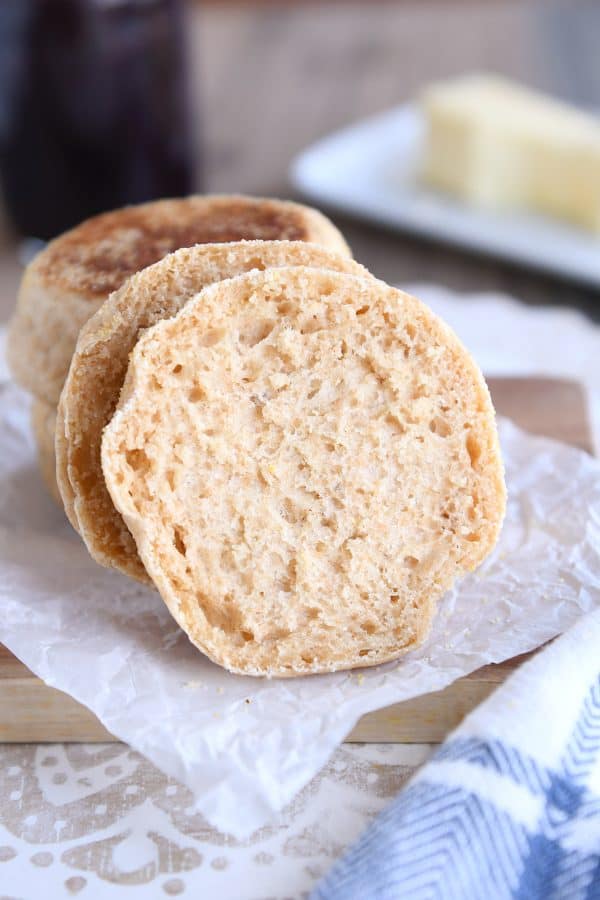
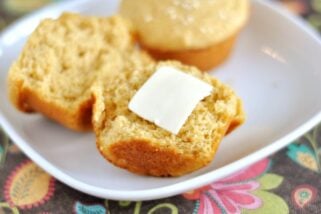
The texture of these homemade English muffins is soft and light and tender. They even have the signature airy holes inside thanks to the wet batter.
The reason English muffins exist
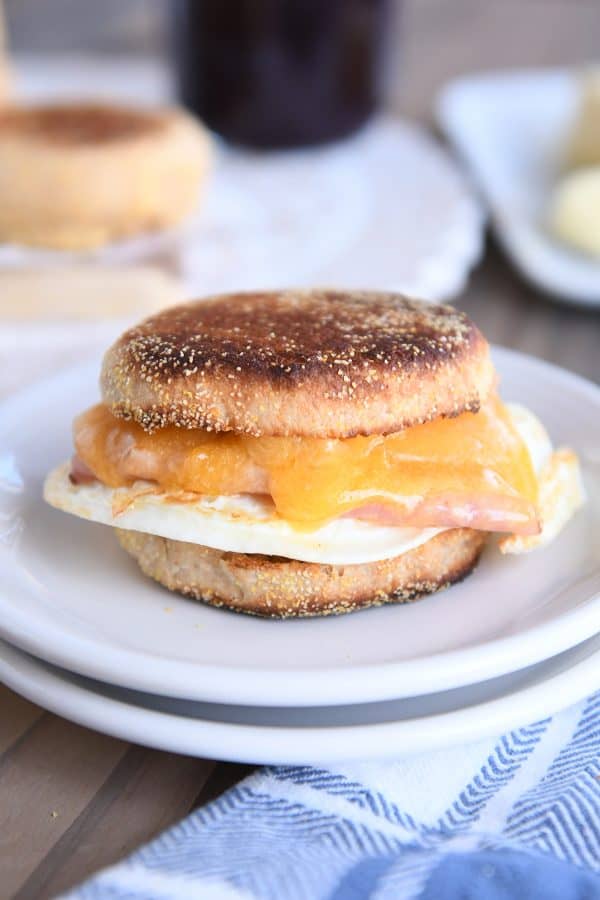
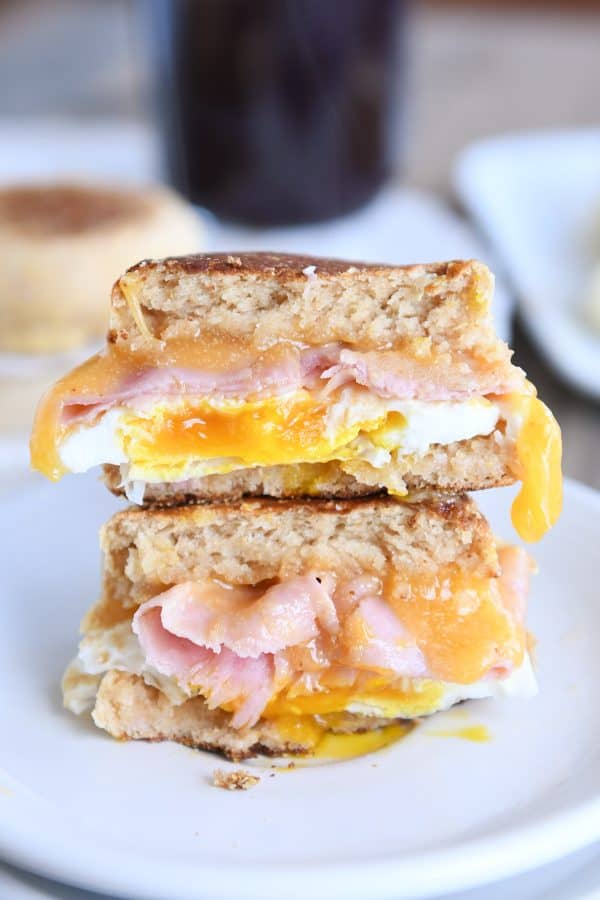
In my humble opinion, that reason is egg, ham and cheese sandwiches.
It’s the best combination on an English muffin since the beginning of time. And we eat them several times a month for quick dinners, especially when we’re on the go. (No, definitely not always with homemade English muffins.)
I assemble the sandwiches ahead of time, wrap them in foil, keep them warm until we go, and then throw them at the kids in the car or at practices, lessons or games.
How to make homemade english muffins
Let’s walk through this process together! I know making English muffins at home might seem intimidating, but it’s actually not hard at all. Promise.
Sometimes a visual just helps. I’ve got you. Let’s do this.
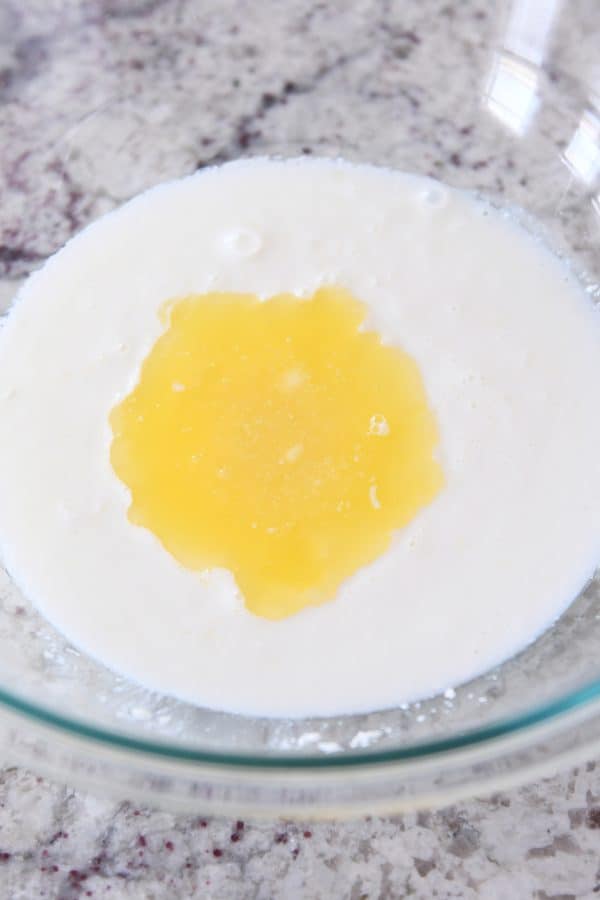
In a large bowl, stir together the warm buttermilk (or milk) and butter. The buttermilk gives a light, but not overpowering, tanginess to the English muffins. Delicious.
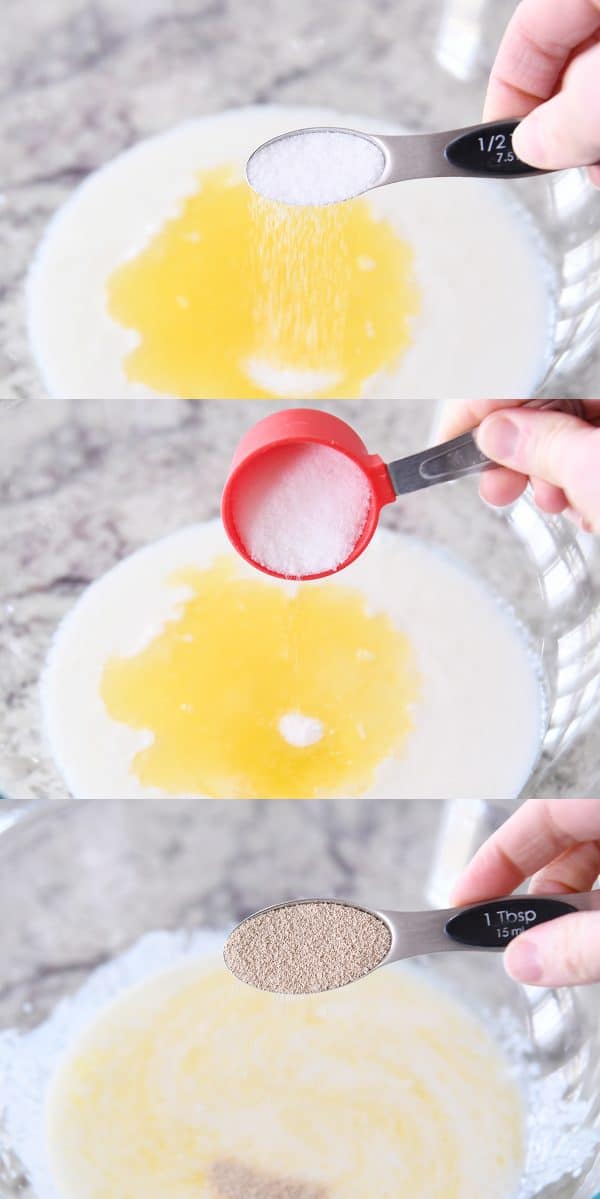
Add the salt, sugar, and yeast.
The recipe calls for instant yeast. So there’s no need to proof it before using. I’ve given a couple pointers below in the recipe if you want to sub in active dry yeast.
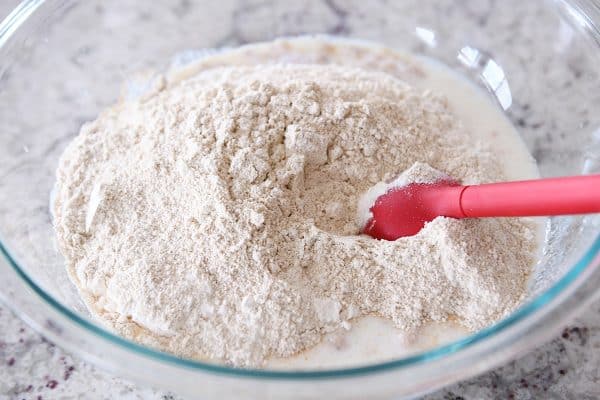
Add the flour. I’m using half whole wheat flour and half all-purpose flour.
Bread flour should work really well, too. And you can definitely use 100% all-purpose flour OR try using 100% whole wheat flour. Both should work like a dream as long as the soft dough isn’t overfloured.
Measure with a light hand. My method: fluff the flour, scoop in the cup, level with a straight edge.
Is it a batter or is it a dough?
The batter/dough for these homemade English muffins is very, very soft. Much wetter than a “normal” bread dough.
Don’t panic! I’m going to show you how to make this work.
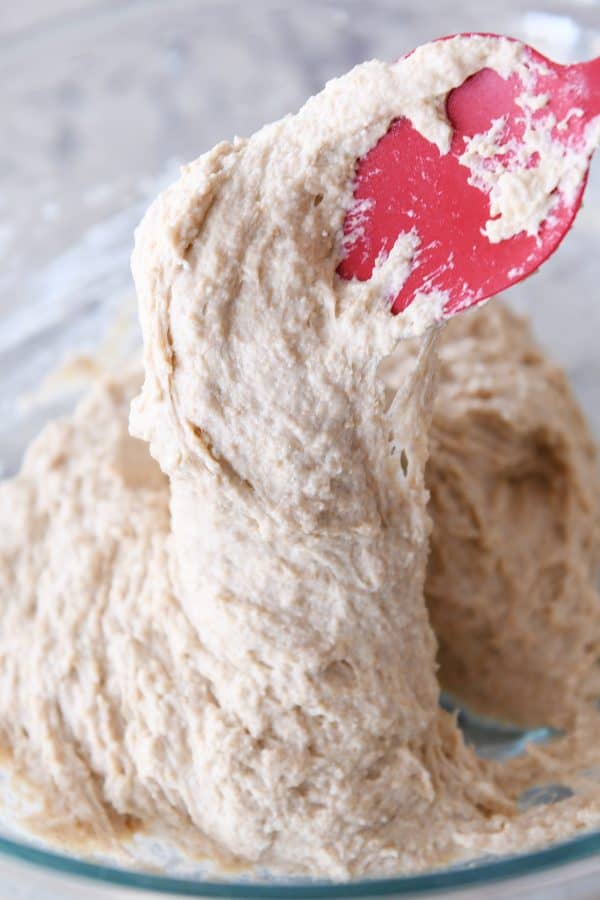
Leave the dough right in the same bowl, cover and let it rise until noticeably puffy and pretty much doubled in size.
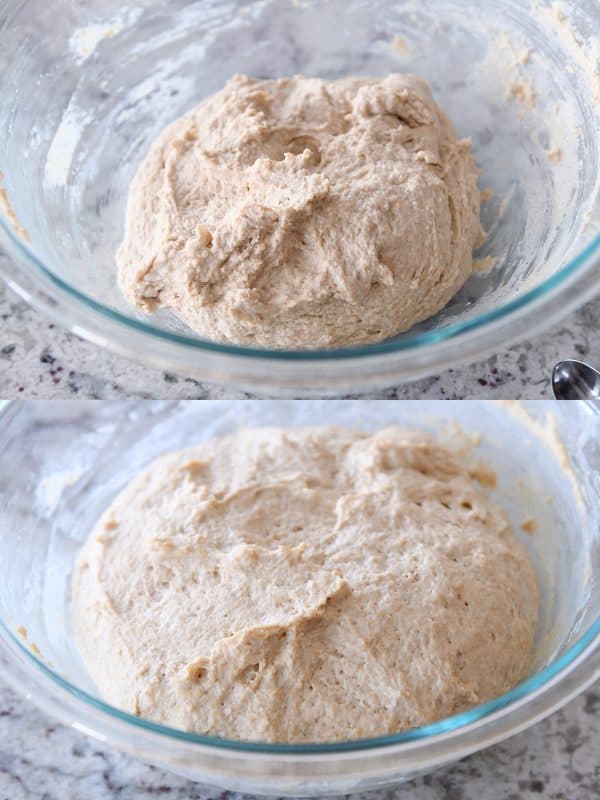
Now for the fun part
We’re going to scoop out mounds of the soft dough onto parchment- lined baking sheets that have been liberally dusted with cornmeal.
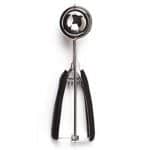
I use my large #20 cookie scoop for the job. It doesn’t have to be exact. I just get a heaping scoop of dough (about 6 tablespoons/2.5 ounces) and plop it on the prepared baking sheets.
If you don’t have a cookie scoop, you can use two lightly greased spoons to scoop and scrape the batter onto the baking sheet.
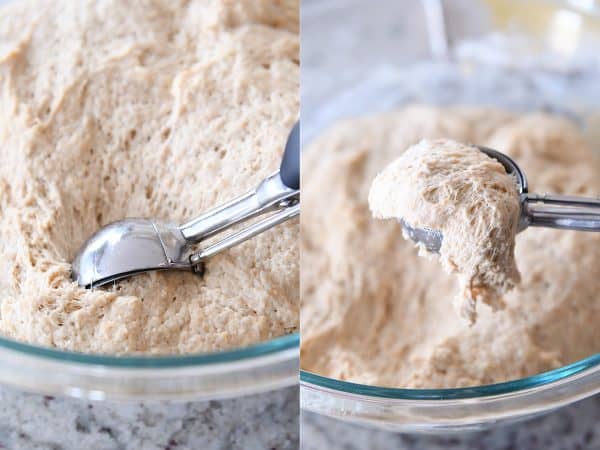
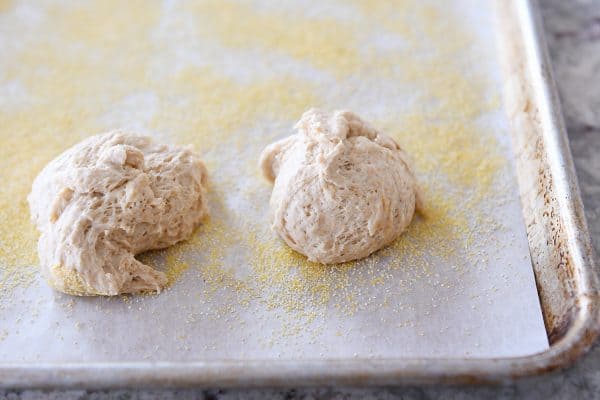
The mounds of dough are going to look messy. And a little scary. And you might be questioning the reality of them actually turning into a real, live English muffin. Just stick with me!
I’ve never led you astray, and I don’t plan to now.
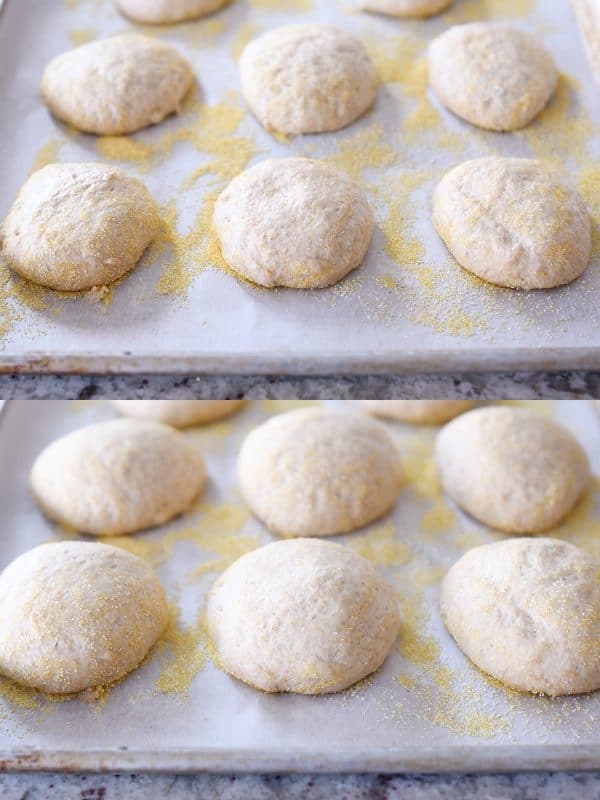
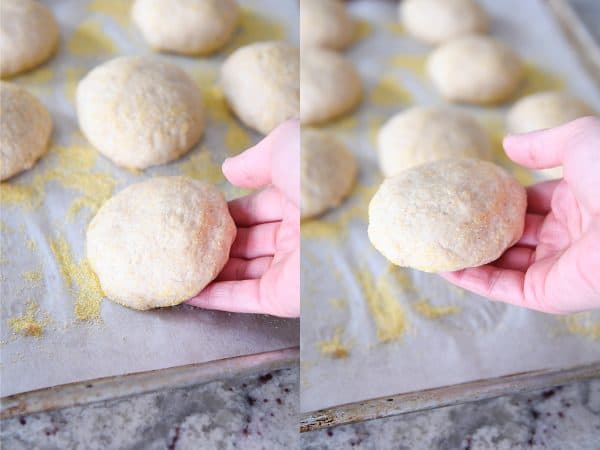
Lightly grease your hands, and gently grab one of the scraggly dough blobs. Flip it cornmeal side up in your hands and press the rough edges in and around, kind of tucking the jagged dough toward the bottom until you have a somewhat smooth puffy disc shape. If there are some seams on the bottom of the dough, thats ok!
Place it back on the baking tray (adding more cornmeal if needed so it doesn’t stick while rising).
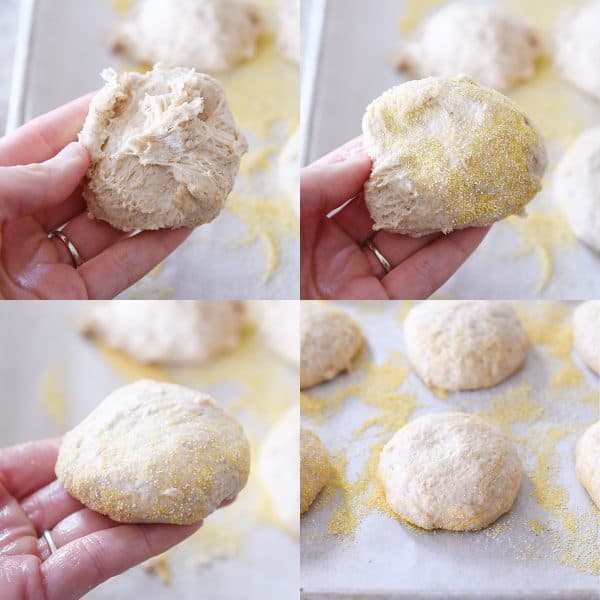
Cover the cute and slightly reformed dough blobs and let them rise until puffy. They won’t necessarily double, but you’ll be able to tell they have some significant puff to them.
Griddle and Oven Bake
Preheat the oven to 375 degrees F. (You’ll use it in a sec.)
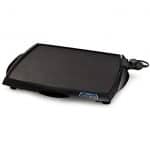
Also preheat a griddle to 325-350 degrees F or use a skillet on the stove on medium-low or medium heat.
Grab each puffy English muffin gently (so they don’t deflate) and place them on the hot griddle.
They will bake for about 4-5 minutes per side. If they are burning or getting overly browned, adjust the heat.
I prefer cooking them partially on the griddle (so they are lightly browned on both sides but still a little doughy in the center) and then transferring them to the oven to finish cooking.
You can cook them start to finish on the griddle if that’s your preference. Just take care not to cook them too long as griddle- or skillet-cooking can dry them out.
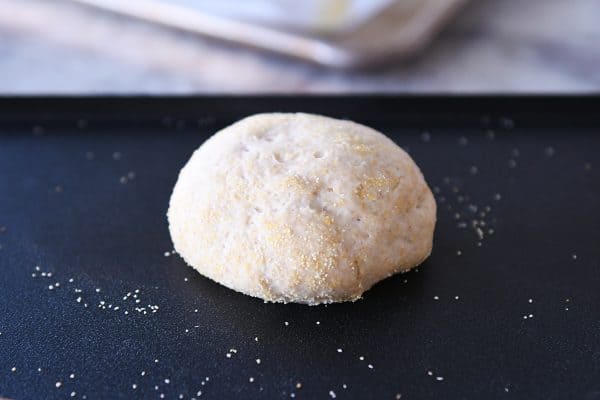
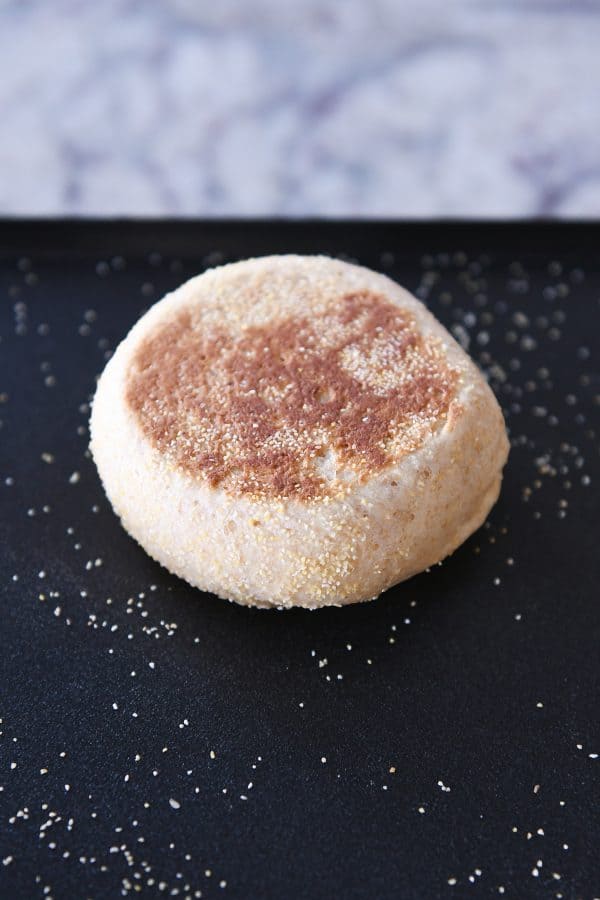
A few minutes in the preheated oven and your precious (and rather pretty) English muffins are done!
It’s preferable to wait for them to cool before slicing and toasting, but I would be a total hypocrite if I insisted that was mandatory.
Usually as soon as these babies exit the oven, they are flying from hand to hand in a wild hot potato dance as one of the kids starts slicing them open and throwing them in the toaster. Or back on the griddle to toast that way.
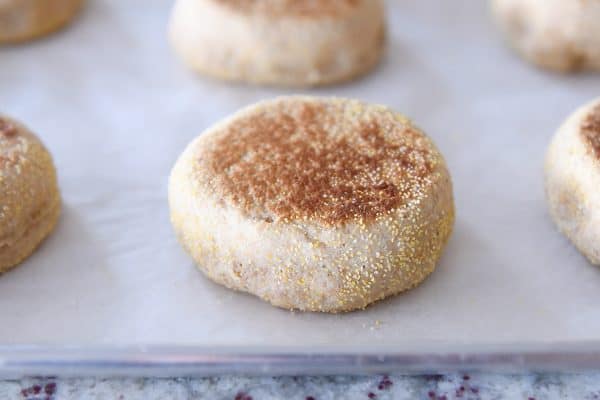
adjust the size
You can easily make these smaller or larger! Per this recipe, they are just slightly smaller than most store bought English muffins. I’m definitely not opposed to ginormous, big-as-your-face English muffins. I say, go for it.
Pro tip
I’ve also heard that if you want to get the signature nooks and crannies that just scream “I’m an English muffin,” you should use a fork to split them in half instead of cutting them in half with a knife.
Letting them cool also helps with that, too.
We are too impatient for either option, so if you experiment, let me know the results!
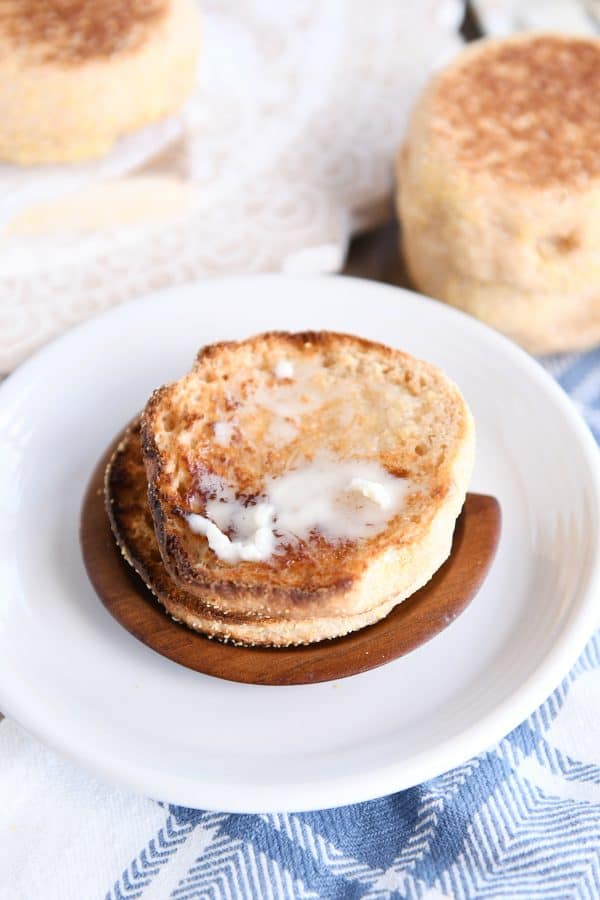
The perfect breakfast (or dinner) sandwich
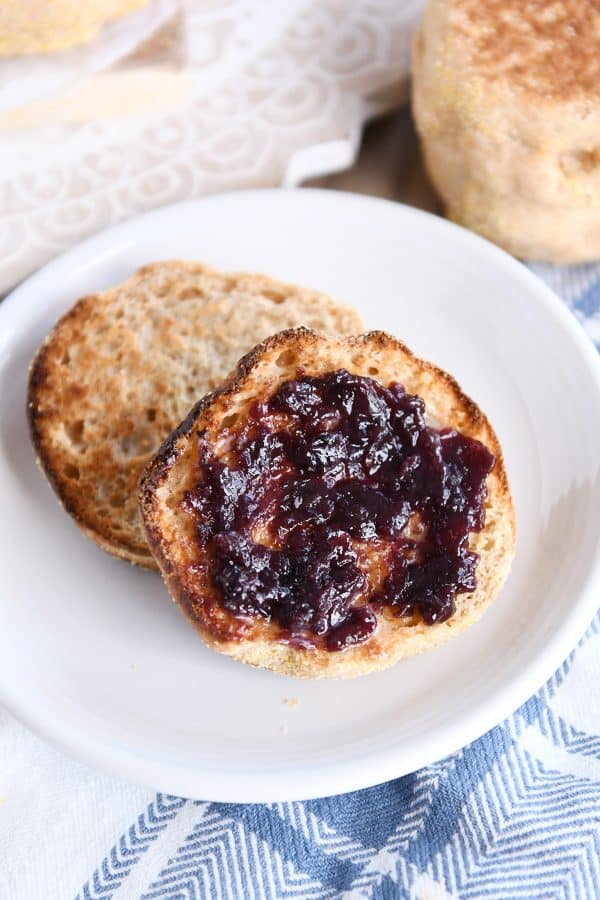
As much as it’s hard to resist a toasted, buttered, slathered with jam English muffin, our family lives for the breakfast sandwich option. (But we eat it for dinner.)
Sometimes we scramble the eggs. Sometimes we fry them. There are nights they remain meatless (which means mom needs to go to the grocery store) and other nights when the options are ham, bacon, OR sausage. Lucky kids.
It’s not rocket science. But it sure is delicious.
If you’ve ever thought about making English muffins at home, this is the recipe to start with! I can’t wait for all the homemade English muffin reports to start flying in. Rock stars!!
One Year Ago: Super Easy S’Mores Chocolate Pie {or Tart}
Two Years Ago: Incredible Fluffy Overnight Buttermilk Pancakes
Three Years Ago: Chinese Cashew Chicken {30-Minute Meal}
Four Years Ago: Double Chocolate Quick Bread
Five Years Ago: Healthier Banana Bread Chocolate Chip Oat Snack Bars
Six Years Ago: Family Style Shrimp Scampi {20-Minute Meal}
Seven Years Ago: Chocolate Tres Leches Cake
Eight Years Ago: Split Pea Soup with Barley and Ham {Slow Cooker}
Easy Homemade English Muffins
Ingredients
- 1 ¾ cups warm milk or buttermilk (see note), see note
- 3 tablespoons salted butter, melted
- 1 ½ teaspoons salt
- 2 tablespoons granulated sugar
- 1 tablespoon instant yeast
- 1 ¾ cups (249 g) all-purpose flour
- 1 ¾ cups (249 g) whole wheat flour (see note)
- ½ cup (85 g) cornmeal
Instructions
- In a large bowl, mix together the buttermilk, butter, salt, sugar, and yeast.
- Stir in the flour and mix until well-combined and no dry streaks remain. The batter will be very soft – you can kind of lift it up in a doughy ribbon with a spatula.
- Cover and let the batter rise in a warm place until puffy and doubled, 1-2 hours.
- Line two half sheet pans with parchment paper and liberally sprinkle cornmeal over the parchment paper. This will prevent the English muffin dough from sticking.
- Using a large cookie scoop or two greased spoons, scoop out about 6 tablespoons/2.5 ounces of batter and place in mounds on the prepared baking sheets. *You can make the English muffins larger or smaller depending on preference.* They’ll look a little messy at this point; that’s ok.
- Lightly grease your hands and take each mound of batter and flip it over in your hands so it is cornmeal-side up. Gently shape the dough into a mostly smooth round disc and set it back on the baking sheet (sprinkle more cornmeal on the parchment paper, if needed). Space the muffins several inches apart to leave room for rising.
- Cover the baking sheets and let the muffins rise until noticeably puffy, about an hour.
- Preheat the oven to 375 degres F.
- Preheat a griddle to about 325-350 degrees (can also us a skillet on the stove over medium-low or medium heat). Gently pick up the puffy English muffins so they don’t totally deflate, and place them on the hot griddle.
- Cook for about 4-5 minutes per side. Adjust the heat if the English muffins are burning or overly browning. They’ll finish cooking all the way through in the oven.
- Transfer the English muffins to a clean (no cornmeal) parchment lined baking sheet and bake for 5-7 minutes until no longer doughy in the center.
- Let cool completely (if you can!) before splitting, toasting, and eating.
Notes
Recommended Products
Recipe Source: from Mel’s Kitchen Cafe (combined recipes from Joy of Cooking, King Arthur Flour, and my much-loved English Muffin Bread recipe)


Mel, do you ever add sourdough discard to these? My favorite English muffins from the store are the sourdough ones.
Never mind, I see you’ve already answered this question in the comments!
This was fun! I had never considered making English muffins! I used coconut milk with some lemon juice. My dough was thicker than yours. But not by a lot. It took awhile on the griddle. I had to increase the temperature to medium high. But the end result – very tasty! and they even look like English muffins!
I make these over and over again for my family. I prefer using milk over buttermilk personally. The difference in moisture certainly makes it wetter using milk but I find the thicker dough made with buttermilk makes them doughier and harder to tell when they’re done. Either way delicious and a family favorite!
Epic failure. I’ve been baking all my life . These did not rise and were really sloppy to work with. I even wasted my money on the special wheat flour. Disappointing.