Perfect Mini Cheesecakes
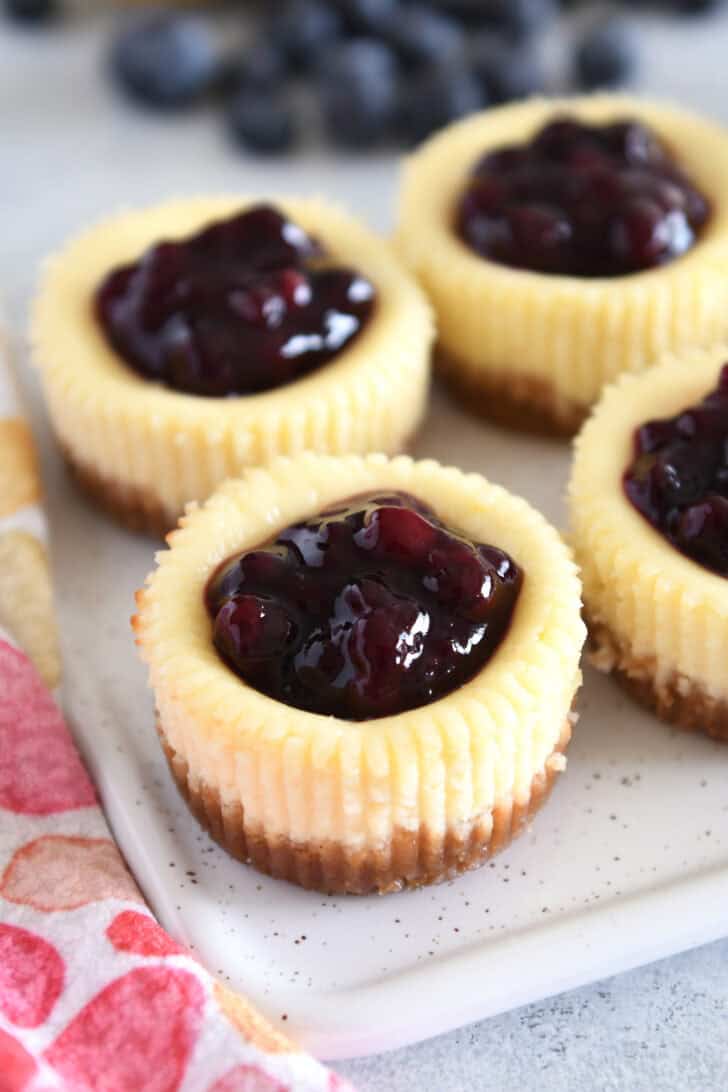
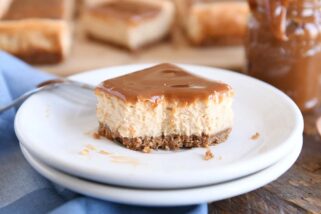
These mini cheesecakes are luxuriously creamy, delicious, and perfect for any occasion! Bonus: they can be made in a standard muffin tin, mini muffin tin or a cheesecake pan.
Cute as can be, these mini cheesecakes are also incredibly tasty, and are wonderful served at weddings, baby or bridal showers, parties of any kind, or just because you’re craving cheesecake!
First, Prep the Crust
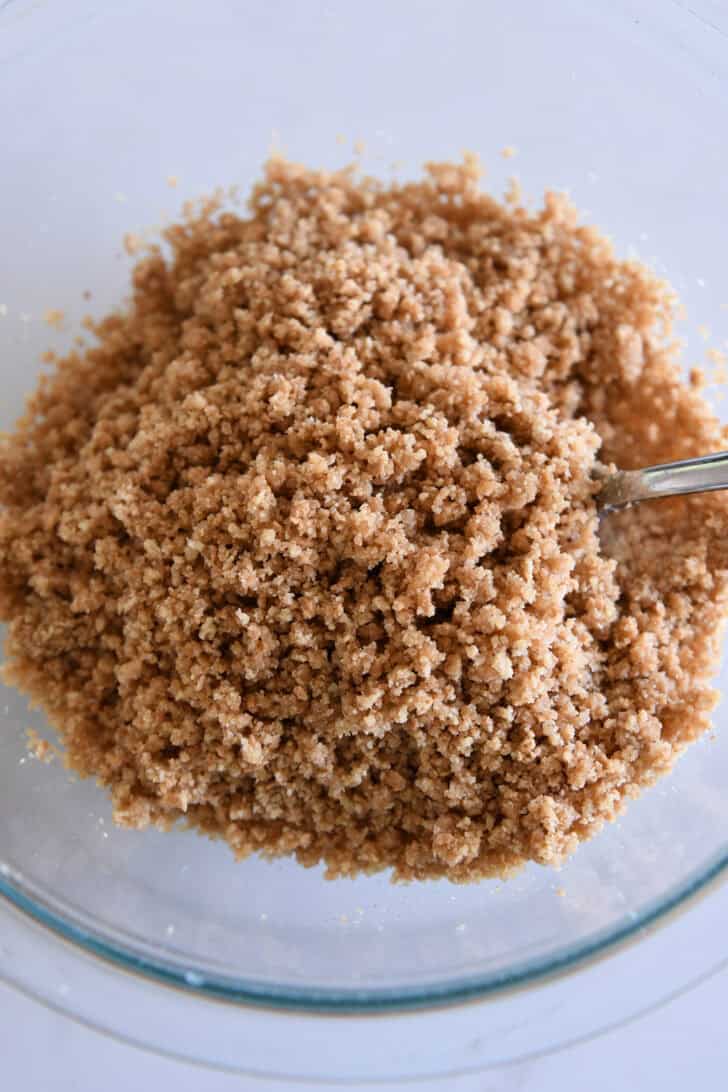
The crust for these mini cheesecakes is basic, basic.
- graham cracker crumbs
- bit of sugar
- melted butter
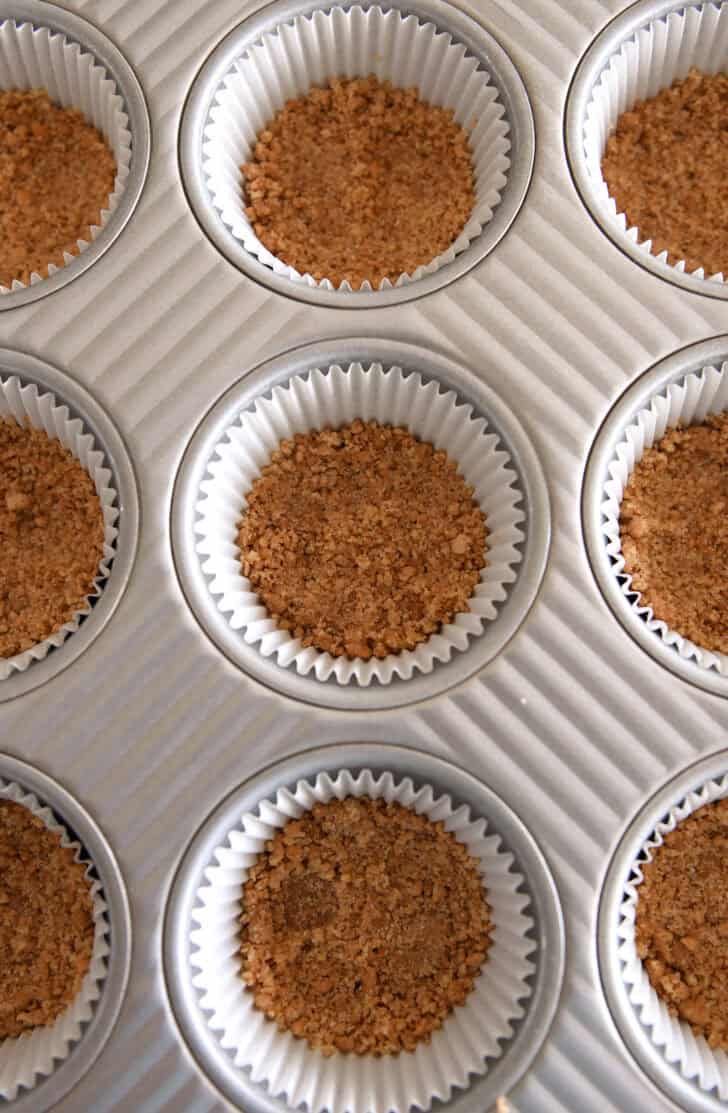
Press a heaping tablespoon of crumbs into each lined muffin cup and bake for just a couple minutes to set the crust.
Parbaking the crusts ensures they won’t be soggy once the wet cheesecake batter is added and baked.
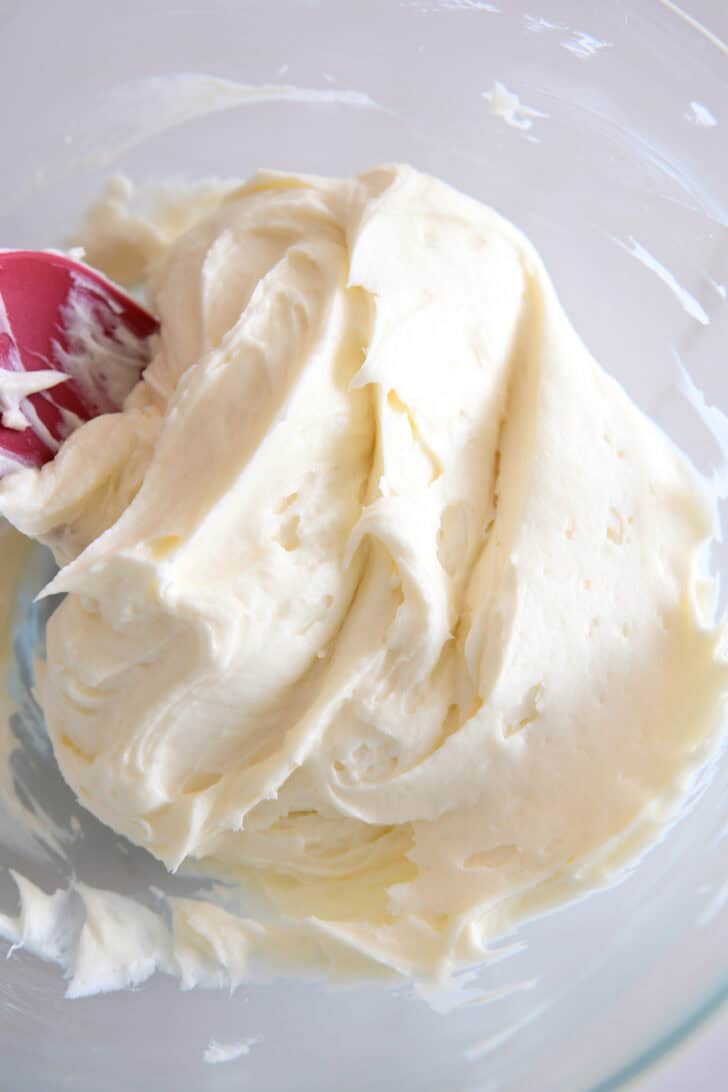
Second, Whip Up the Cheesecake Batter
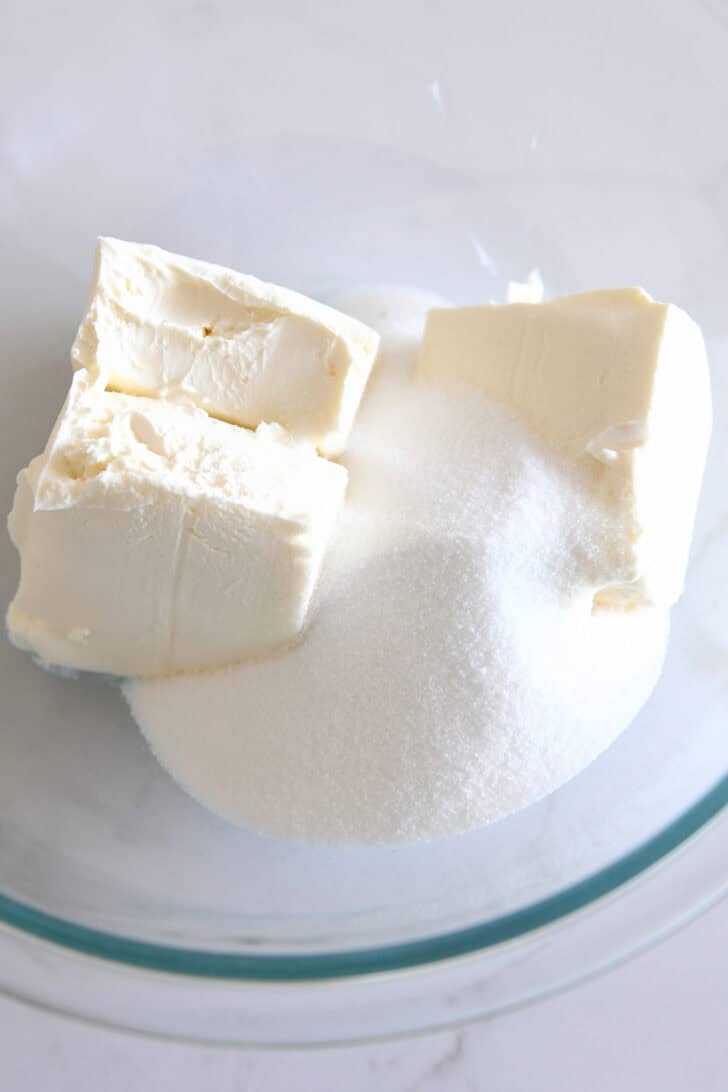
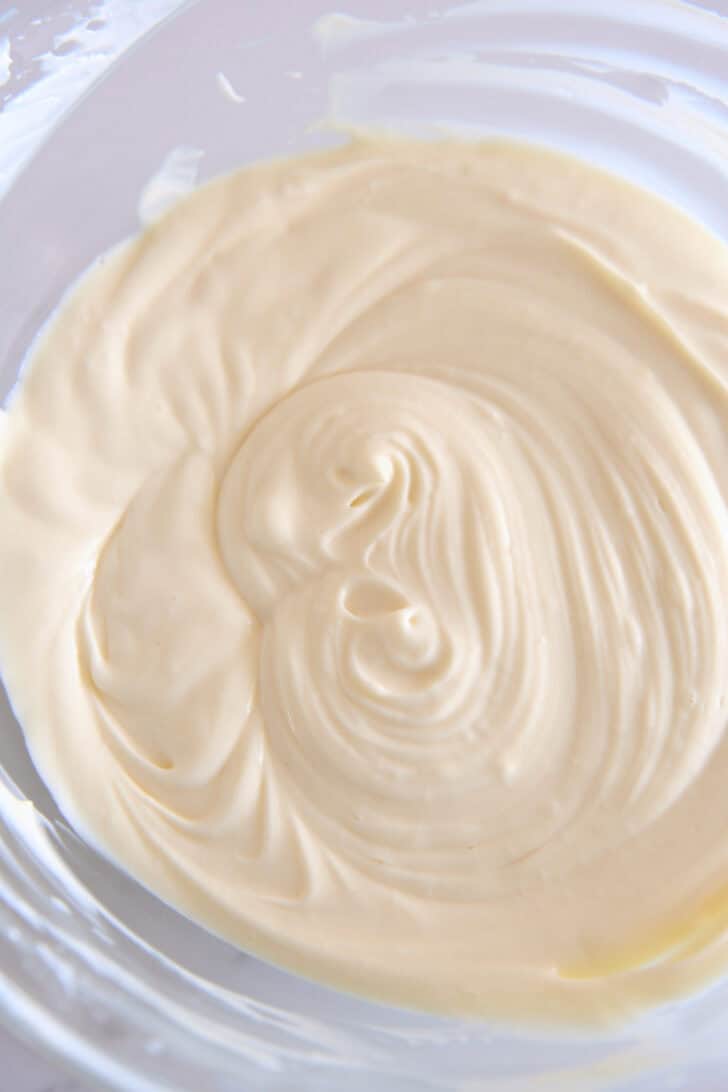
The batter is ultra-creamy resulting in luxuriously velvety and soft baked cheesecakes.
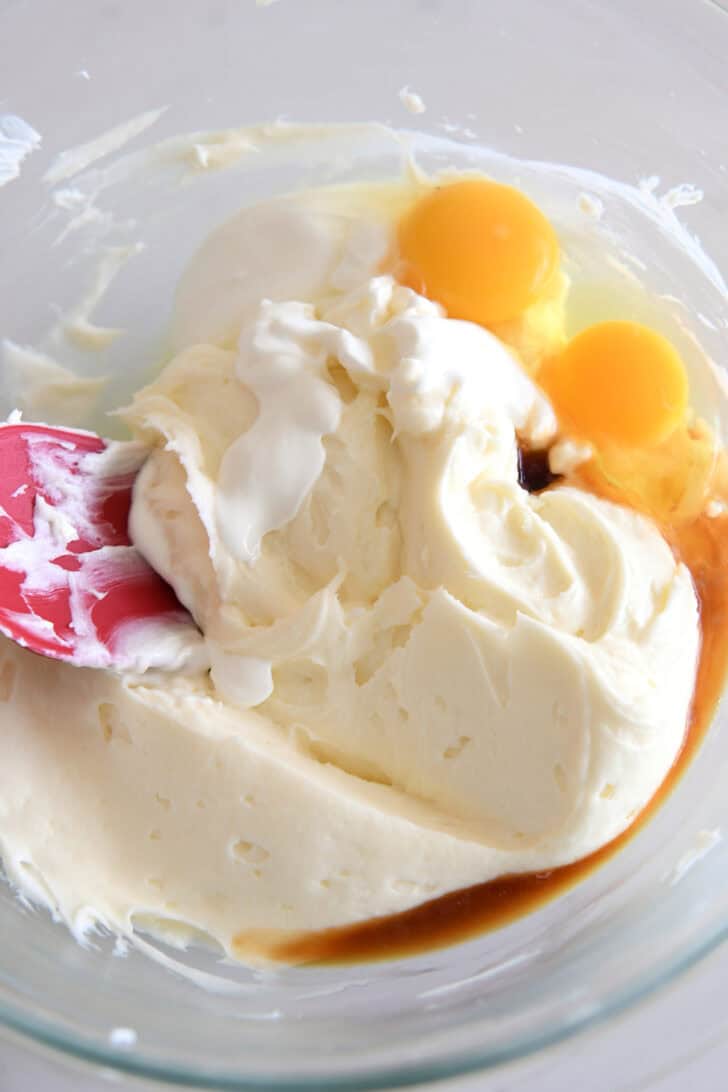
The most important thing you can do for yourself and these mini cheesecakes is to use room temperature ingredients. ⬇️ ⬇️ ⬇️
Room temperature ingredients incorporate more quickly than cold ingredients. And the key to foolproof cheesecake(s) is to NOT over mix the batter once the eggs are added.
Over mixing can result in cracked cheesecakes while baking and a less creamy texture.
Third, Divide and Bake
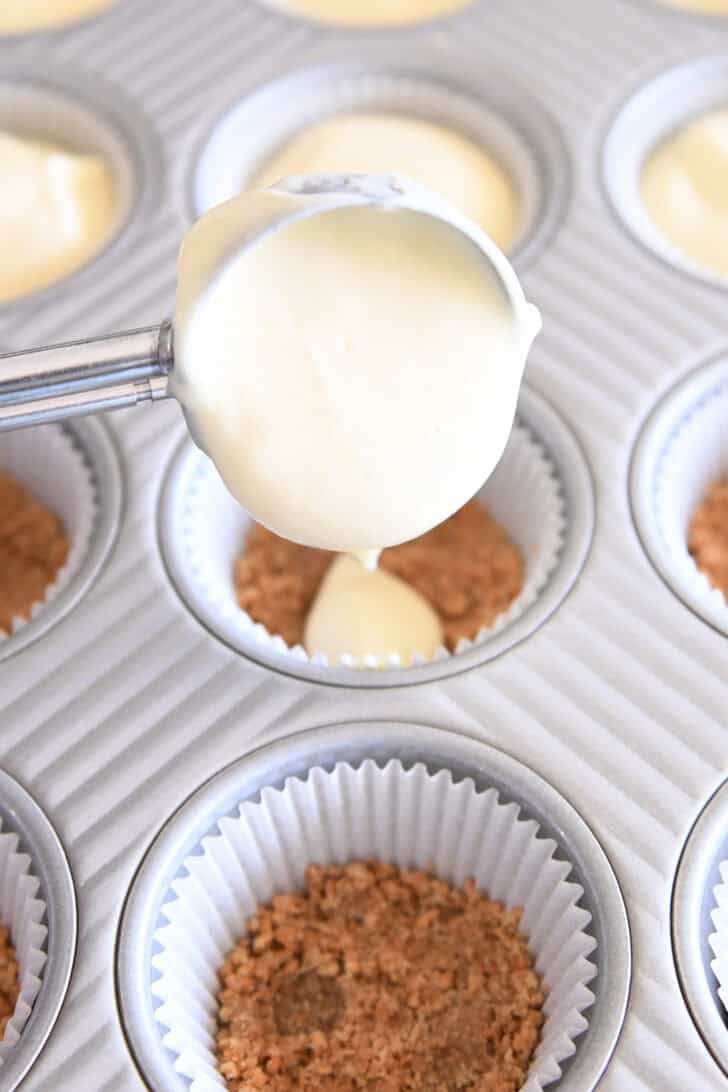
The cheesecake batter can and should fill each muffin tin quite full, almost to the top.
Unlike regular quick bread muffins, the cheesecake won’t overflow and spread, so make sure to fill the muffin cups very full for the perfect crust-to-cheesecake ratio.
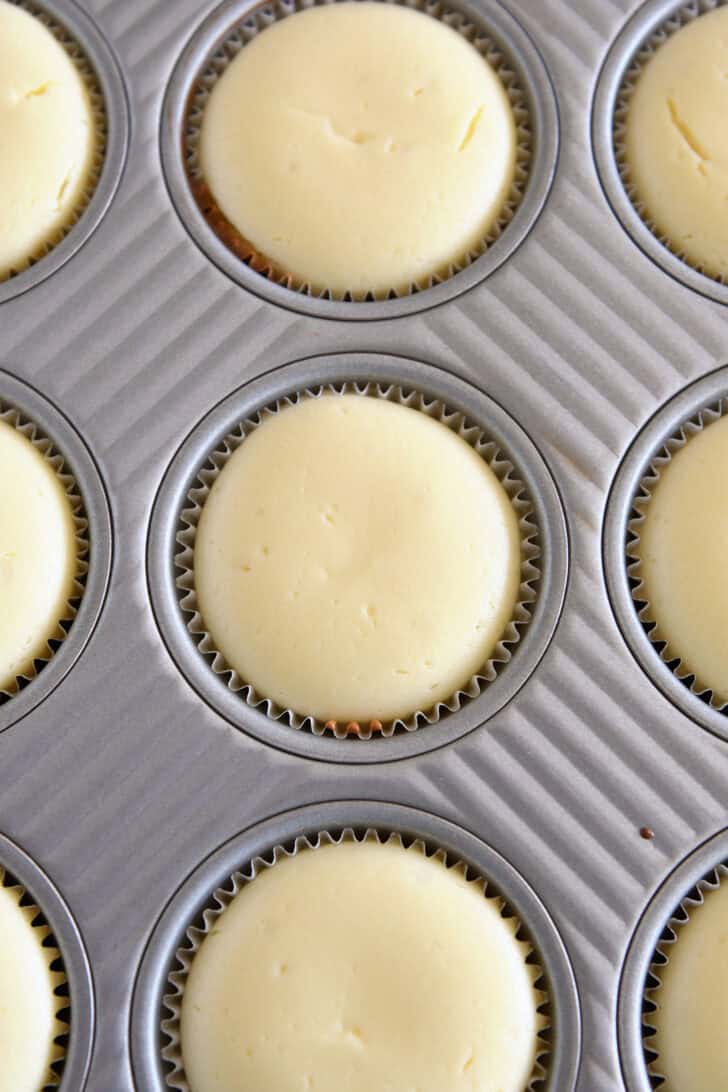
Bake the cheesecakes until the centers are puffed and the edges are set. Let the cheesecakes cool completely in the pan before removing and chilling.
Additional Pan Options
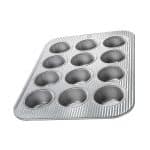
The recipe is written to use a standard 12-cup muffin tin.
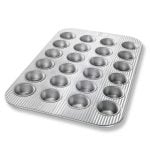
However, the recipe works very well using a mini muffin tin or a mini cheesecake pan. Who knew there were so many options for mini cheesecakes?? I have you covered. Make them mini. Make them mini-mini. Or make them mid-mini. 😉
For the standard muffin tin and mini muffin tin, you’ll want to use liners to make it easier to remove the cheesecakes from the pan.
If using a mini cheesecake pan, no need to use liners as those handy removeable bottoms help release the cheesecakes so they stay pristine and lovely.
See the notes below the recipe for additional tips on using different pan sizes (i.e. crust amounts + baking time).
Topping Ideas for Mini Cheesecakes
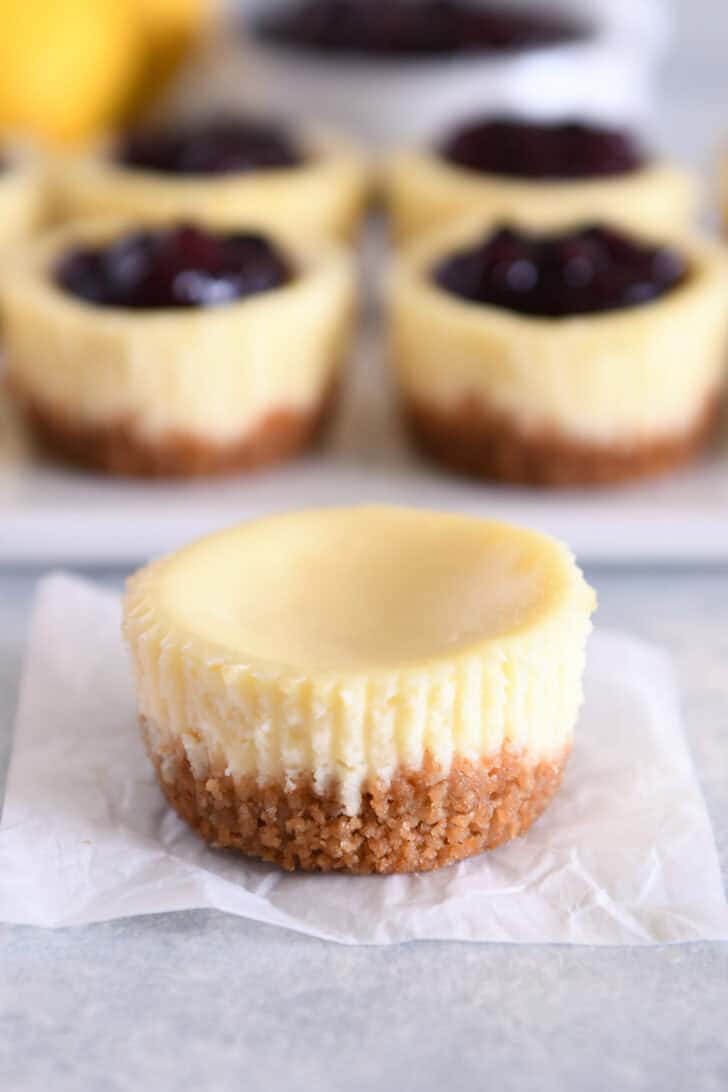
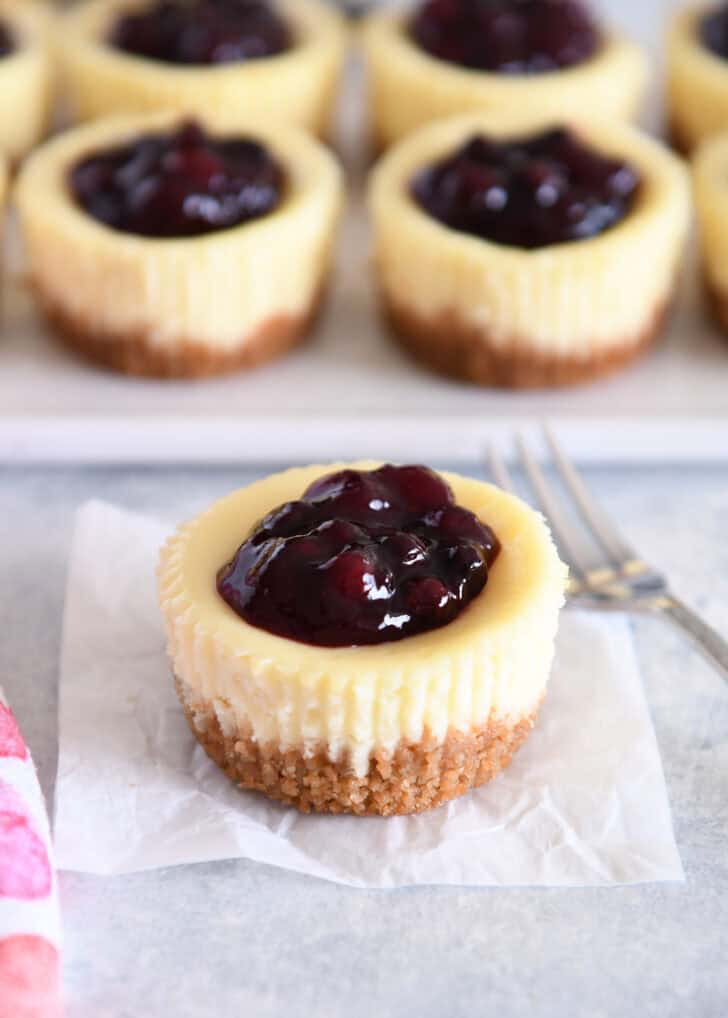
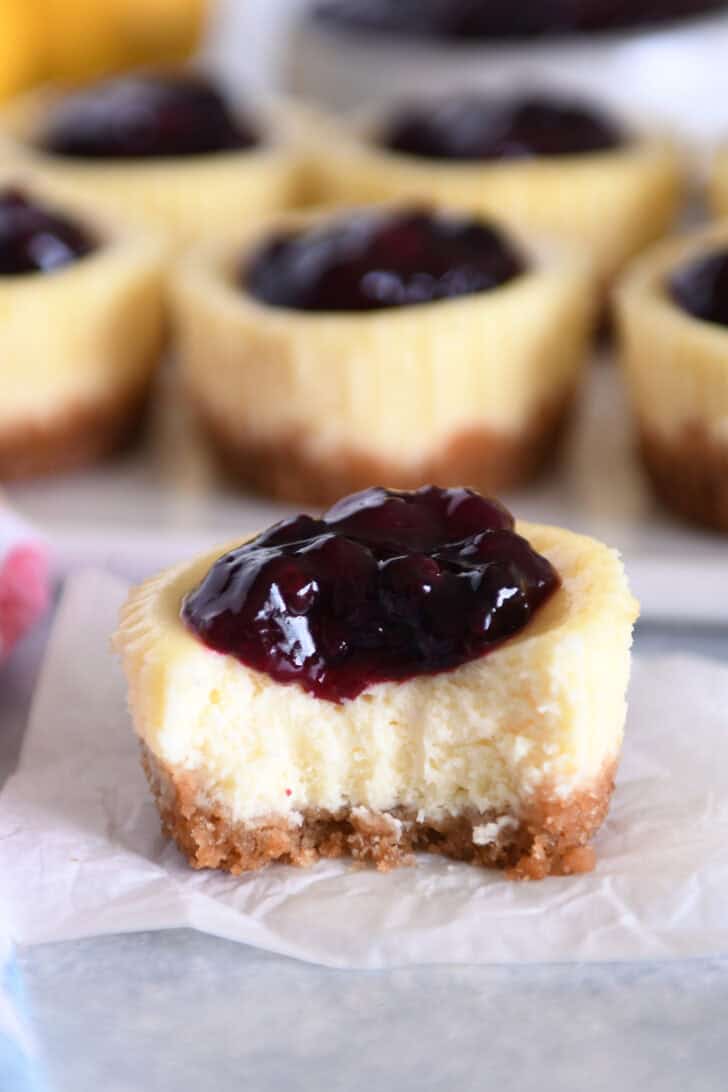
These delightful little cheesecakes can be served plain or topped in a variety of ways! The options are endless.
Mini cheesecake topping ideas:
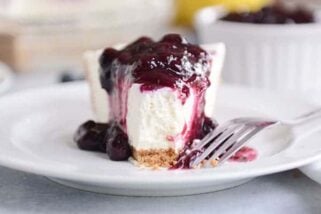
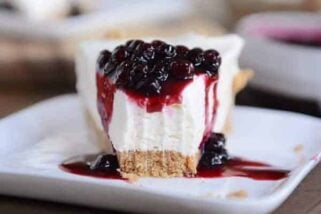
- easy fruit topping (see the simple recipe below!)
- chocolate drizzle or chocolate ganache (add a fresh strawberry, yum!)
- whipped cream
- fresh berries
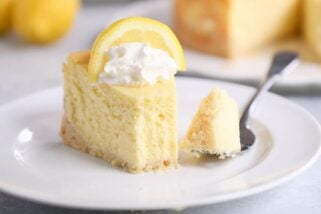
- lemon curd
- salted caramel sauce or butterscotch sauce
- blueberry pie filling, cherry pie filling, or another pie filling flavor of choice
Or a combo of any of the above!
One Year Ago: Coconut Lime Chicken and Zucchini
Two Years Ago: Cowboy Cookies {New and Improved}
Three Years Ago: Blueberry Muffin Bread
Four Years Ago: Soft Peanut Butter Sugar Cookies with Chocolate Frosting {No Rolling or Cutting Out}
Five Years Ago: Frozen Strawberry Lemonade Pie
Six Years Ago: One Pot Creamy Tomato Basil Pasta
Seven Years Ago: The Best Zucchini Bread
Eight Years Ago: The Best Chocolate Zucchini Cake
Nine Years Ago: Skillet Zucchini and Yellow Squash {My Fave Summer Side}
Ten Years Ago: Sweet Corn Salad with Radishes, Jalapeno and Lime

Perfect Mini Cheesecakes
Ingredients
Crust:
- ¾ cup (83 g) graham cracker crumbs (about 5 rectangle graham crackers, crushed)
- 2 tablespoons (13 g) granulated sugar
- 3 tablespoons (43 g) butter, melted
Cheesecake Batter:
- 12 ounces (340 g) full fat cream cheese, softened to room temperature
- ⅔ cup (141 g) granulated sugar
- ⅓ cup (80 g) sour cream, at room temperature
- 1 large (50 g) egg, at room temperature
- 1 large (18 g) egg yolk, at room temperature
- 1 tablespoon fresh lemon juice
- ½ teaspoon vanilla extract
Instructions
- Preheat the oven to 325 degrees F. Line a 12-cup muffin tin with paper liners. Lightly grease the liners with nonstick cooking spray. Set aside. (See note below for alternate pan sizes.)
- For the crust, in a medium bowl, stir together the graham cracker crumbs and granulated sugar. Add the melted butter and stir until all the crumbs are evenly moistened.
- Divide the crust evenly among the prepared muffin tin – about a heaping tablespoon of crumbs per muffin cup. Press the crumbs firmly into an even layer in each liner.
- Bake for 6 minutes. Set aside to cool completely.
- For the cheesecake batter, in a medium bowl with a handheld electric mixer or in the bowl of a stand mixer fitted with the paddle attachment, mix the cream cheese and sugar together until well-combined and creamy, 1 to 2 minutes.
- Add the sour cream, egg, egg yolk, lemon juice and vanilla. Mix just until all the ingredients are fully incorporated (don't over mix).
- Divide the batter evenly on top of the cooled crusts. The muffin tins will be quite full (unlike regular muffins, the cheesecake batter won't overflow).
- Bake the cheesecakes for 22 to 25 minutes until puffed and lightly set around the edges. Remove from the oven and let the cheesecakes cool completely in the pan.
- Once cooled, gently remove the cheesecakes from the pan and refrigerate until chilled and ready to serve.
- Serve with an easy fruit topping (see note below), whipped cream, chocolate drizzle, or plain.
Notes
Standard Muffin Tin
Yield: 12 cheesecakes, heaping 1 tablespoon crust per muffin cup, bake as directed in the recipe Mini Muffin Tin
Yield: 32 to 40 cheesecakes, heaping 1 teaspoon crust per mini muffin cup, bake for 13-15 minutes Mini Cheesecake Pan
Yield: 16 to 18 cheesecakes, 1 tablespoon crust per muffin cup, bake for 18-19 minutes For both the standard muffin tin and mini muffin tin, line the tin with paper liners and grease the liners. For the mini cheesecake pan, grease each well in the tin (no need to use liners as the removeable bottoms help release and remove the mini cheesecakes). Easy Fruit Topping: in a small saucepan, combine 6 to 8 ounces fresh or frozen fruit (about 1 cup), 1/2 cup water, 1/3 cup granulated sugar (can be adjusted, more or less, depending on the sweetness of the fruit), 1 tablespoon cornstarch and a squeeze of fresh lemon juice. Bring to a simmer over medium heat and cook, stirring constantly, for 2 to 3 minutes, until bubbly and thickened. Cool and refrigerate until ready to serve.


Are they served in the mini-cupcake liners? or do I take them out of the liner at serving time? How far ahead of the event can I make them (kept refrigerated, of course)?
You can serve them in the liners or remove them, either way is fine depending on how you want the presentation to be. They can be made 1 to 2 days ahead (the crust softens a bit more if made ahead of time but they are still delicious).
I have some 3.5” mini pie crusts that I need to use and was wondering if they would work with this cheesecake batter. If so, what adjustments if any would be needed?
Are the pie crusts pre-baked?
I have made a similar recipe but for the crust, you just put in a vanilla wafer. I debated about just doing that instead of the graham cracker crust because it is so easy, but I didn’t. I made the graham cracker crust, and I am SO glad I did! These little things are amazing, and the crust makes them! I did a simple raspberry sauce based on your easy fruit recipe at the end. Thanks for that! I think I need to double the recipe next time, because they were gone way too fast!
I thought I read somewhere in the post about making the topping ahead of time. Now I can’t find it. Would 2 days be too long to make the raspberry topping?
Yes, you can definitely make the topping ahead of time (two days is totally fine!)
Made these for the extended family and everyone loved them! Easy and delicious!
I made these for my neighbor. He was so impressed and said he would love these for his birthday. I’m thinking of making a whole cheesecake. Do you think I could just multiply the ingredients by 4 and increase the baking time and it would work for a full size spring form cheesecake?
You could definitely try! I haven’t made a whole cheesecake from this recipe, but it’s worth experimenting.
Would you happen to have a recipe for an Oreo crust option?
I usually grind up about 20-22 Oreo cookies and 4 to 5 tablespoons butter.
Made these yesterday, and they are fantastic. The muffin-size portions are the perfect amount, and even without any toppings, they are delectable. The option to bake them in muffin wrappers made this recipe so accessible.
So happy to hear this, Meridith!
Mel – I LOVE your recipes and am so excited to try these… especially because I had a bumper blueberry crop, and will make a compote to go on top! 1 question please and thank you…
Do you think it is safe to substitute Greek yogurt for the sour cream?
I appreciate your reply and look forward to more, always wonderful recipes in the future!
Hi Bobette, yes, I think that should just fine, but I think full fat Greek yogurt would work better than nonfat Greek yogurt in this recipe.
If you use papers in the cups – how do you grease the papers without ripping them? I’ve never heard of greasing the paper cups
I use cooking spray and spray the paper liners lightly with the spray.
My mom made hundreds of these for my wedding reception many years ago. Her recipe is very similar except for using a vanilla wafer cookie as the crust. She even froze them and they defrosted nicely.
That’s amazing! (Or rather, you’re mom is amazing!!)
I’m excited you posted this! I’ve looked for a mini cheesecake recipe on your website before. Can’t wait to try them!
Thanks, Jenny – hope you love them!
This is my childhood! My mom made these every year for Thanksgiving but, we cheated and used vanillas wafers on the bottom and sometimes mini ginger snaps😀. I think I will make these this year in memory of my mom using your crust and lemon curd.
I love how food inspires nostalgic memories like that! I also grew up with mini cheesecakes using a plain vanilla wafer as the crust. Just you mentioning that made me remember!
I was just barely trying to think of a yummy dessert idea to make for a ladies night tomorrow, when I saw you post this recipe on IG! It is perfect for ladies night: small and dainty, pretty to look at, and of course delicious. Thanks Mel!
Perfect recipe for ladies’ night, Ruth! Hope they’re a hit!
Can you freeze these prior to topping with the fruit?
Yes, the mini cheesecakes should freeze great.
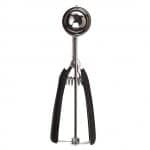
Hi Mel! These look amazing g and the recipe sounds like they are delicious. I am dying to try them. Quick question – what did you use (technique or tool) to press the crumbs into the pan? Also, did you use the #40 cookie scoop to ladle the batter in? Thanks so much for another amazing recipe!
Hi Brenda! I just used my fingers to press the crumbs into the cups, but you could use the bottom of a 1/4 cup measure for easy pressing. Yes, I spooned the batter in with a #40 scoop. It wasn’t an exact scoop for each cup because you’re just portioning the batter evenly among the cups, but it is a handy tool to get the batter in without a big mess. 🙂
I’m so excited you posted this!! My daughter wants mini cheesecakes as part of her dessert bar at her upcoming wedding. Do you think I could make them in advance and freeze them (minus a topping). Trying to minimize my “day before the wedding tasks” as much as possible. So excited to try!!
My mom made these for my wedding reception years ago. She did make them ahead of time and froze them. They defrosted nicely. She added the topping the day of the wedding.
Thank you!
Hi Katie! Yes, they should freeze great so they can be made ahead of time!
Absolutely! They should freeze great.