Easy English Muffin Bread {New and Improved}
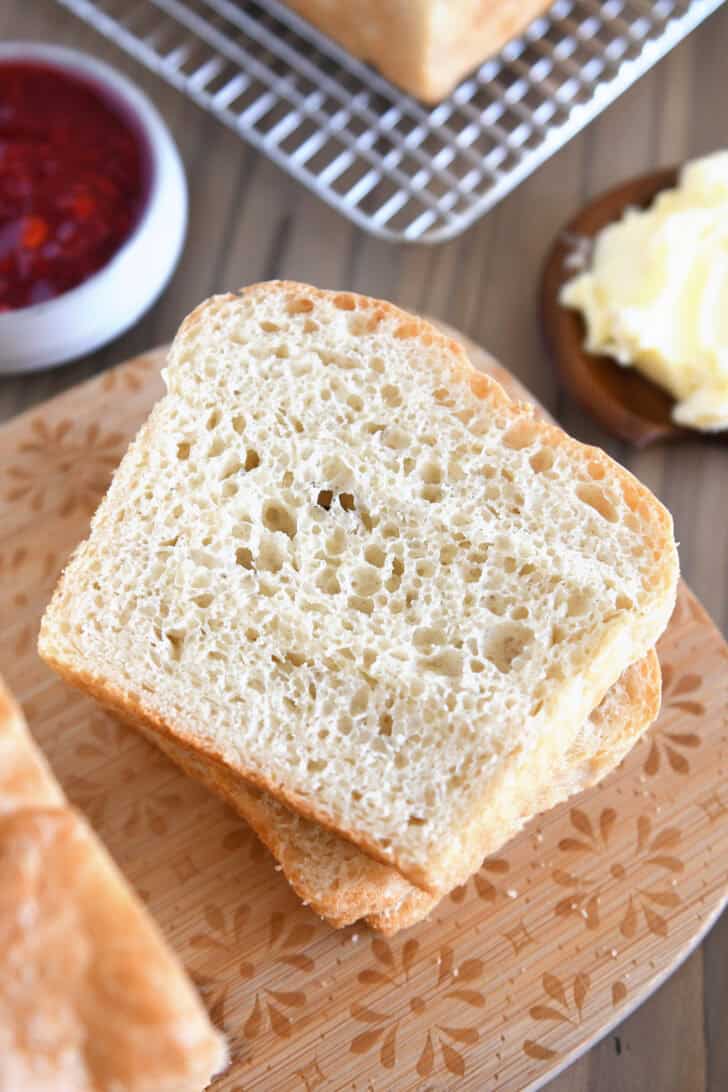
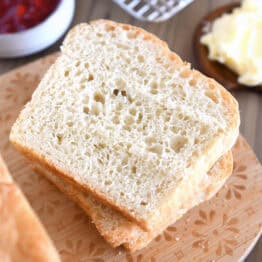
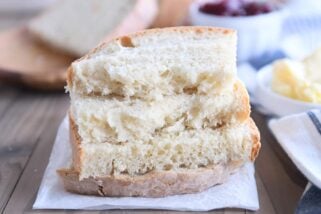
This English muffin bread holds all the delight of soft, chewy English muffins but is so much easier to make! It is perfect for toasting!
English muffin bread makes the best bread for toasting! This new and improved recipe makes two loaves and includes a sourdough variation for more of that classic, tangy English muffin flavor.
Dough Mixed By Hand
The dough for this easy English muffin bread is mixed by hand. No kneading. No stand mixer.
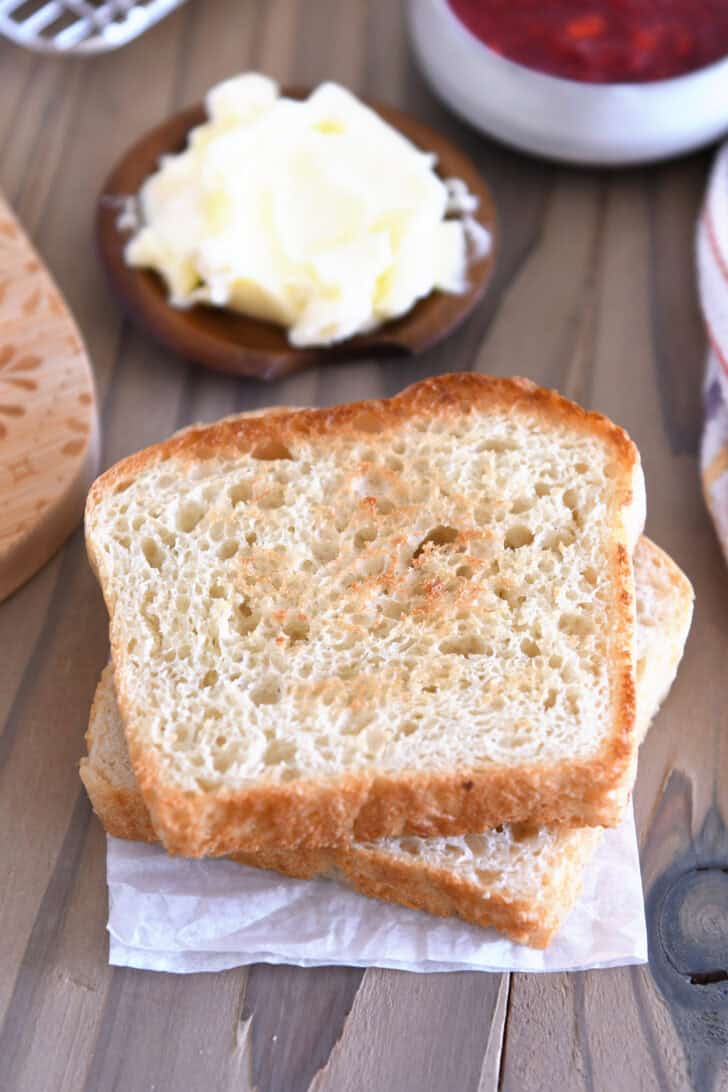
There is a high ratio of water to flour. That’s important so that the lovely little holes appear while rising and baking which result in the best nooks and crannies for toasting later.
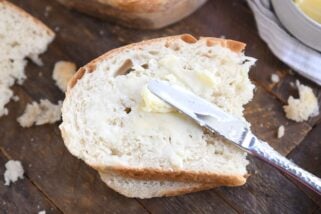
It also means the dough is quite sticky. Don’t panic. Don’t run for the hills. Don’t abandon the recipe. Arm yourself with some cooking spray or olive oil to grease yo’ little hands, and you’ll be good to go.
Simple dough ingredients:
- warm water
- yeast (active dry or instant)
- tiny bit of sugar
- salt
- all-purpose flour
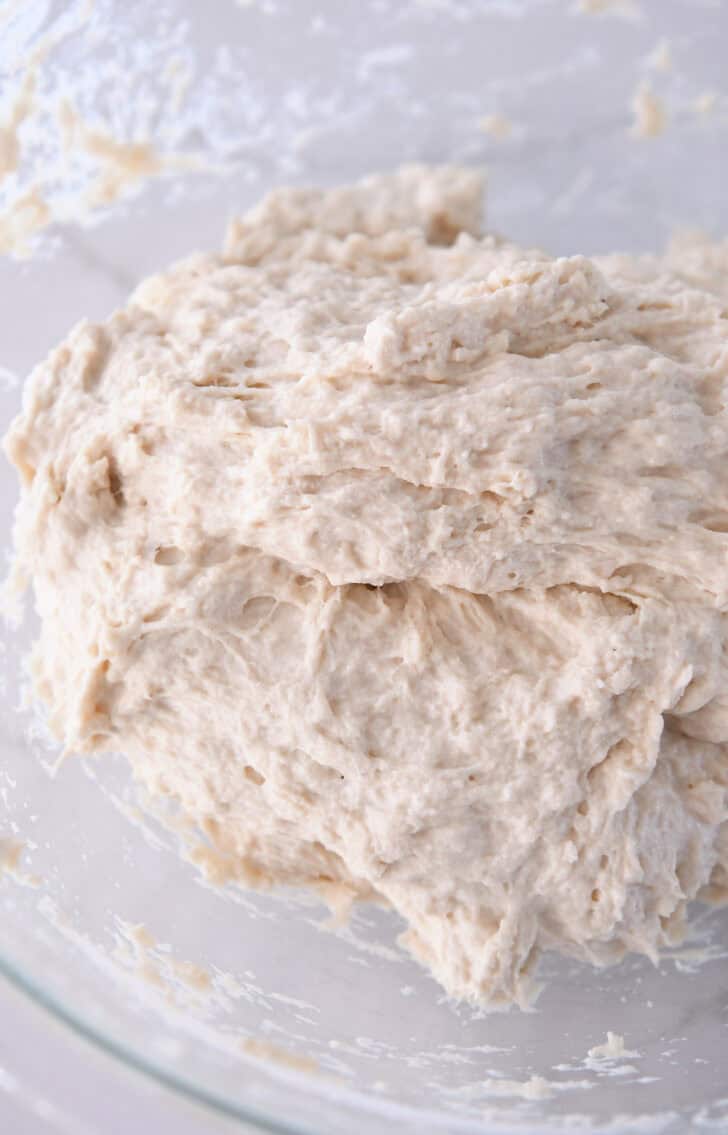
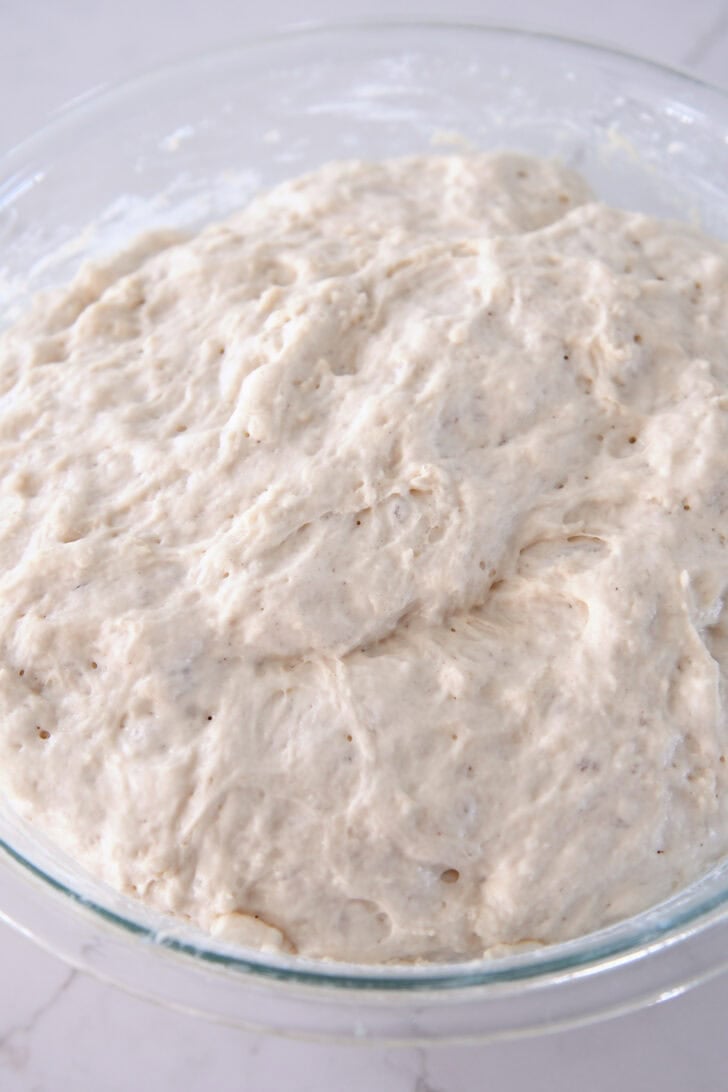
Mix the dough until it comes together in a shaggy mass of a ball and no flour spots remain. No intense mixing or kneading. Just mix with gusto until it looks pretty cohesive.
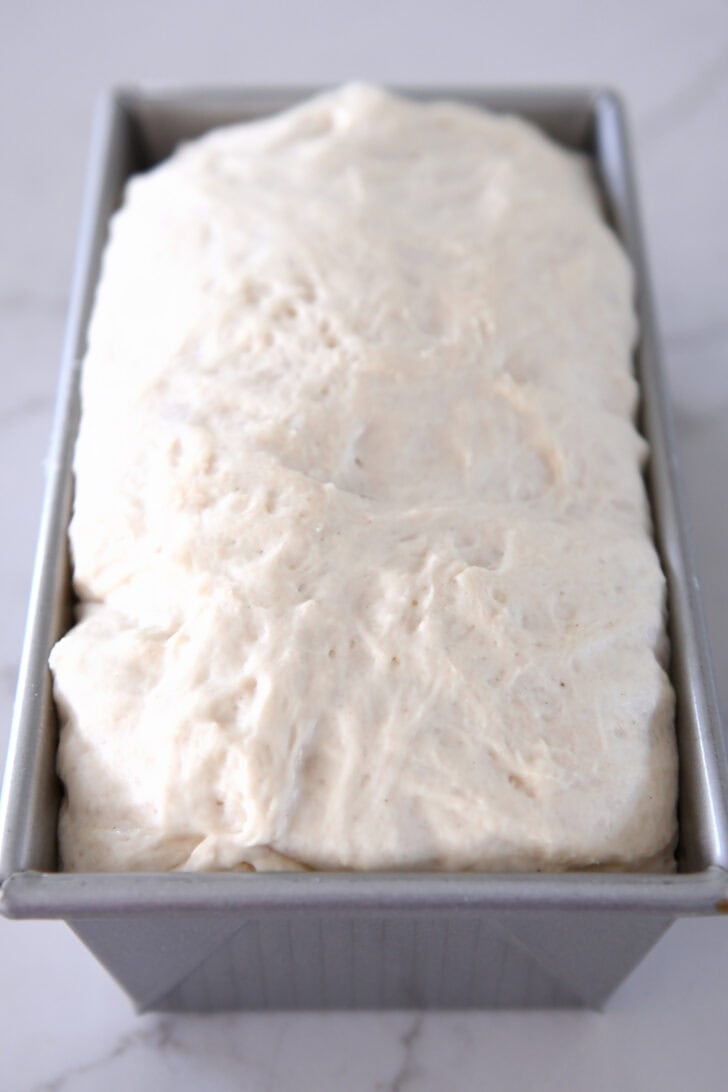
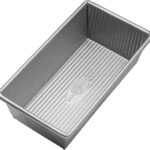
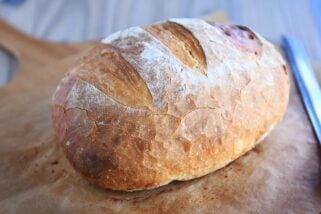
Once the dough has risen, divide it into two pieces. Use lightly greased hands to get it into a semblance of a loaf shape (don’t stress, it’s going to look rustic) and plop it in a greased 8 1/2X 4 1/2-inch loaf pan.
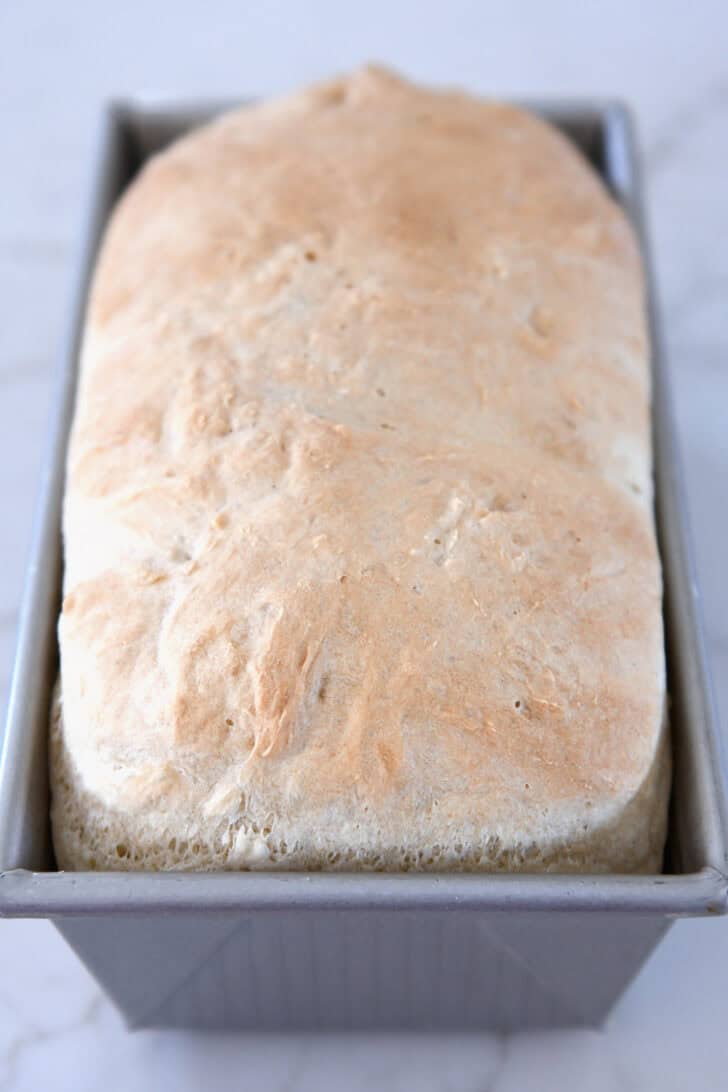
Let it rise until delightfully and noticeably puffy (sigh, why is bread one of the few things that looks so cute puffy?). Then, bake until golden.

Sourdough Variation
The recipe, as written, produces slices of baked bread with all the wonderful texture of a classic English muffin. I’ve already said this, but I’ll repeat it at least 6 1/2 more times: this is the best bread for toasting. The end. Period.
However, if you want to add a bit of tang to mimic the flavor of English muffins, adding sourdough starter can do the trick!
Sourdough English Muffin Bread Variation:
For a simple sourdough variation (which helps add the characteristic tangy flavor of classic English muffins), decrease the water to 2 1/4 cups and the flour to 5 cups and add 1 1/2 cups fed or discard sourdough starter with the warm water, yeast and sugar. If using ripe and bubbly sourdough starter, you can decrease the yeast to 1 to 2 teaspoons. I haven’t tested this recipe omitting the yeast completely.
Make-Ahead Tips
- The mixed dough (regular or sourdough version) can be refrigerated for 24 to 48 hours before shaping into loaves and baking.
- This process can also help develop a more pronounced, yeastier flavor.
- If doing so, press greased or oiled plastic wrap directly to the surface of the dough and seal in a covered container to prevent dry spots forming on the top of the dough.
- Take the dough out of the refrigerator 45 to 60 minutes before shaping into loaves and then let rise and bake as directed in the recipe.
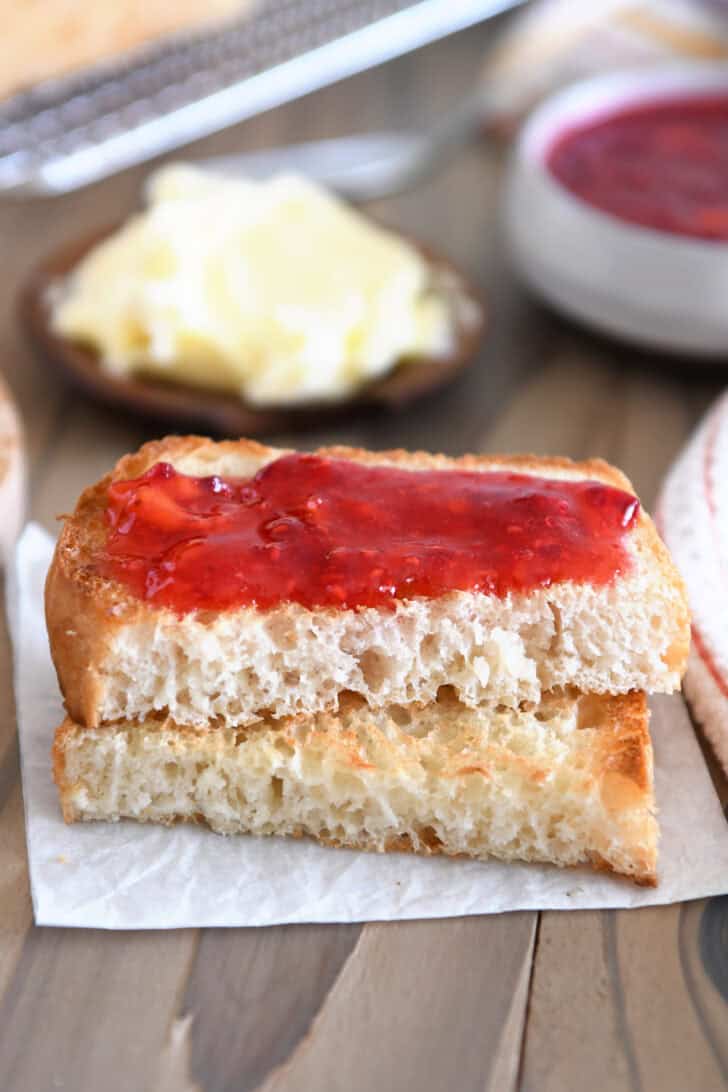
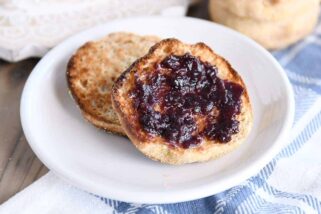
While I will never not champion the benefits of toasting this English muffin bread (only 5 1/2 more mentions to go), it actually is tremendously delicious untoasted, too. Butter and jam barely optional.
It is insanely soft and squishy, and it inserts the best reminder into your life and mine that nothing, and I mean nothing, can beat a fresh loaf of bread for bringing instant happiness and good vibes.
Easy English Muffin Bread
Ingredients
- 3 cups (726 g) warm water, about 100-110 degrees F
- 1 tablespoon instant or active dry yeast
- 1 tablespoon granulated sugar
- 1 tablespoon table salt
- 5 ¾ cups (817 g) all-purpose flour
Instructions
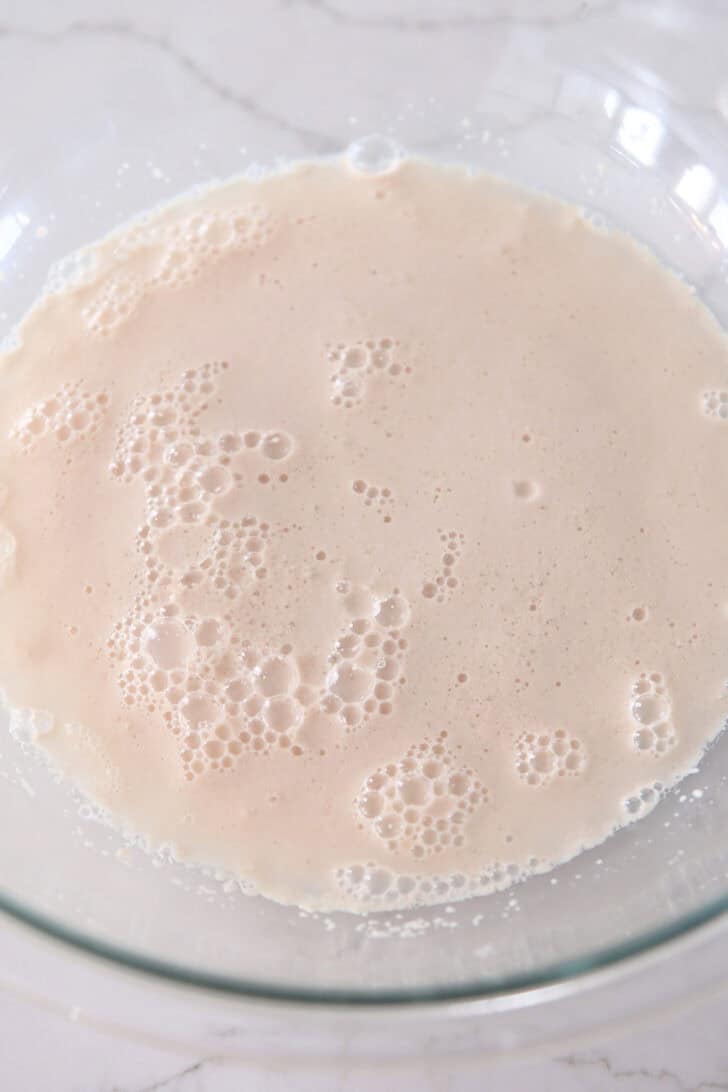
- In a large bowl, add the water, yeast, and sugar. Let sit until the yeast is bubbly and foamy, 2 to 3 minutes.
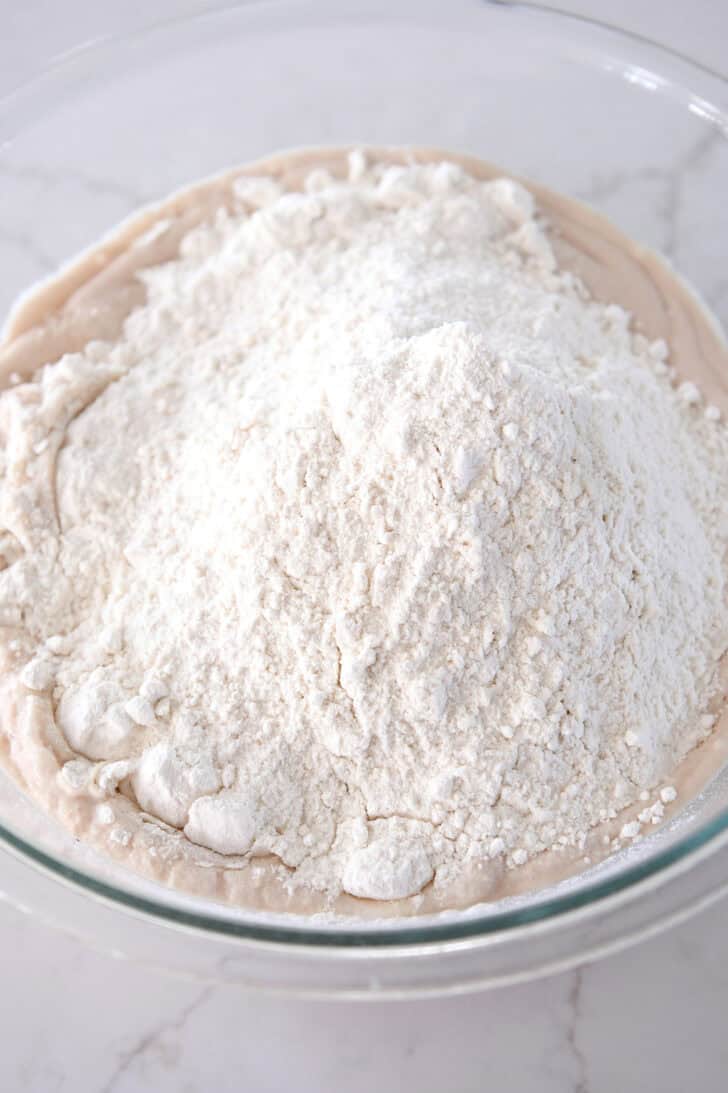
- Add the salt and two cups of the flour. Mix with a dough hook, spoon, or spatula until combined. Add the remaining flour and mix until the dough comes together in a shaggy ball and no dry streaks remain. You may want to ditch the stirring utensil, grease or lightly flour your hands, and mix by hand until it comes together. The dough will be quite sticky; that is normal.
- Cover the bowl and let rise until the dough has doubled (it will be very puffy).
- Lightly grease two 8 1/2 X 4 1/2-Inch loaf pans with cooking spray. Using greased hands, lightly punch down the dough and divide into two equal pieces.
- Gather up one portion of dough in greased hands and quickly and lightly shape into a rough semblance of a loaf shape. Dump into one of the prepared pans. Repeat with the other half of dough. The loaves are meant to look a bit rough and rustic.
- Cover the bread pans and let the loaves rise until the bread is 1/2 to 1-inch above the edge of the pan. Toward the end of rising time, preheat the oven to 350 degrees F.
- Bake the bread for 25 to 30 minutes until golden on top and baked through. Remove from the oven and turn the loaves onto a wire rack to cool completely.
- The bread is delicious toasted (or untoasted!) with butter and jam.
Notes
Recommended Products


Recipe Source: from Mel’s Kitchen Cafe, adapted from this old recipe to make two loaves instead of four and adjusting quantities of flour, yeast and water to produce a lighter, fluffier loaf
What am amazingly easy recipe and flavor,,,I’ve always wanted to bake bread like Grandmas this is the closed I’ve come,,,,do you have a suggestion as to getting a darker top crust,,,,without changing internal texture,,,,.
Possibly baking at a higher temperature might work or positioning an oven rack higher or lower in the oven. This bread always bakes with a light crust for me, as well.
Hi Mel,
Can you tell the difference between this recipe and a normal sandwich bread recipe as I don’t see any difference.
I am trying your sourdough version right now.
Thanks.
Carole
Hi Carole, this English muffin bread has an airier texture and is slightly more spongy (not in a bad way) compared to traditional sandwich bread.
Letting mine rise now but what do you cover your pans with. I had a linen towel but the dough is sticking to it. I have them in the oven with only the light on
If the towel is sticking to the bread dough, try greased plastic wrap.
I have been making this bread for a few years now and it never disappoints. When my adult kids come to visit they always request that I make a few loaves of this bread for them to eat while visiting.
Tried it with high hopes and can’t really understand the praise here. It’s a butter or jam delivery system, sure, but it doesn’t really TASTE like anything. It doesn’t even give the house that nice “fresh baked bread” smell. I’ll stick with breads that include shortening, eggs, or both, and won’t waste the ingredients again.
Absolutely perfect in every way. Love that it comes together so quickly without much effort and so delicious. The loaves get gobbled up quickly around here. Thanks for another delicious recipe!
Hello Mel, I saw your recipe for English Muffin Bread and decided I had to make it. I really enjoy experimenting with recipes so yesterday I used 2 cups plain flour, 3cups strong white bread flour and 3/4 cup of wholemeal. This gave a very flavoursome firm crusty bread. Using an 8 1/2 x 4 1/2inch tin and the rest as rolls in various sizes I have determined how best to make it next time. It is such a quick easy bread to bake that it could almost be classed as the ‘emergency loaf’! Your reply to others questions are very helpful. Many thanks, Russell
Thanks for the comment, Russell! So very glad this worked out for you and appreciate you including a thorough review of how you made it!
I wish I didn’t know about this bread… Absolutely delicious! I read the comments some people made about the dough being very soupy and not firming up at all and I had the same issue until I realized that I was reading the recipe wrong and only using 3 cups of flour. When I was reading the recipe “how to” section I saw that you add 2 cups of flour, mix and then the rest of the flour gets added in. For some reason I was just thinking one more cup, to make 3 cups. It wasn’t till I started to let the dough rise that I went back and re-read the recipe and saw the 5 3/4 cup flour. After I added the rest of the flour, the dough looked exactly like the picture. Maybe other folks are doing the same thing?? This was so easy to make, too easy. My waistline is puffing out just like this dough does!
Helpful feedback, Julie! I’ll underline that part of the recipe.
Do you think this would work well with half wheat flour??
Yes, I think so!
Wow! Sooo good! This is a perfect bread for toasting. A big hit with the family! Easy to make and has come out perfect each time I have made it. It is on repeat in our home!
If I could I’d give this recipe 10 stars. For several years now I’ve been making (and please no disrespect to ATK as they’ve done a great job teaching people to cook delicious foods and some science behind it all)
Americas Test Kitchen English muffin bread. It’s a pretty good recipe yet I wasn’t crazy about the flavor or the texture. Last week I decided to pull out the sourdough starter languishing in the fridge and saw this recipe.
Since then I’ve baked 10 loaves of this bread using the sourdough option! It is absolutely delicious!! The loaves rise up nicely and the flavor and texture are divine. Perfect for toasting with eggs or jam but also excellent for sandwiches like grilled cheese or a BLT. You’ve done it again Mel!!!
So so happy you love this recipe, Eileen!
I have now made 8 loaves of this incredibly delicious bread in the last two weeks and it’s absolutely perfect. I have been making the sourdough version. When I read this recipe I decided it would be excellent use of the sourdough starter languishing in the back of my fridge and it truly is! I don’t mean any disrespect of the American Test Kitchens English muffin bread recipe which is the one I had been making for several years but Mel’s recipe rises higher, has more delicious crevices in which to slather butter and jam and honestly just tastes superior. Plus a better grilled cheese or BLT has yet to be found!
My husband has proclaimed we will never purchase English muffins again!! lol This one’s a triumph, Mel!
After mixing, should I allow the English muffin dough to rise the first time then refrigerate overnight?
I would recommend refrigerating it before it rises. It’ll rise in the fridge.
Can you use bread flour?
Yes
I just made this yesterday. After being so disappointed with most English muffin bread, I gave up. Now after this recipe, this is absolutely delicious toast. I loooove this what I call it toasting bread. I did only have bread flour on hand, but I have no complaints. So good.
So happy this worked out for you, Eileen! Thanks for letting me know.
Hi! I’m new at this and am trying it soon. At the top of the recipe, you say that rising time is 2 hours 30 minutes. Is that total for both times or just the first rising? Or, how long is the rising in the baking pans? Thank you so much!!
That is for the total rising time. The exact rising time will depend on the warmth of your kitchen. The bread will likely need about an hour of rising time in the pans.
So yummy!
Loved this bread. Sad I put off making it until now. The four loaves were gone within 26 hours. My teen boys devoured it all. Thanks for another delicious recipe, Mel!
Yay, Christine! Glad the bread was a hit!
Is the yeast/sugar/water combo still supposed to get bubbly with sourdough discard added in? My never did. Not sure if it’s my discard or if I did something wrong!! :/ ha ha
Did the bread rise ok? If so, it’s likely just fine (if your discard was added cold from the fridge, it could affect the yeast bubbling, but it should still work out just fine as long as the yeast is active!)
Yum! This is replacing peasant bread as my new go-to. I love that there is no kneading, and the second rise gives it a beautiful texture. Absolutely delicious and simple!
While toasted with butter and jam is my favorite way to eat this bread…a close second is as a breakfast panini! Sausage patty, cheese, fried egg and grill that baby up. SO good!
My first attempt at making homemade bread and it’s delicious!! Mine didn’t turn out as beautiful as the photos but I think I’ll improve with practice 💛 Wondering how long the second loaf will keep – out on the counter or should I refrigerate? Thanks Mel!!
Hi Cathy – glad it worked out! No, don’t refrigerate the bread – it will dry it out. Either freeze the second loaf or keep it well-covered at room temperature.
Looks yummy! Has anyone tried it using Gluten Free flour? I love to bake (60+ years) but the new GF diagnosis is making it challenging. I would appreciate any help you or your many followers could share. You have a wonderful website and your personality makes me enjoy every day as I follow along. My husband is convinced we are good friends since I tell him I checked in with Mel today and she’s doing well:)
Hi Roberta! Thanks for your kind comment! I appreciate that so much. 🙂 As for this bread, unfortunately, it will be a bit tricky to use gluten free flour and have it turn out the same. I’m sorry! I haven’t made a gluten free version of this, so I don’t have a good recommendation. However, I did a quick google search, and this recipe looks promising! https://glutenfreeonashoestring.com/gluten-free-english-muffin-bread-gfoas-bakes-bread/
You are very kind to take your time and help me with my question. I appreciate it. I will give your suggestion a try. Let’s keep our fingers crossed! I will make your version for my husband because it is his favorite breakfast bread and I know your version will FAR surpass what I have been making all these years. I hope you and your family have a lovely weekend. Thank you for your help. You are a peach.
Delicious bread! My time management was poor and so I skipped the first rise. After mixing I just put the dough into the bread pans. After rising they baked up beautifully! Bread is super good! I am sure it is even better with both rises but if you’re in a time crunch this will work!
I’m giving this 5 stars with a BUT. My dough was extremely sticky. I make bread at least weekly, so I’m not one to shy away from yeast bread recipes. But my dough would not form into any kind of shaggy ball when mixing and there was no way I could handle the dough at all to form even rustic loaves. I had to simply dump my dough into bread pans, it was almost ribbony as I poured it. I followed the recipe using the weighted measurements. I do wonder if something may be a little off in the measurements, maybe? BUT the bread was amazing and is so delicious anyway! And I understand the dough needing to be sticky, but mine definitely did not look like the photos. Will I make it again? Yes, 100%. Maybe even tomorrow because it’s delicious! I may just back off a tiny bit on the water amount.
Same here. The first time it was like thick gooey soup and actually overflowed out of the pan in the oven! Still, it somehow turned out delicious. Second time I didn’t use my scale for the flour (did the fluff instead which added a bit more flour) and I could handle the dough a bit better though still soupy and near impossible to handle, but again, delicious. Third time (yesterday) was the same: too hard to divide, too mushy to get in the pan, dough stuck all over my hands…
BUT, no matter how I cook this amazing bread, it comes out so tasty that it’s worth the effort! 😊
I had the same issue, I’ve made this about six times now, and I keep cutting back on the water, it still is very much like batter instead of dough, But it still turns out great. I do use a scale and weigh all of my ingredients so I know I am on the numbers. Next time I make it I’m going to use the pictures from the website as a guide and just add flour until I get to that consistency and see how it turns out.The bread has turned out fine, I’m just not used to working with batter instead of dough! Thanks Mel!
It is a very sticky dough, like you said… but worth the grumbles to make it! Excellent for toast, sandwiches… may replace your peasant bread as my favorite!
Yes, it is very sticky dough! Glad it was worth it!
Do you use bread flour
I haven’t, but you could try!
I had some sourdough starter begging to be used so I did that version. Someone else commented on the stickiness and I was worried too, but happily enough, it turned out great!
Yay! Happy you made the sourdough version and it worked out!
Mine never really browned on top-it was really pale. I’m kind of a newbie with yeast breads, so maybe it’s something simple. Still tasted delicious! Any ideas for why it didn’t brown?
Hi Nikki, this bread doesn’t get as brown on top as other more classic bread loaves. I think that’s pretty normal. You might try adjusting where the oven rack is to see if that helps (usually moving it up in the oven can help things brown a bit better)
I had my doubts because the dough was sticky mess for me. But holy cow. It is out of this world delicious. You did it again Mel!
I’m glad it worked out for you, Alicia! The dough is VERY sticky…but the end result is worth it!
For the sourdough version, do you know the weight of the sourdough starter? Thanks so much! I can’t wait to try this!
I looked at her sourdough biscuit recipe that calls for 1 1/2 c of sourdough starter and the weight measurement is 413g 😄
Thank you for chiming in with the answer, CJB!
I love this recipe soooo much! I make the original all the time, and had started slipping some sourdough discard in there off book…. Initially I thought that four loaves was too much, but since this bread freezes a dream it was never a problem. I will definitely try this half recipe when freezer space is tight. Besides encouraging everyone to make this (seriously- best toast ever): one of the things from the original recipe that I always do: butter the top of the loaves when they come out of the oven! Thanks for another family favorite!
Also- unrelated: I got my cookbook! Eeee! It is wonderful! Congratulations and thank you!!!
Ah, thank you, Rebecca!!
Could the recipe be halved to make one loaf?
Sure!