

Caramel Pear Crisp
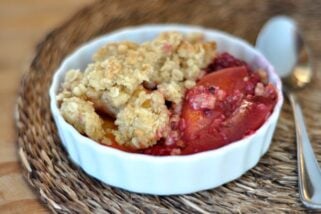
This easy caramel pear crisp combines tender, juicy pears, rich caramel sauce, and a buttery crisp topping for an irresistible fall dessert.
⭐️⭐️⭐️⭐️⭐️ I’m dying! This was SOOO good! Luckily I was able to hide a little bit to enjoy tomorrow while my kids are at school before my teenager finished off the rest of it. -Jackie

Why This Pear Crisp is The Best Dessert
I am a die-hard chocolate fan, and yet, this caramel pear crisp is one of my all-time favorite desserts ever! Here’s why:
- Pears and caramel are a perfect match. Juicy, ripe pears are naturally sweet and flavorful, and the rich caramel sauce makes them even more delicious.
- Don’t get mad, but…pears make a better fruit crisp than apples. The flavor! The texture! Plus, pears soften more quickly in the oven than apples and lend a creamy texture to the fruit filling.
- Homemade or store-bought caramel works. Use a homemade caramel sauce or take the easy route with a tasty store bought version. Both options work well here.
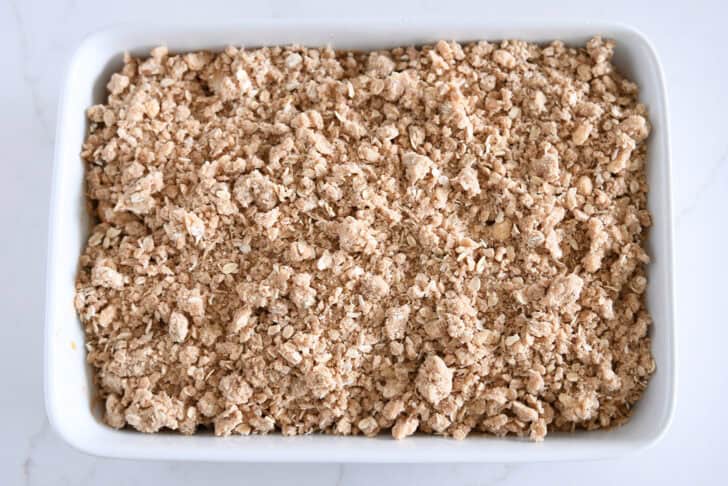
- The buttery streusel is irresistible. It bakes up golden and crisp, with pockets of warm caramel bubbling through the topping.
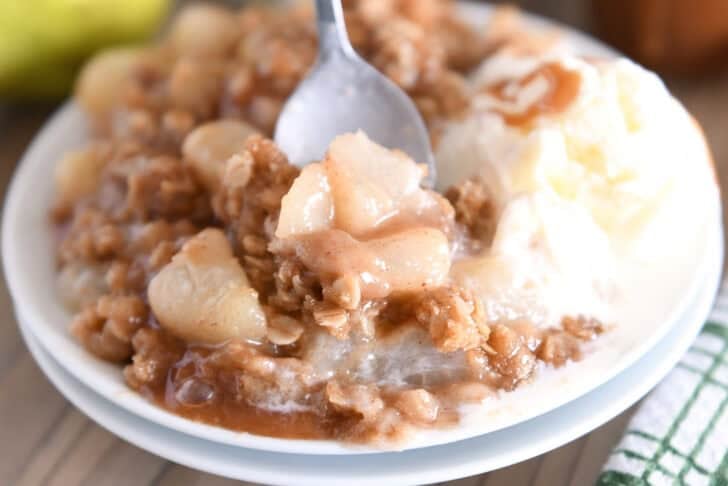
- This crips is an easy, impressive dessert. The caramel pear crisp is so much more than the sum of it’s (very simple!) parts. It is especially exceptional served warm with vanilla ice cream and an extra drizzle of caramel sauce.
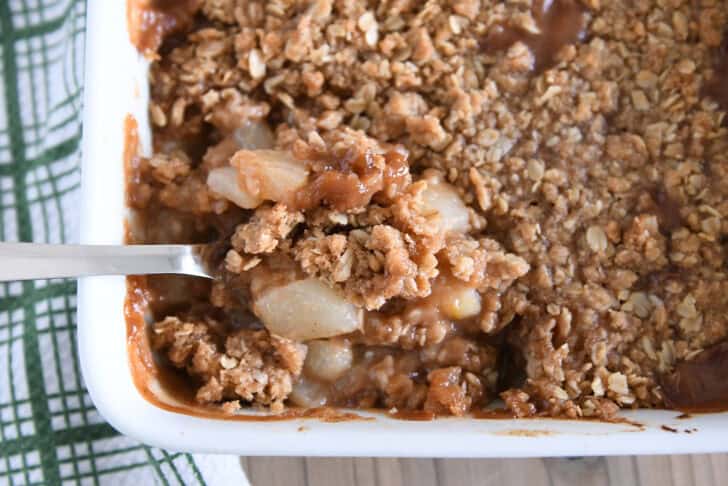
Ingredients Notes
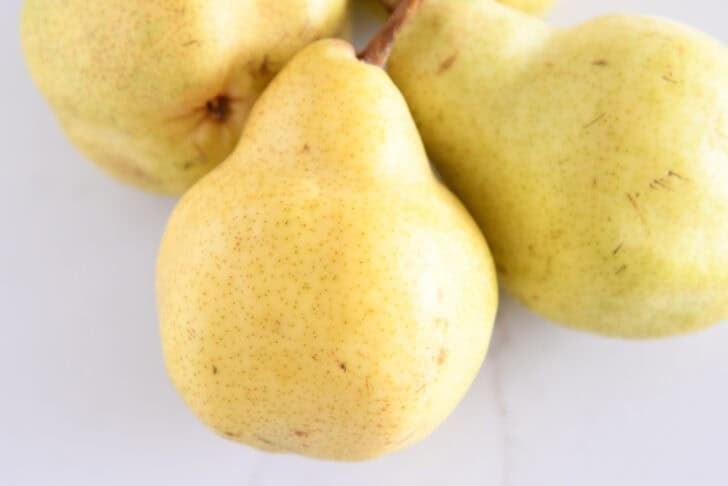
- Pears: You’ll need about 8 large, ripe pears for this crisp (4 pounds). Peel, core and dice the pears. Don’t dice the pears too small or they’ll cook down too much/get mushy while baking. I prefer using Bartlett pears for this recipe.
- Fresh lemon juice: This ingredient helps the pears retain their bright color and also adds a pop of fresh flavor.
- All-purpose flour: The flour is used to help thicken the filling and
- Ground cinnamon: Cinnamon is used in the filling and in the streusel topping.
- Caramel sauce: Homemade or store bought caramel sauce sweetens the pear filling. See the recipe notes for the homemade recipes that work well in this recipe. For store bought, I like Trader Joe’s or Ghirardelli caramel sauce.
- Brown sugar: Light or dark brown sugar can be used in this recipe. Lightly pack it into the cup to measure.
- Old-fashioned rolled oats: The oats add delicious heartiness to the streusel topping. I prefer using old-fashioned rolled oats, but quick oats can be subbed, if needed.
- Butter: I use salted butter. If using unsalted butter, increase the salt in the streusel by 1/4 teaspoon.
Not listed, but deliciously optional: vanilla ice cream and additional caramel sauce, for serving with lightly warmed pear crisp.
Additional Notes
- Choose ripe pears: The pears should give slightly when pressed near the stem but shouldn’t be overly soft or mushy. Very ripe pears can break down too much while baking.
- Adjust the sweetness: Pears vary quite a bit in sweetness. If your pears are especially ripe and sweet, consider reducing the caramel sauce just a bit in the filling.
- Peel the pears: I know, I know, pears can be a bit annoying to peel, but don’t skip this step. The pear skins alter the texture of the filling (and not for the better!).
- Watch the salt: Salted caramel sauce will give the dessert more contrast. If the caramel sauce you are using is fairly salty, you may want to slightly reduce the salt in the filling or streusel.
- Let it rest before serving: A 20- to 30-minute rest allows the filling to thicken and set up.
This caramel pear crisp has become one of my favorite ways to enjoy pears! The pear filling, buttery streusel, and bubbling caramel are so good together.
If pear desserts don’t usually make it onto your must-make list, give this one a chance. It has won so many people over (including me!). I think you are going to love it.

Divine Caramel Pear Crisp
Ingredients
Pear Filling:
- 4 pounds ripe pears (about 8 medium pears), peeled, cored and diced into 3/4-inch pieces (see note)
- 3 tablespoons fresh lemon juice
- 3 tablespoons (27 g) all-purpose flour
- ½ teaspoon cinnamon
- 1 cup (340 g) caramel sauce, homemade or store bought (see note)
Streusel Topping:
- 1 cup (212 g) packed light brown sugar
- 1 cup (142 g) all-purpose flour
- 1 cup (100 g) old-fashioned rolled oats
- 1 ½ teaspoons cinnamon
- ½ teaspoon salt
- ¾ cup (170 g) (1 1/2 sticks) salted butter, cut into pieces
For Serving:
- Vanilla ice cream
- Additional caramel sauce
Instructions
- Preheat the oven to 350 degrees F. Lightly grease a 9X13-inch pan and set aside (a slightly smaller pan will work fine, too).
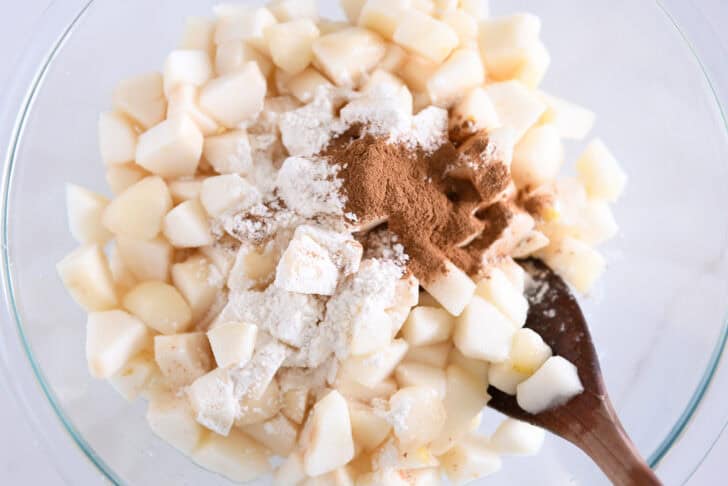
- For the pear filling, in a large bowl, add the pears, lemon juice, flour and cinnamon. Toss to combine.
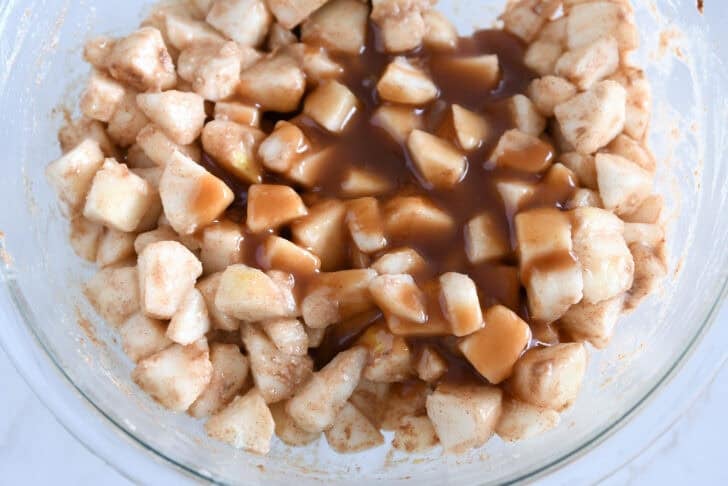
- Add the caramel sauce and stir to combine well.
- Spread the pears evenly in the prepared pan.
- For the streusel topping, in a medium bowl, whisk together the brown sugar, flour, oats, cinnamon, and salt.
- Add the butter and use a pastry blender or two butter knives to cut the butter into the dry ingredients until the mixture is crumbly.
- Spread the streusel topping evenly over the pears.
- Bake the crisp until the pears are tender and the streusel is golden and edges are bubbling, 45 to 50 minutes.
- Remove the crisp from the oven and let rest for 20 to 30 minutes for the filling to thicken and set up.
- Serve the crisp warm or at room temperature.
- If desired, serve with a dollop of sweetened whipped cream, a scoop of vanilla ice cream, and/or a drizzle of additional caramel sauce.
Notes
Recommended Products
Recipe Source: caramel sauce from me, pear filling and topping adapted from Cuisine at Home “Celebrate the Seasons”
Recipe originally published October 2014; updated August 2026 with new photos, recipe notes, etc

So so very good!
I can’t believe there aren’t more comments on this dessert—it is amazing! I made a 3/4th size recipe in a 9-inch square dish but made the full size of the topping. We ate it warm with vanilla ice cream and more caramel sauce. Really outstanding. When I need to make an impressive dessert, this will be it. There were leftovers and it was still delicious heated up over the next couple days. You really can make it the day before and reheat.
I’m so glad you love this one, Kim – it is such a huge favorite of mine as well!
I’ve started a new fall tradition to make this every year. It’s so satisfying and rich. I cut the pears into eighths, and did not peel them. Even though I goofed and baked the (9×13) crisp for half an hour too long, it was perfectly delicious, not burnt or mushy at all.
I was wondering, is the 4 lb. of pears measured before, or after peeling/coring them?
I weigh the 4 pounds and then peel, core and dice.
Thank you!
This recipe is so yummy, Mel! Actually, I haven’t even made it with the caramel sauce yet, so I won’t put any stars here, but it’s a family favorite. I had a bunch of pears to use up, and of course came to your site as my first stop. I’ve since made this recipe for our family at least 4 times, plus I’ve given it away to friends who loved it just as much as we do. Today I’m trying it with apples just because the crisp topping is my favorite. I don’t think I’ll ever get through all of the recipes you’ve shared, but I promise I’ll keep trying! 🙂
I’m commenting a second time on this wonderful recipe. I made this again last night and this time everything became really liquidy …I assume the caramel separated in the dish but I’m not sure what I did wrong (I’m a newbie at caramel making) It still tasted wonderful but I’m just curious why. The reserve caramel sauce to drizzle over did not separate. When I make again…I might just use store bought caramel sauce to mix with the pears. I will still definitely make the homemade caramel sauce though…that stuff is out of this world!
I absolutely love this recipe!! Thank you for sharing a whole new flavour favourite!
One question, when you say the crisp can be made a day before, do you mean together with pears or separately, just a crisp mixture? I want to make it for dinner party tomorrow but only have time in the morning to bake it
You can make it, bake it, refrigerate and reheat. Or you can make it and refrigerate the filling and topping separately and then assemble and bake when needed.
This is Ah-maxing! I’m not a huge fan of pears but we were gifted some so I came across this recipe and thought I’d give it a try. I’m so glad I did!! I only had enough to make a small pan so I halved the recipe. As soon as my husband and I took a bite we both wished there was a full pan to eat, it was that good.
I accidentally made the full amount of caramel sauce so I have a lot left over. How long do you think it will keep for? I’ve never made caramel before so I’m hoping it’ll be good for a bit in the fridge.
Thank you for making such wonderful recipes! Your white bread has become such a favorite since quarantine started we haven’t bought bread since I found it!
Hi Suzy, the caramel sauce should be fine in the refrigerator for 1-2 weeks! I’m so happy you are enjoying the recipes! Thanks for letting me know!
When Mel tells you to make something, Imma listen and I’m so glad I did! This was ridiculously delicious! I used pears that were borderline underripe so they held their shape nicely and didn’t get mushy, I almost forgot they were pears and not apples. The flavors are incredible and it really came together quickly and was super easy! So so good!
Mona! You win the award for my favorite reader ever. Haha. Thanks for listening and obeying! 🙂 I really think this pear crisp is a hidden gem and I’m so glad you made it and loved it!
a friend just gave us a bag of pears. Now I know what to with them! this sounds so good!
Going to make this over the weeken for company. Do you think this can be frozen? I’d like to make one for Thanksgiving essert.
I haven’t tried it, but I bet it would freeze pretty well!
Word to the wise: if your caramel even slightly separates do not scoop it into the pears because the butter will rise to the top and cover the crumbles in the oven so that it gets mushy instead of crisp. The flavor will be fantastic but the texture will be terrible. This may or may not have resulted from my own tragic experience. I’ve made caramel plenty of times before without it separating so I’m not sure where I went wrong but clearly it was my own mistake so I will rate it at 5 stars because I can tell it would have been lovely if that hadn’t happened. Also, next time I make this I will use pears that are a bit more firm.
Hi Mel, Have you ever doubled the recipe and baked it in a larger pan?
If you have a larger pan (probably larger than a 9X13 but smaller than a half sheet pan) with 2-inch or higher sides, you could definitely do that!
Delicious!
This really was devine! The hardest part was peeling and chopping the pears…annoying! LOL I’m very glad I had done the crisp part earlier in the day and had it in a baggie in the fridge ready to go. I was kind of tired after fixing dinner but had already promised my son and husband the pear crisp! Next time I would make the caramel ahead of time for sure or at least make it while I was cooking dinner as well and let it hang out cooling while we were eating. Also, I would put the crisp into the oven right away after dinner. We didn’t eat dessert until almost nine which was fine but the men kept hovering around the island waiting for it to not be molten lava hot! I cut my pears a little too large and so I think I would make sure they were no larger than the size of a chocolate kiss. We all agreed we were having the leftovers for breakfast with some vanilla yogurt. I will make this again for sure! It’s the perfect dessert for Fall. Thx, Mel.
Thanks for the review, Gail!
I’m dying! This was SOOO good! Luckily I was able to hide a little bit to enjoy tomorrow while my kids are at school before my teenager finished off the rest of it.
So happy you liked this, Jackie – it is one of my favorite desserts ever!
Amazing! I’ve made this a few times now and it’s a hit all around. So delicious