Easy Homemade Pumpkin Puree {Pressure Cooker}
Homemade pumpkin puree has never been easier (or faster!). Get the simple step-by-step tutorial on how to make pumpkin puree in your pressure cooker!
If you caught my Instagram Story (ahem, never say never) last week, you saw my attempt to cook a pumpkin in my pressure cooker and my plea to pray for me.
I should have known it would work out just fine. My pressure cookers haven’t failed me yet.
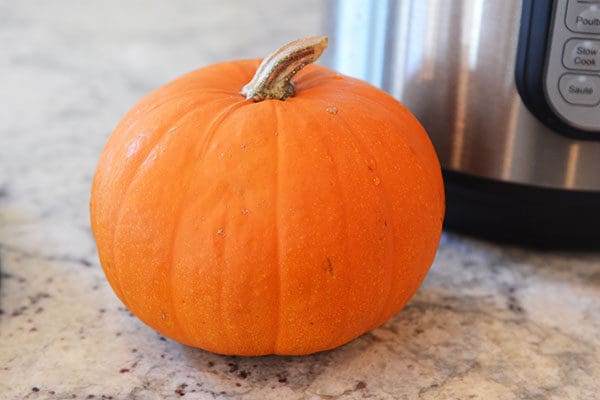
I can honestly say, this is hands down the easiest way to get some homemade pumpkin puree in your life, and I think it single handedly cured me from my bad attitude about pumpkin.
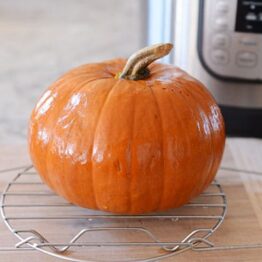
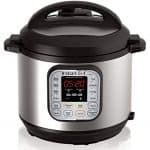
Grab, pick or purchase a sugar or pie pumpkin (or any pumpkin that will fit into your pressure cooker). I’m using the almighty InstantPot here – the 6-quart model; however the 8-quart model could fit an even larger pumpkin.
My cute little pumpkin (and the ones I’ve cooked subsequently – let’s just say I can’t get enough of cooking pumpkins this way) is around 3 1/2 pounds.
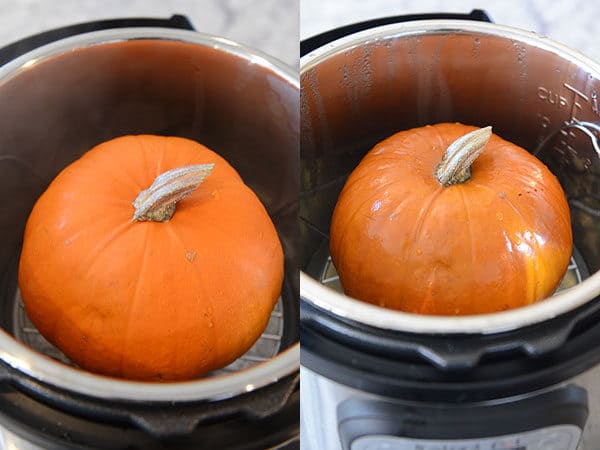
Place the rack or a steamer basket in the bottom of the pressure cooker, add a cup of water and place the pumpkin on top of the rack/basket.
Make sure the lid will seal properly without bumping into the stem. I recommend popping the stem off before pressure cooking (not pictured here but that’s what I’ve done since I photographed this method). I don’t pierce the pumpkin before pressure cooking.
Seal the pressure cooker and cook on high pressure for 13 minutes with an electric pressure cooker (about 11-12 minutes for a stovetop pressure cooker).
Let the pressure naturally release (at least for 10 minutes, then you can release the rest of the steam). The pumpkin should be very soft and tender when pierced with a fork. Think: butter.
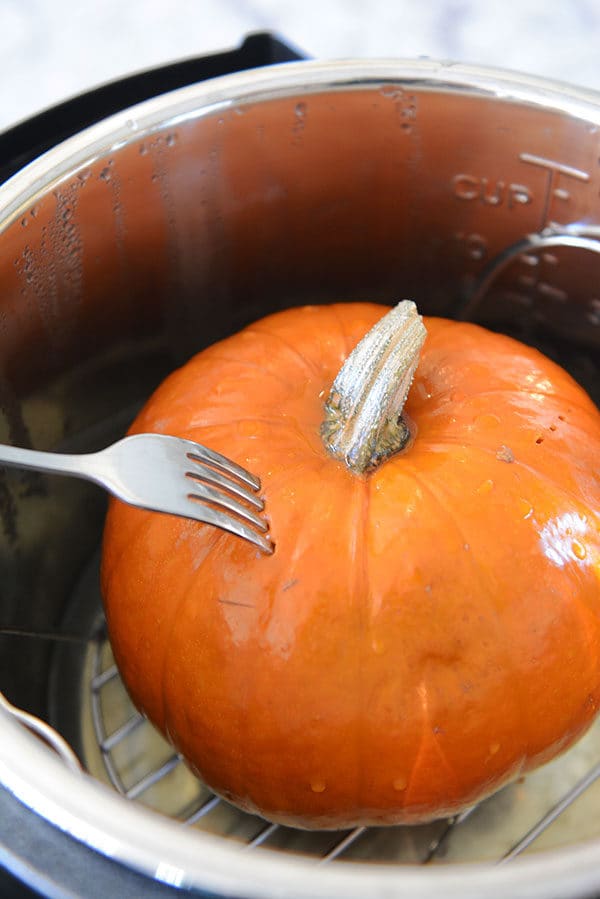
Carefully lift the handles of the rack and place the cooked pumpkin on a cutting board or plate. Then let it hang out for a few minutes, maybe 10-15, so it doesn’t burn your fingerprints off when you try to work with it.
I must say, this is such a pretty pumpkin. Too bad I’m about to rip the guts out of it.
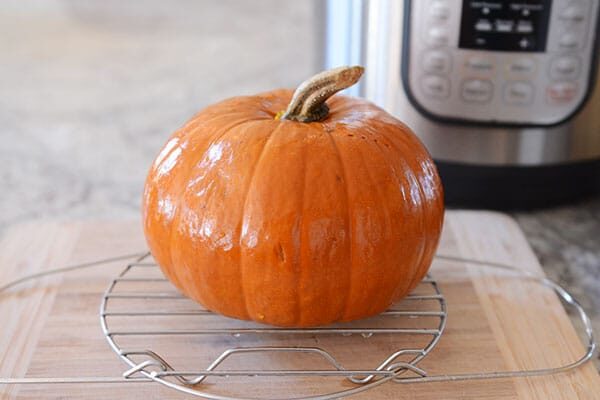
Remove the stem if you haven’t already and slice the pumpkin half.
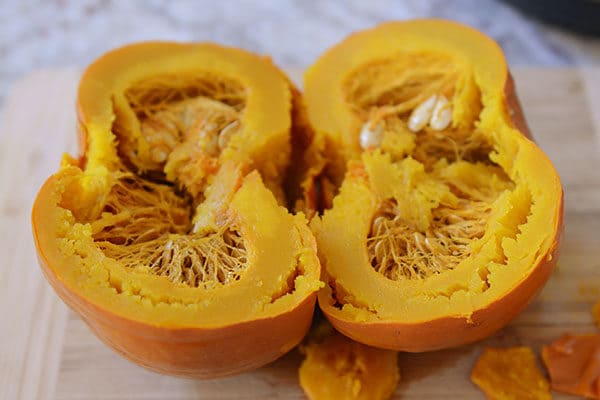
Scoop out all the seeds and goop. It will be very, very easy to remove. It almost crawls out on its own. And don’t you dare throw away those seeds. Roast ’em. Devour ’em. Or at the very least, give them to me and I’ll throw them to my chickens.
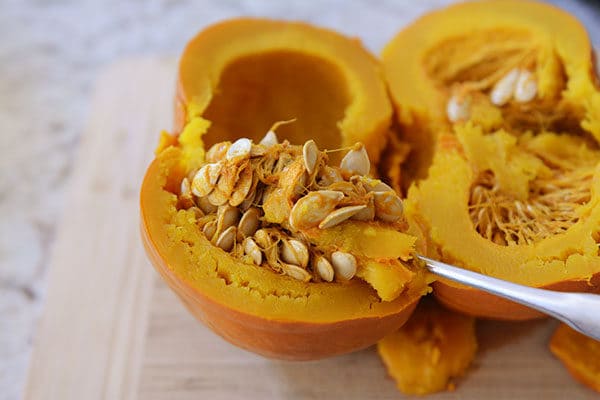
You can see the skin is already peeling off. It’s like that pumpkin came out of the pressure cooker just knowing it was meant to be pumpkin puree.
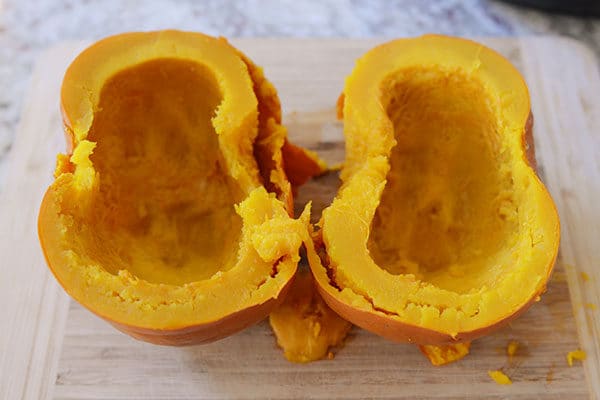
Peel off the skin. Most of it will fall right off but you can also use a small paring knife to get the stubborn bits.
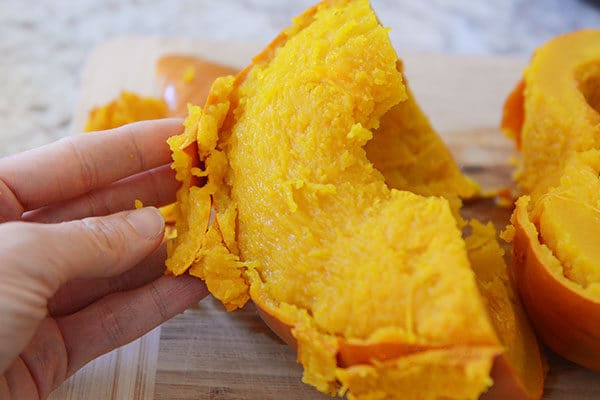
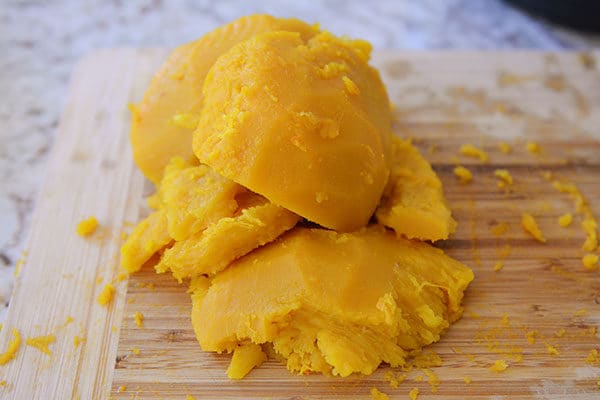
Break the soft pumpkin into large pieces.
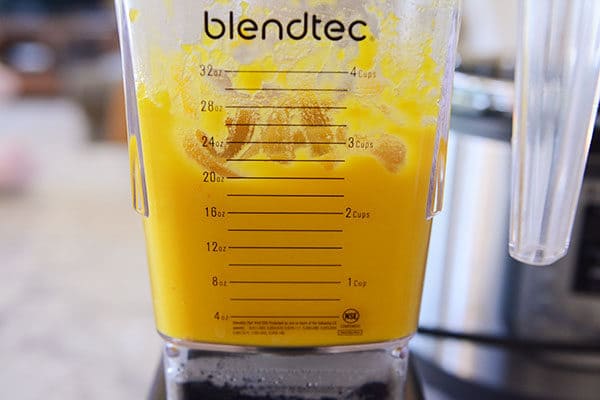
Now blend! I throw it all in my Blendtec and go to town (the smoothie button works best). A food processor would work, too. Some varieties of pumpkin might be helped along by a little water, but start with just a small amount! You don’t want watery pumpkin puree. No, no, no. I add a tablespoon to start, if any, and that’s usually enough.
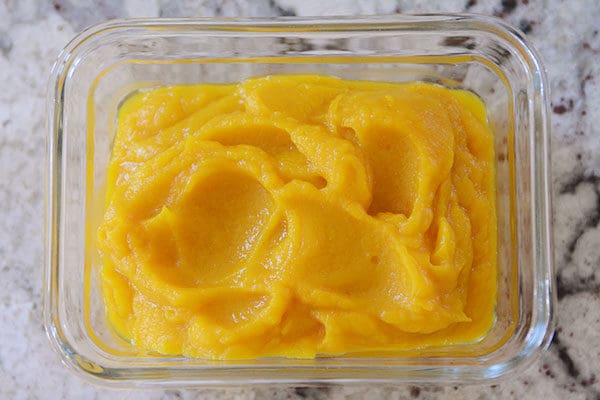
There you have it! Easy, homemade pumpkin puree. Keep it in the refrigerator until ready to use (or better yet, freeze it so you have it on hand for next June when canned pumpkin puree is nowhere to be found). A 3-4 pound pumpkin will make about 2-3 cups of puree.
A few quick notes: -What if my pumpkin doesn’t fit in my pressure cooker? Easy solution. Before cooking, remove the stem, cut the pumpkin in half and scoop out all the innards. Quarter the pumpkin or cut the halves into large chunks. Place the pieces in the steamer basket or on the rack (still add the 1 cup water) and cook on high pressure for 5 minutes. Peel and blend.
-The color of your finished pumpkin puree will depend on the variety of pumpkin but generally, I’ve found that homemade pumpkin puree is often lighter in color than storebought, especially compared to the Libby’s brand (Trader Joe’s is a bit lighter).
-Is homemade pumpkin puree worth it? Well, now, that’s a great question. In the interest of full disclosure, unless you are growing your own pumpkins or getting them very, very cheap, you can most likely buy storebought pumpkin puree cheaper (even the organic kind at TJ’s). But, it’s kind of fun to at least know how to do this, especially in a pressure cooker. And I will say, the best pumpkin pie I’ve ever had in my whole life was made with homemade pumpkin puree, so there is that incentive.
-Homemade pumpkin puree can be subbed one-for-one in recipes that call for canned pumpkin puree.
-What if I don’t have a pressure cooker? You should try to get your hands on one ASAP. Pressure cooking is my life. However, never fear. If you don’t have one (yet!), you can roast a pumpkin in the oven. Halve the pumpkin, take out the seeds and goop, and place it cut side down on a baking sheet. Roast at 375 degrees F until very soft (anywhere from 40-60 minutes, depending on the size). Peel and blend the pumpkin flesh until smooth.
-How far can I take this principle? I have it on good record that this same pressure cooking method works for butternut squash, too. Who knows what other gourds we can throw in there!
One Year Ago: Perfect Pumpkin Chocolate Chip Cookies
Two Years Ago: Crunchy-Topped Swiss Chicken Bake
Three Years Ago: Slow Cooker White Bean Chicken Chili
Easy Homemade Pumpkin Puree {Pressure Cooker}
Ingredients
- 3 ½ to 4 pound pie pumpkin
- 1 cup water
Instructions
- Remove the stem from the pumpkin.
- Place the rack or a steamer basket in the bottom of the pressure cooker. Add 1 cup water.
- Place the pumpkin on the rack/basket. Make sure the lid can close without touching the top of the pumpkin.
- Seal the pressure cooker and cook on high pressure for 13 minutes.
- Let the pressure naturally release.
- Carefully lift the pumpkin out of the pressure cooker (use the handles of the rack) and place on a cutting board or plate. Let cool until it is easy to handle.
- Slice the pumpkin in half, remove the seeds and goop, and peel off the skin.
- Blend the soft pumpkin in a blender or food processor until smooth, adding a tablespoon of water, if needed to help it along (don’t add too much water!).
- Store in the refrigerator or freezer until ready to use.
Notes
Recommended Products
Recipe Source: method given to me by my blogging friend, Liz (thanks, Liz – it worked like a dream!)





Not only a great & informational post on homemade pumpkin puree but your writing is hilarious! And this is from a baker who almost ALWAYS hits the “Jump to Recipe” button without pausing. Far too many food bloggers drone on and on…..with stuff I just don’t need or have an interest in. Thanks for adding humor to our Thanksgiving prep day!
Ah, thanks, Elizabeth!
Sounds easy, can’t wait to try it! Thanks so much
Thank you MEL!!! I always come back to your tried and true recipes. You are wonderful!
Well I did my pie pumpkin,In a crock pot.Cut off stem.put trivet in bottom.add 1 cup water
Followed your instructions for a lonely pumpkin leftover from decorations, and the finished product turned out great! I actually used a nutmilk bag to drain excess water, and my finished puree is not liquidy at all. I just filled the bag (a few times) with the puree and left it hanging above the sink to drain. Easy peasy!