Simple Roasted Thanksgiving Turkey {Oven Bag Method}
This simple roasted turkey (and delectable gravy) is the perfect Thanksgiving turkey recipe if you are cooking turkey for the first time…or the 20th time!
I have Thanksgiving menu planning on the brain! Do you?
Are you hosting this year?
Going to someone else’s house?
Only bringing pie?
Bagging the whole traditional dinner and eating pizza instead?
Last year was an atypical Thanksgiving for us.
We got ditched by everyone and anyone who loves us, and so we made stroganoff, homemade spaetzle, and went to watch Moana at the movie theatre in the afternoon.
It was a strange and awesome Thanksgiving Day.
This year, I’m hosting my sister AND brother (and their respective families) at our house, and so we are going with a traditional Thanksgiving dinner in order to please the masses and avoid mutiny.
Later this week, I’ll be sharing my exact Thanksgiving menu plan for the big day!
I’ll be including every little thing I’ll be making (with some hints at a few new recipes coming at you in the next couple weeks).
But today, I wanted to throw another turkey recipe at you.
To be honest, I was not planning on sharing a new Thanksgiving turkey recipe this year.
I already have three pretty stellar turkey recipes in the archives (and one more that I don’t publicly acknowledge anymore because of reader’s angst and distress over the roasting method).
And you really don’t need a million turkey recipes, right?
You gotta find one you love and stick with it.
Unless you are me and you have Quick Onset Recipe Boredom (QORB).
Even though I have several other terrific turkey recipes, I couldn’t resist making a simple roasted turkey recipe this year that had a slightly different cooking method.
The Bag.
Yeah, yeah, I know turkey bags have been around for years. Generations?
My mom always used a turkey bag to roast our Thanksgiving turkey, and I guess because of that, I always thought it was an antiquated, old-fashioned method (sorry mom and all the other millions of turkey bag users).
But I decided this year to seek out an amazing and simple roasted turkey recipe using an oven bag.
And this one is stellar. SO simple. SO perfect for beginning turkey roasters and experts alike. And SO delicious.
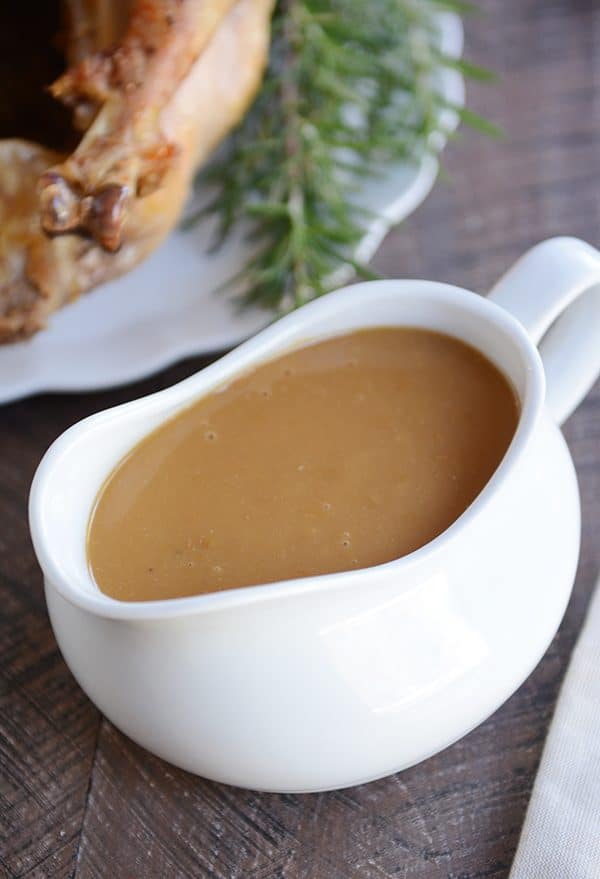
And let’s just have a moment of silence for the gravy.
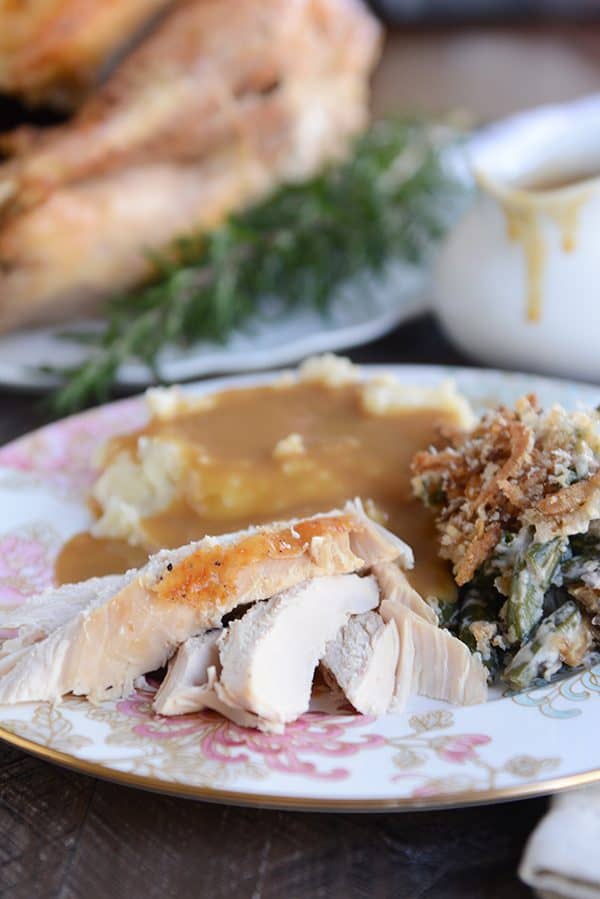
It is seriously the most luxurious, tastiest turkey gravy ever.
I copied the gravy-making method from my favorite pot roast recipe, and you can hate me…or thank me later when you start drinking it straight from the gravy boat.
It’s that good.
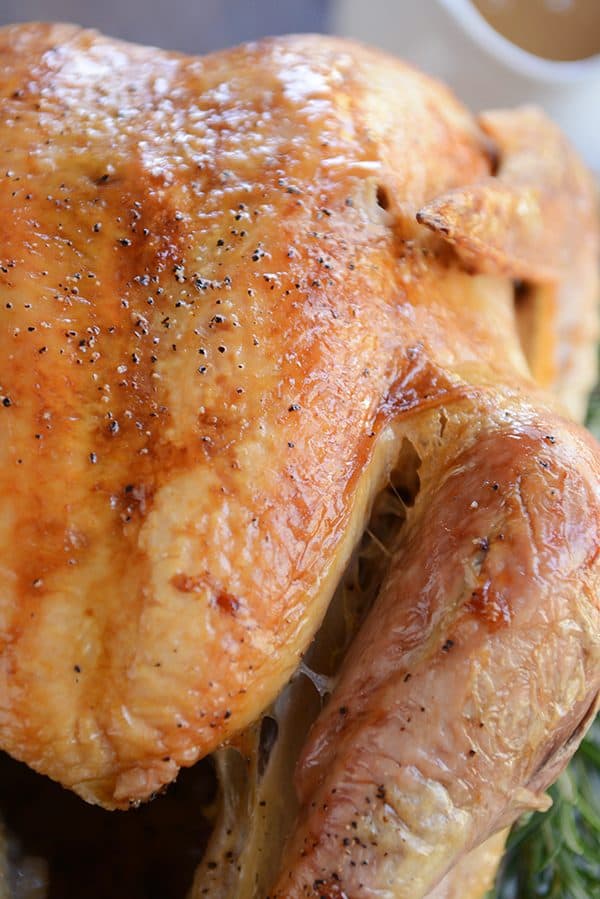
This simple roasted turkey is honestly the best solution when you want a no-fuss, easy Thanksgiving turkey that is juicy and packed with flavor.
Turns out, the oven bag really does help seal in moisture to ensure a juicy, tender turkey.
I’ve included some notes below the recipe about brining the turkey vs non-brining (spoiler alert: you can get away with not brining the turkey, in my opinion) and also my thoughts about what kind of turkey to buy.
A few additional mentions:
-the roasting pan: I’ve had the roasting pan pictured in this post (below) for years. Probably a decade. I don’t love it. The nonstick finish scratches so easily and causes the drippings to burn. I have my eye on this Calphalon version or this less expensive Cook’s roasting pan.
-oven bags: I use Reynold’s oven bags (readily available at most grocery stores); there are lots of other brands on the market, too
-gravy boat: I have this one and love it – it has a 24-ounce capacity which is larger than many other gravy boats
-instant-read thermometer: a really key tool for making sure the turkey is perfectly done but not overcooked
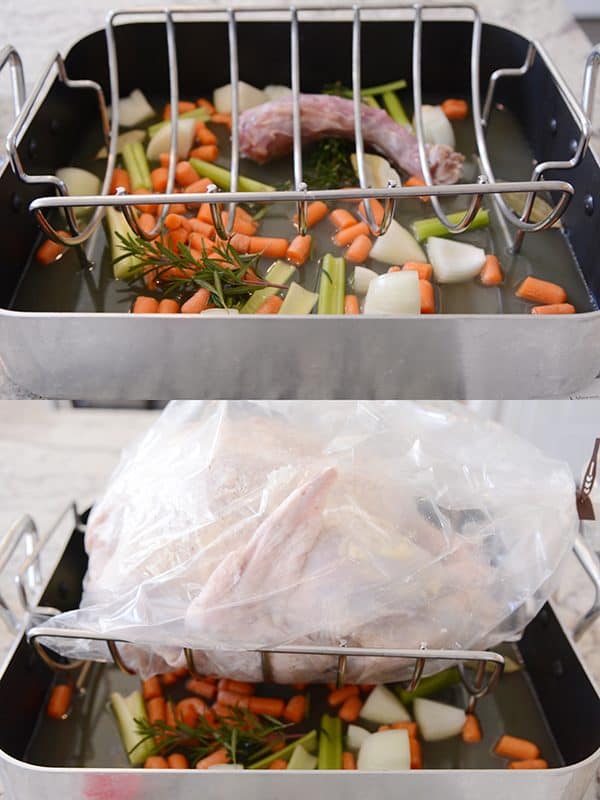
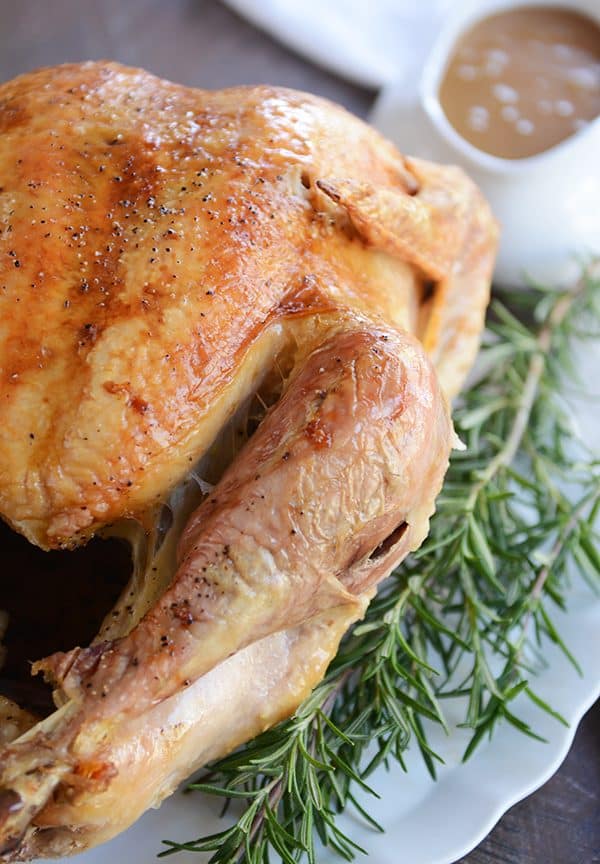
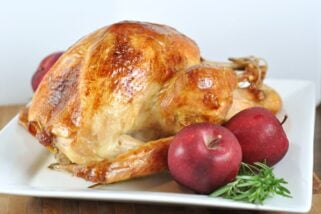
And I know, I know, that turkey wing is shooting up in quite the shocking manner, because I was a slacker and didn’t do the whole wing-tuck before tossing the turkey in the bag.
Guess what? Turkey still tasted amazing even with the poky wing look going on.
Now, it’s your turn!
I’d love to know what’s going on your Thanksgiving menu (if you are celebrating the holiday)!
And keep an eye out for the post later one detailing all my Thanksgiving favorites that are making an appearance this year!
One Year Ago: Smoky Lentil and Potato Soup {Pressure Cooker or Stovetop}
Two Years Ago: Amazing Crustless Pumpkin Pie Cupcakes
Three Years Ago: Chocolate Caramel Pecan Pie
Four Years Ago: Creamy Confetti Corn with Bacon
Five Years Ago: Cheesy Chicken Quesadilla Pie
Simple Thanksgiving Turkey {Roasted in a Bag}
Ingredients
Turkey:
- 18-20 pound turkey, neck reserved, giblets discarded (see note)
- 1 large white or yellow onion, coarsely chopped
- 6 large carrots, peeled and coarsely chopped (or about 20 baby carrots)
- 3 celery stalks, coarsely chopped
- 2 cups chicken broth
- 1 sprig fresh rosemary
- 2 bay leaves
- 2 tablespoons butter
- Coarse, kosher salt and pepper
- 1 tablespoon all-purpose flour
- 1 turkey-sized oven bag, such as the Reynolds brand
Gravy:
- 3-4 cups chicken broth, to add to the accumulated turkey juices
- ½ cup butter
- ⅔ cup all-purpose flour
- Salt and pepper
Instructions
- For the turkey, preheat the oven to 350 degrees, adjusting an oven rack to the lowest position.
- In a roasting pan, add the turkey neck, onion, carrots, celery, broth, rosemary sprig, and bay leaves. Set the V-rack in the pan.
- Pat the turkey dry with paper towels. Optional: tuck the turkey wings behind the back and tie legs together with kitchen twine (I sometimes do this, and sometimes don’t – that’s the lazy in me coming out). Melt the butter and brush it all over the outside of the turkey. Season the outside and inside of the turkey with salt and pepper.
- Toss the 1 tablespoon flour inside the oven bag; hold the bag closed and shake to distribute the flour evenly. Slide and shimmy (that’s right, shimmy) the bag over the turkey and secure the bag closed with the included bag tie. Place the turkey on the V-rack and cut four 1-inch slits in the top of the bag to allow steam to escape.
- Roast the turkey until an instant-read thermometer registers 160 degrees F for the breast meat and 175 degrees for thigh meat, about 2 1/2 to 3 1/2 hours.
- Remove the roasting pan from the oven. Using a knife or scissors, slit the bag underneath to allow accumulated liquid to release into the roasting pan (be careful of any steam escaping).
- Cut the bag around the outside of the turkey, removing the top of the bag completely. Carefully holding the tied end of the bag, pull the bottom remaining part of the bag out from underneath the turkey, lifting up the turkey slightly if needed.
- Transfer the V-rack with the turkey to a rimmed baking sheet, tent the turkey with foil and let rest for 45 minutes to an hour.
- For the gravy, using a wooden spoon or silicone spatula, scrape up any browned bits from the bottom of the pan. Discard the turkey neck and strain the remaining liquid/vegetables in the roasting pan through a fine-mesh strainer set over a bowl. Use a spoon to press on the vegetables so the maximum amount of liquid is strained into the bowl. Discard the cooked (and let’s be honest: mushy) vegetables. Let the liquid sit for 5-10 minutes to allow the fat to rise to the top. Skim the fat from the top of the juices.
- Add additional chicken broth to the accumulated juices to equal about 6 cups.
- In a medium saucepan set over medium heat, melt the butter. Add the flour, and stir or whisk, for 1-2 minutes until the flour is golden and sizzling.
- Gradually add the reserved turkey juices/broth while vigorously whisking (to avoid lumps). Cook until the gravy is thickened and coats the back of a spoon, 5-7 minutes. Add additional broth, if needed, for thinner gravy. Season to taste with salt and pepper.
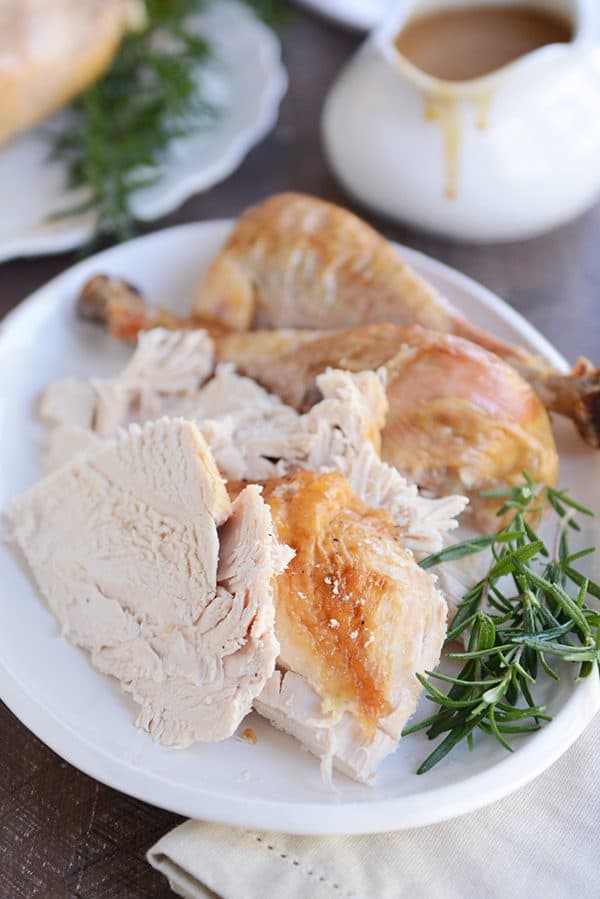
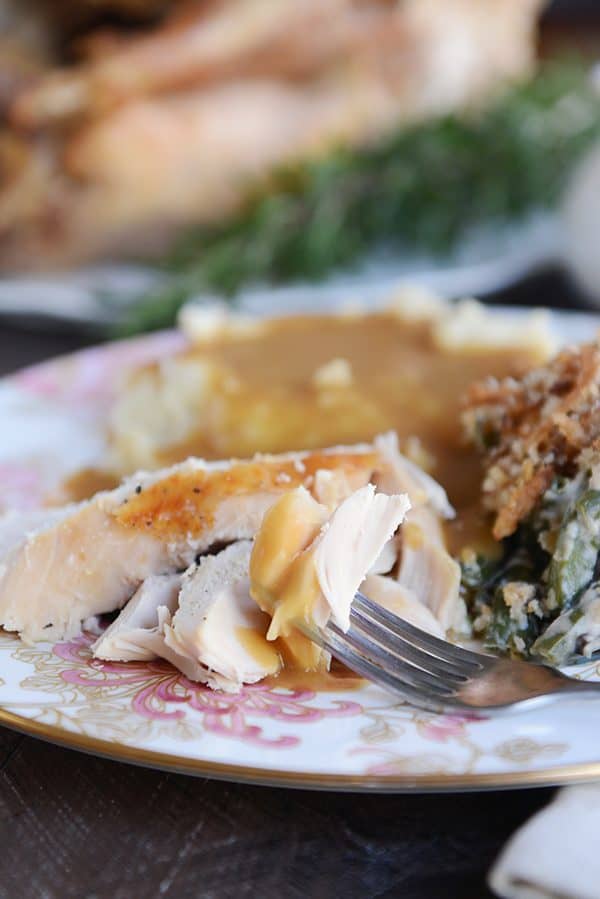
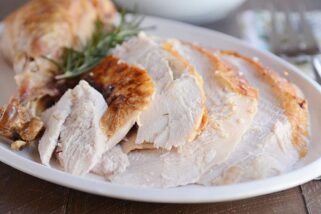
- Carve the turkey and transfer to a serving platter. Serve with gravy alongside (and of course all the other tasty side dishes!)
Notes
Recommended Products
Recipe Source: adapted from a recipe in Cook’s Country Oct/Nov 2017 (changed up the gravy to mirror this best-ever pot roast gravy , altered the ingredients a bit)





Hi Mel
does t this work with stuffing in the turkey?
Hi Joan, I haven’t tried it that way, but it should work fine (just make sure the stuffing cooks to a safe temperature).
I made this a few years ago, but I’m sure I did something wrong – my vegetables in the roasting pan completely blackened, and we couldn’t use them. I’d really like to try it again – correctly. Should I add a lot of water or chicken broth so they boil in the oven?
Hi Julie, yes, try adding 2 to 3 cups broth with the vegetables.
I am also a believer in the magic of Oven Bag. I have been using it for 20+ years. My only difference is I stuff the bird with veggie and apple chunks that we don’t eat. We think it adds an amazing flavor to the bird. Everything else is the same. Love your site and cookbook! We are looking forward to making the IP Mashed Potatoes (and the life-changing that goes with them). Happy Thanksgiving!
We are hosting Thanksgiving again as we’ve done for many years. While I love to host, the last minute preparations drive me crazy…especially since everyone congregates in the kitchen. I’m considering cooking the turkey on Wednesday to make things easier and less chaotic. Mel, what are your thoughts and suggestions? What is the best method for warming the carved turkey and gravy up? Thanks for any and all suggestions.
I hear you on the stress of last minute cooking! I, personally, haven’t had the best luck cooking turkey ahead of time. It warms up *fine* but never tastes quite as good as just-roasted, in my opinion. When I am warming up turkey, I place the turkey meat in a pan, drizzle with broth, cover with foil, and reheat at 325 degrees until warm (20 minutes or so).
The turkey came out really well. It was moist and flavorful. The broth in the bottom of the pan cooked off and the neck and veggies roasted in the bottom of the dry pan, which blackened before I noticed and threw more water in there. I think that happened because I have a pretty big pan with a lot of surface area. I’m planning to freeze the drippings so I can make gravy ahead of time on Thanksgiving. The black water actually tastes good so I’m going to add some to my drippings. 🙂
You are the queen of cooking Mel!! You should win an award for having the best recipes! This was my first time cooking a turkey and it turned out perfectly, thank you!!
Oh, you are so sweet, Jess. Thank you!
I have been using the Reynolds roasting bags for years, just like my aunt counseled me back when she passed the turkey day torch to me… but NEVER did it occur to me to put the neck, vegs, and stock in the pan to get drippings! Brilliant. I can’t believe it never occurred to me to do that. I can’t wait to try it. Otherwise, i am a big fan of the roasting bags.. my problem was always how to make a nice gravy without those brown bits you get from traditional roasting. Life changing!
How do you use an instant read thermometer through the turkey bag? I’m assuming you’re poking holes in the bag?
Yes, you can use the thermometer through the bag.
I have some gluten free family members coming for Thanksgiving. Do you know if corn starch would work the same in the bag and in the gravy recipe?
I haven’t tried it, but I definitely think it is worth a try!
I stopped using the bags because someone was gluten free. But, I’ve just found this on the Reynold’s website: “TIP: You may use wheat, rice, potato, nut, or gluten-free flour, cornstarch, cornmeal, or matzo meal instead of flour. ” Good to know!
Mel,
I was wondering if this recipe would work on a 12 lb turkey?
Thank you!
Yes, it should! Just keep an eye on the time as a smaller turkey will cook faster.
Not a fan of Rosemary – can it be left out, or replaced
Thank-you
You can leave it out.
I am making this tomorrow for thanksgiving, can’t wait.. is it necessary to add the vegetables to the bottom of the roasting pan ? Or can I leave it empty. Thank you!
The vegetables add aromatic flavor, but you could leave them out.
I made this recipe tonight for Thanksgiving in July. It was easy and everyone loved it! I will definitely cook it this way again. The gravy was especially good 🙂
Thank you for making Thanksgiving a success! Roasting a turkey is a job but this made it come out perfectly! The gravy is amazing thanks to the turkey neck. Many thanks!!
I love using bags to cook my Thanksgiving Turkey. I cook mine in a paper bag that I oil instead of a plastic bag though. It allows the turkey to brown and retain the moisture still. I followed the rest of this recipe and it came out amazing. Thank you!
I rarely make the Thanksgiving turkey, but since we’re hosting, and since my elderly parents aren’t coming (dang Covid!) I ended up doing the bird. I followed this recipe except I readied the turkey the night before. Popped it out of the fridge and into the oven. Two and a half or so hours later out it came, beautifully browned! I rented and rested it while mashing potatoes, making noodles and doing the gravy. The gravey came out AMAZING! My brother-in-law is an excellent cook especially where meat and sauces are concerned. He said it was the best gravy he had ever had! I consider that high praise! Thanks for the excellent recipe. I will be using this happily forever after!
That’s amazing! Thanks for letting me know -so, so happy it worked out for you!
I cooked my second ever turkey tonight, and these instructions were soooooooo helpful! I added a little thyme and sage to the salt & pepper rubbed on the skin. The veg and chicken broth combined with the drippings were a perfect base for the gravy method I learned from my mom.
Thank you!
I know this is weird. But then, my mother was kind of weird :). She always cooked the turkey in a brown paper grocery store bag. No need to baste. Her turkeys were always big because our family is big (I’m the youngest of nine). The turkey always turned out great. Well, turns, because I’ve always cooked mine this way too! Sometimes the skin would stick to the bag a little (especially with a big turkey) but no biggie. I’ve heard the roasting bags are worse for that. Just thought I’d pass along my mother’s technique! Happy Thanksgiving in a truly difficult year.
This is always how I have done it and my mother before me. I was in my mid twenties before I learned that not everyone except my weird family cooked them in a paper bag also.
The gravy sounds awesome! But…I need help to make it gluten free. I have family members with that restriction. Can I sub cornstarch? If so, how much to use? Or a GF flour substitute that won’t make the gravy taste funny? Help!
Thought I’d reply since I’ve made lots of GF gravy.
I just substitute the flour for whatever GF mix I have in the pantry… I usually have Pam’s GF bread flour mix and it makes some really awesome gravy.
Cornstarch always makes my gravies with gummy-type texture so I stay away from that.
Hope this helps! 🙂
Hi Mel! I’ve been following your blog for a few years now. You’ve really helped me learn how to cook really delicious meals. Just wanted to say thanks! Anyway i’m stationed overseas with my husband because he’s military. And this is the first year i’m making a turkey. Usually i do the precooked bone-in ham and just add a fancy glaze. There are limited options out here in the Netherlands. This year i’m going to be making a precooked “oven baked” Butterball turkey (from an American military grocery store). Just wondering if you have any suggestions on if would be okay to season it or not? I think the cooking time to warm it up is about 1 3/4 hours. I’m just curious if this recipe would work for that kind of turkey and would also maybe help to keep it moist. Much thanks! 🙂
I think seasoning the outside of the precooked turkey should be ok! I would go easy on any salty seasonings since I’m sure those precooked turkeys already have salt added.
Thanks for responding! I ended up just using salted butter. I’m having quite a bit of guests over and i didn’t want to take the chance of it being to salty since it’s already precooked and everyone be dissapointed. Will let you know how it turned out! 🙂
How long do you cook a 18 lbs turkey in the bag? Also since we are gluten free do you see any harm in subbing gluten free flour in both the bag and recipe for gravy?
Probably right around 2 1/2 hours but use an instant read thermometer just to be sure. I don’t know how gluten free flour works to thicken up gravies…have you used it in the past for thickeners?
I have made this turkey the past two years using gluten free flour for both the Turkey and gravy and it works great. For the gravy, you might want to use a tad less flour because it usually thickens more than regular wheat flour.
This might be frowned upon by most cooks, but years ago I started cooking my turkey in a bag, upside down. If you don’t need a picture-perfect, golden brown breast to present at the table, this method yields the juiciest, tenderest breast meat. I usually carve my turkey and arrange on a platter for serving, so no one is the wiser. I will also actually flip the turkey over for the last half hour or hour to get some browning on top. Upside-down, the breast meat marinates in its own juices and is almost fall-apart tender. I think it’s also important to let it “rest” sufficiently before carving. It’s never dry! Try it with a chicken some time! I think I will try the roasted vegetable gravy this year!
I made this turkey for Christmas dinner and it was fabulous. The gravy was the best I ever tasted! Thanks, Mel…it’s so awesome to be able to count on your recipes to come through for me the first time!
Thanks, Deb!!
I followed your recipe last year and my turkey turned out beautifully! This year without looking back at the recipe I bought a 22.5 lb turkey. Do you think it will cook in about 4 hrs?
Hey Michaela, sorry for the late response! Did your turkey work out?
Mel, thanks for the awesome turkey recipe. The directions were detailed and straight-forward. The turkey turned out wonderfully moist and that gravy was the best I have ever had! I loved the method of roasting the vegetables underneath the bird. Thanks for making our Thanksgiving a standout year. Love this blog so much!
Thank you so much, Meg!
My mom made this recipe and it was terrific. I tried it the next day, even using her pan, but the broth and vegetables burned to the bottom of the pan- not pretty! Any idea why? I have a convection oven but that’s the only difference.
It might be that your oven cooks hotter, and convection, especially, can cook hotter than conventional baking (particularly on the bottom of the pan where the vegetables were for the turkey). That’d be my best guess.