Thanksgiving Recipes
Oh, yes! Welcome to the best food holiday of the year! Recipes are aplenty, but if you’re looking for the best tried-and-true Thanksgiving recipes, browse the recipes below. Main dishes, perfect side dishes, all.the.bread recipes, and of course pies and dessert!
Subcategories:

50+ Thanksgiving Recipes {Plus a Thanksgiving Menu Planner!}

Chicken and Rice Soup
15+ Thanksgiving Dessert Recipes That AREN’T Pie

Chocolate Chess Pie

Sausage and Herb Stuffing

Pumpkin Swirl Cheesecake

Thanksgiving Slaw

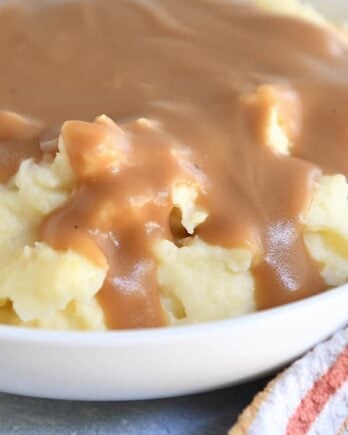
Slow Cooker Turkey with No-Fuss Gravy

Easy Green Beans Almondine

The Best Slow Cooker Stuffing