Blue Ribbon Apple Pie
This best apple pie recipe is a blue ribbon apple pie winner! And for good reason. No sinking or soggy crusts, this apple pie is perfect.
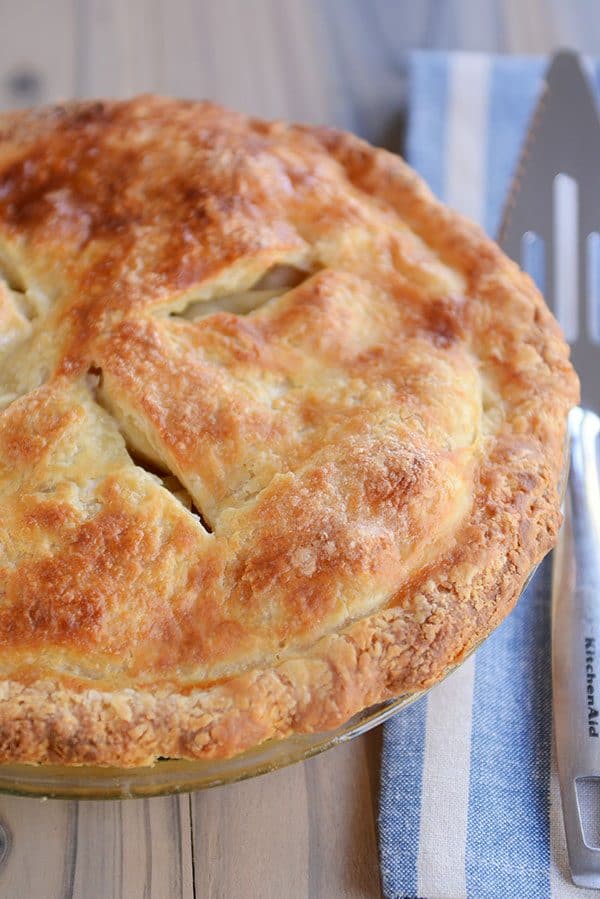
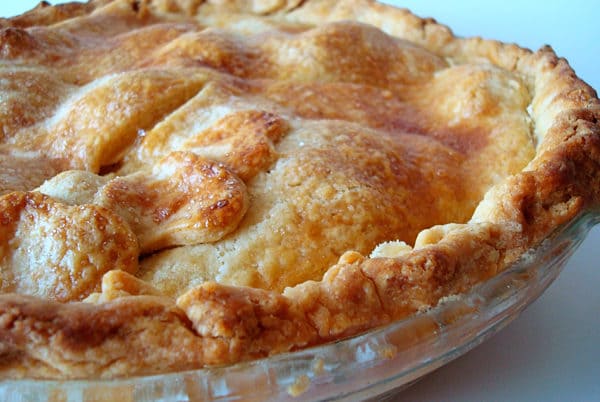
There’s nothing quite like the comforting taste (and smell!) of perfect apple pie.
This recipe has been living on my site for years!
Years.
Since 2009 to be exact.
And the reason it’s still here and why I’m still making it is because it really is the best apple pie ever!
I’m definitely not an exclusive apple pie recipe girl. Not when it comes to all the apple pie variations available in the world.
Here are a few twists on apple pie that I love!
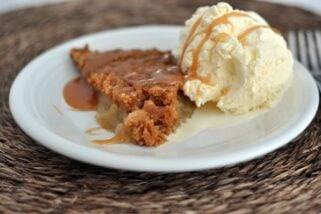
Toffee Crumble Caramel Apple Pie (a personal favorite)
But when it comes to good, old-fashioned, classic apple pie, this blue ribbon apple pie recipe is the best.
Best, best, best.
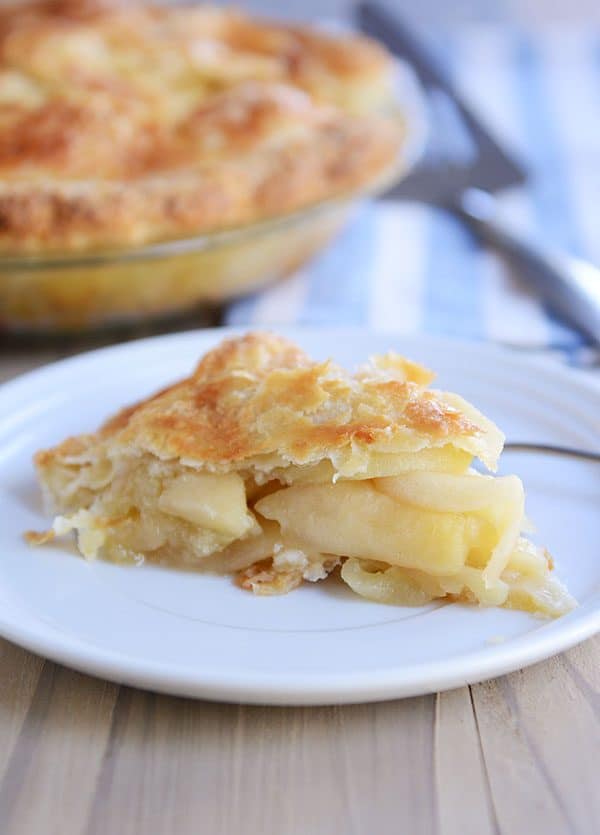
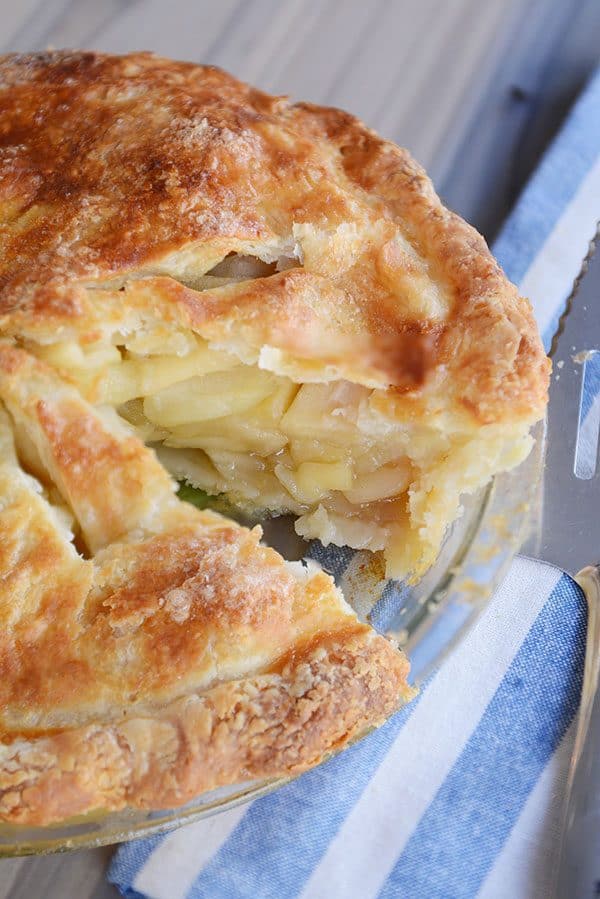
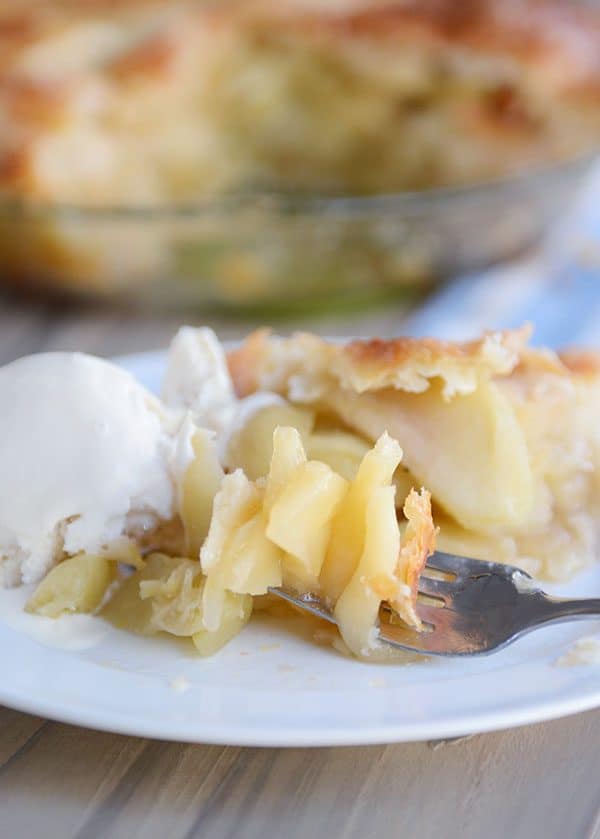
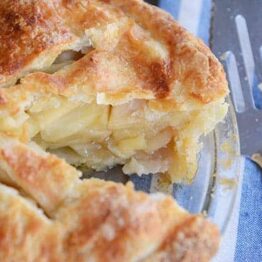
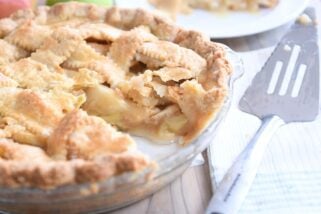
Do you see how loaded that piece of pie is with apples?
No gappy crust…and no soggy crust! Just a ton of tender, juicy apples sandwiched in between buttery, flaky pie crust.
The key?
Precooking the apples.
I know, I know, that extra step may annoy you. I kind of get it. And I’m a little bit sorry.
But if you really want the best apple pie in terms of flavor, apple to pie crust ratio, and gorgeous (and tasty) finished product, it’s worth it.
Precooking the apples for just a few minutes releases the natural juices in the apples that normally come screaming out while baking inside the pie crust.
Additionally, it helps the apples cook down to a smaller shape before going in the pie crust.
What does this mean? Well, if you’ve ever cut into an apple pie that has about a 2-inch gap between the top crust and the apples, you’ll know what I’m talking about.
Placing uncooked apples in a pie crust isn’t against the law, but if you have a top crust, chances are when that pie bakes, the apples will shrink and you’ll be left with a not-so-pretty gap between pie crust and apples.
Of course, that isn’t the worst thing in the world, but it also might result in a soggier crust as all those apple juices get soaked up.
And if you know me, you know the inner part of my soul screams: AVOID SOGGINESS AT ALL COSTS!
If you’ve been wanting the best apple pie recipe, give this one a try.
It’s been a favorite for years and has definitely stood the test of time.
Also, if you are wanting an extra boost in pie making confidence, check out my Pie Boot Camp Series HERE! The series includes:
All About Pie Making Equipment Essentials
How to Make Pie Crust (Foolproof Recipe, Rolling Out, Crimping + Video Tutorial)
All About Blind Baking + How to Do It and Why (Bonus: Chocolate Ganache Cream Pie Recipe)
Double Crust Pies and How to Make an Easy Lattice Crust (Bonus: Printable for Easy Reference to Sum Up Pie Boot Camp)
Blue Ribbon Apple Pie
Ingredients
- 1 recipe double-crust pie dough, see note
- 2 ½ pounds about 5 firm tart apples, peeled, cored, and sliced 1/4-inch thick (I use Granny Smith)
- 2 ½ pounds about 5 firm, sweet apples, peeled, cored and sliced 1/4-inch thick (I use Honeycrisp)
- ½ cup plus 1 tablespoon granulated sugar
- ¼ cup packed light brown sugar
- ½ teaspoon grated fresh lemon zest
- ¼ teaspoon salt
- ⅛ teaspoon ground cinnamon
- 2 teaspoons fresh lemon juice
- 1 egg white, beaten lightly
Instructions
- Roll out one half of the pie dough and place in a 9-inch pie plate (how-to on rolling out pie dough here). Trim the crust to the edge of the pie plate. Refrigerate until ready to use.
- Toss the apples, 1/2 cup of the sugar, brown sugar, zest, salt, and cinnamon together in a large large pot or Dutch oven. Cook over medium heat, stirring frequently, until the apples are tender when poked with a fork but are not mushy, about 10-12 minutes. Don’t over cook in this step as the apples will finish cooking and softening up in the oven.
- Transfer the apples and their juice in an even layer to a rimmed baking sheet and let cool to room temperature, about 30 minutes.
- Preheat the oven to 425 degrees. Drain the cooled apples thoroughly in a colander, reserving 1/4 cup of the juice. Stir the lemon juice into the reserved 1/4 cup of apple juice.
- Spread the apples into the dough-lined pie plate, mounding them slightly in the middle, and drizzle with the lemon juice mixture.
- Roll out the second piece of dough and drape it over the pie. Trim the top crust so there is about a 1/4-inch or slightly longer overhang all the way around the pie. Tuck this overhang under the bottom crust (see details here) so the pie is sealed. Crimp the edges (how-to here or here).
- Cut four gashes in the top of the pie with a sharp paring knife for venting. Brush the crust lightly with the egg white and sprinkle with the remaining one tablespoon sugar.
- Place the pie on a foil-lined baking sheet and bake until the crust is golden, about 25 minutes.
- Reduce the oven temperature to 375 degrees and continue to bake until the juices are bubbling and the crust is deep golden brown, about 25-30 minutes longer.
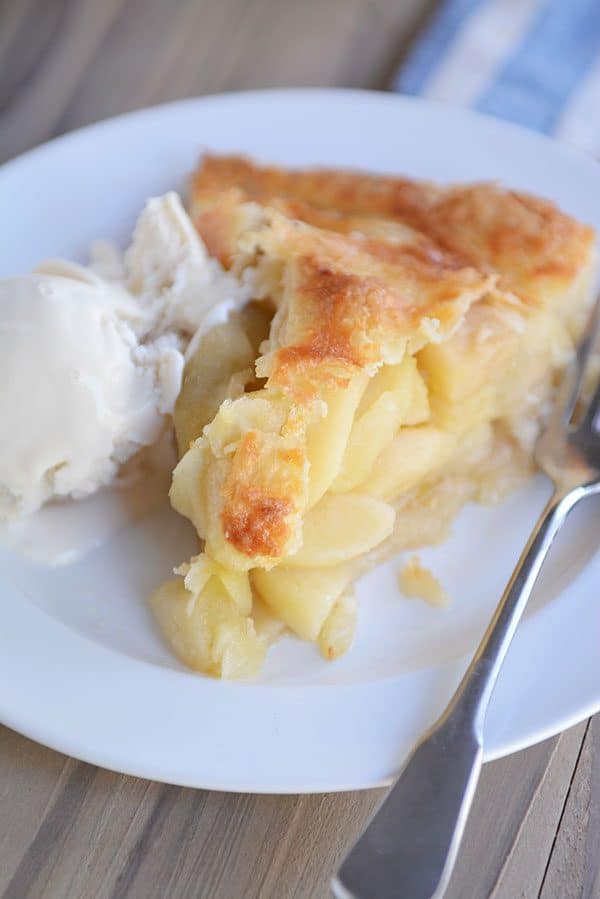
- Let the pie cool on a wire rack until the filling has set, about 2 hours. Serve slightly warm or at room temperature.
Notes
Recommended Products


Recipe Source: Aunt Marilyn
Recipe originally posted November 2009; updated October 2017 with new pictures, updated recipe notes, and commentary.
Made this pie well in advance and stuck it in the freezer. (Prep early!) baked the day before Thanksgiving. Took over an hour. But my husband said “this pie could win contests!” Told him it’s a winning pie!
It’s delicious thank you for sharing this recipe.
So happy to hear that!